
Toshiba Satellite 1805-S177 Optical Drive Replacement
Introdução
Vá para o passo 1Having issues with your Optical or CD drive in your laptop? No need to go out and break the bank on computer repair technicians! This guide includes text accompanied by step-by-step photos, allowing almost any user to handle this technical issue all on their own.
O que você precisa


-
-
Placing your finger on the raised grip, push the battery casing to the right. It will slide over.
-
-
-
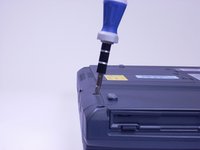
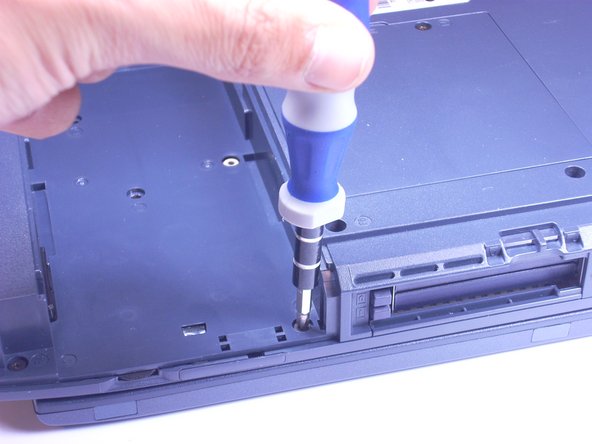
Look at the bottom of the laptop. Using a Phillips screwdriver, unscrew and remove the screw labeled F4, located on the cover of the hard drive.
-
-
-
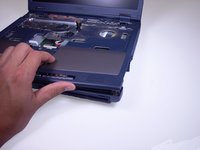
Stick a spudger in one of the sides of the top panel. Lift slowly from one side to the other and it will pop off.
-
-
-
Using a Phillips Screwdriver, unscrew and remove the one F4 screw closest to the center of the laptop.
-
-
-
Using a Phillips screwdriver, unscrew and remove 5 screws labeled F6, located on the metal piece on the left side of the keyboard area.
-
-
-
As shown by the photo, remove the small green computer part by pinching the top with your fingers and gently lift it away from the laptop.
-


To reassemble your device, follow these instructions in the reverse order.
To reassemble your device, follow these instructions in the reverse order.
Equipe

Cal Poly, Team 3-5, Johann Summer 2010 Membro de Cal Poly, Team 3-5, Johann Summer 2010
CPSU-JOHANN-R10S3G5
Membros da 4
Autoria de 24 guias