Ir para o conteúdo principal
Participe da comunidade de reparos - Criar conta
Spin Master Boxer Remote Trigger Buttons Replacement

Spin Master Boxer Remote Trigger Buttons Replacement

Lauren Roide

Lauren Roide e 4 outros colaboradores

Última atualização em 7 de fev de 2024

5 minutos
Fácil

Introdução

Ir para o passo 1

If you need to replace either one of the two top buttons, or trigger buttons, on the remote for the Spin Master Boxer Bot, follow this guide. If you only wanted access to replacing remote joysticks, this guide will work as well. To follow this replacement guide you will need Size 00 Philips Screwdriver, as well as a flat metal opening tool, the Jimmy.

O que você precisa

Ferramentas

  1. Spin Master Boxer Remote Trigger Buttons Replacement, Remote Trigger Buttons: passo 1, imagem 1 %32
    • Lay the remote flat on your work space, with joysticks facing you.

  2. Spin Master Boxer Remote Trigger Buttons Replacement: passo 2, imagem 1 %32
    • Remove both joysticks by gripping under circular knob and gently pulling towards you.

    • The joysticks should detach without much effort.

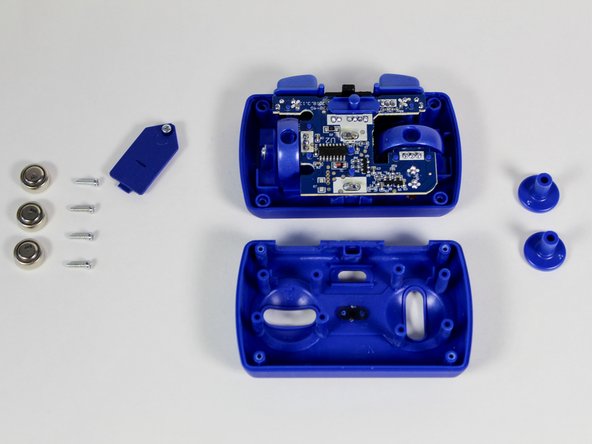
  3. Spin Master Boxer Remote Trigger Buttons Replacement: passo 3, imagem 1 %32
    • Use the Phillips #00 Screwdriver to remove 4mm screw on the center battery panel.

    • Remove the batteries from the remote and set it to side.

    • Use the same screwdriver to remove all four 4mm screws on back panel.

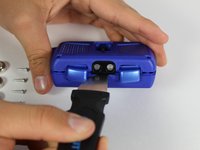
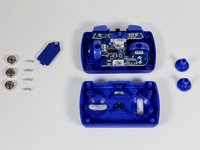
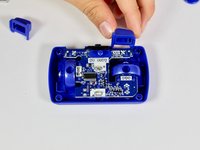
  4. Spin Master Boxer Remote Trigger Buttons Replacement: passo 4, imagem 1 %32 Spin Master Boxer Remote Trigger Buttons Replacement: passo 4, imagem 2 %32
    • Insert the Jimmy in between the top panel and the bottom panel.

    • Gently use the Jimmy to separate both plastic panels from each other.

    • Pull the panels apart and set bottom piece on workbench.

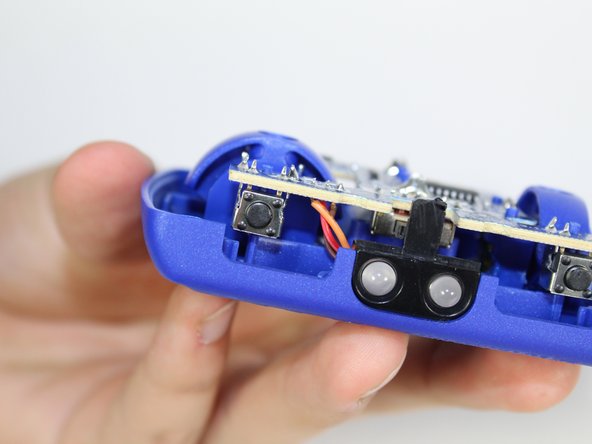
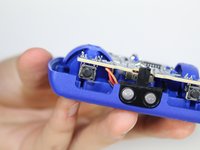
  5. Spin Master Boxer Remote Trigger Buttons Replacement: passo 5, imagem 1 %32 Spin Master Boxer Remote Trigger Buttons Replacement: passo 5, imagem 2 %32
    • Pinch the trigger between index finger and thumb, and lift up, away from circuit board.

    • Inspect the square button attached to circuit board to ensure functionality. If there is an issue with connection, a new circuit boards may be required.

Conclusão

To reassemble your device, follow these instructions in reverse order.

Gear Up For Future Repairs

Shop all

Lauren Roide

Membro desde: 04/16/19

739 Reputação

Autoria de 5 guias

Equipe

Cal Poly, Team S1-G1, Maness Spring 2019 Membro de Cal Poly, Team S1-G1, Maness Spring 2019

CPSU-MANESS-S19S1G1

4 Membros

Autoria de 10 guias

0Comentários do guia

Comentar

Visualizações:

Últimas 24 horas: 1

Últimos 7 dias: 3

Últimos 30 dias: 15

Ao todo: 1,008