
Sony Handycam DCR-DVD103 LCD Screen Replacement
Introdução
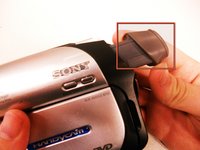
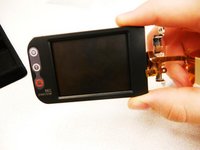
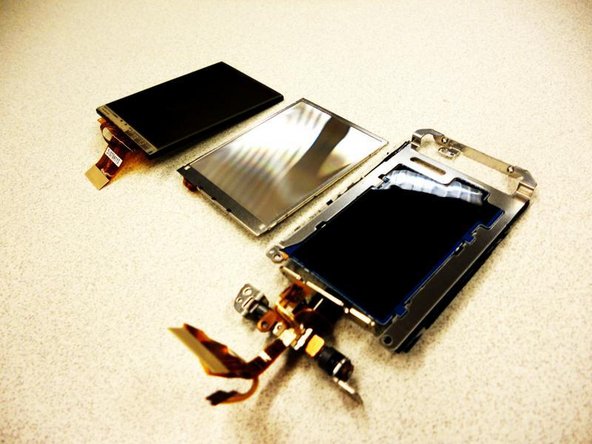
Vá para o passo 1Occasionally the LCD screen or the Back light on the camera will be cracked or simply stop working. This page outlines how to disassemble the camera in order to install replacement parts for any broken pieces.
O que você precisa
Ferramentas

-
-
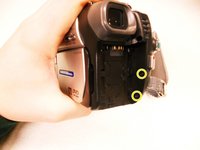
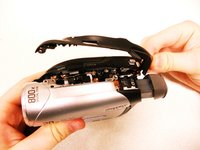
On the back of the camera beneath the viewfinder, locate the battery pack.
-
Press the small button.
-
Slide the switch forward.
-
-
-
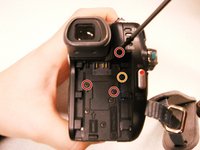
Using a #00 Phillips screwdriver, remove the six 4.5 mm screws from the camera's bottom.
-
-
-
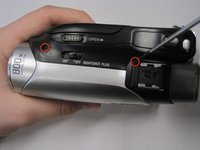
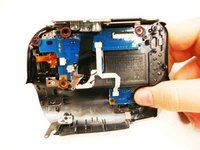
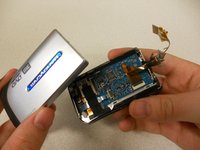
Remove the copper strip from the housing that connects the outer casing to the entire of the camera.
-
-
-
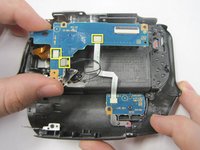
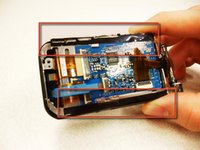
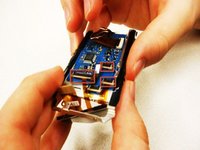
Remove (4) 2.9mm screws from the L-shaped circuit board. They are marked with red circles in the slide.
-
Remove the (3) wire strips connected to the camera so you can pull off the L-shaped circuit board.
-
Remove the single wire strip that is connected to the bottom of the circuit board.
-


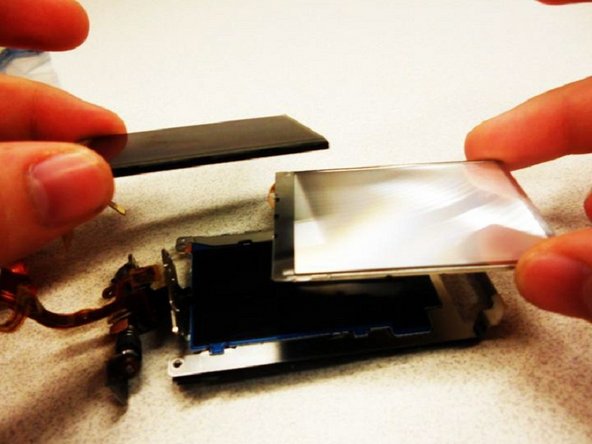


To reassemble your device, follow these instructions in reverse order.
To reassemble your device, follow these instructions in reverse order.
Cancelar: não concluí este guia.
Uma outra pessoa concluiu este guia.
Equipe

Cal Poly, Team 7-44, Regan Winter 2011 Membro de Cal Poly, Team 7-44, Regan Winter 2011
CPSU-REGAN-W11S7G44
Membros da 5
Autoria de 10 guias