
Sony DCR-DVD 108 Front and Back Lens Replacement

Introdução
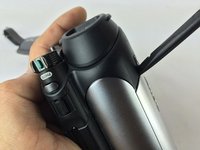
Ir para o passo 1The lens allow for clear and consistent previews for what you are filming. Thus image quality can be compromised if either lens is compromised; maintenance of this component easy yet critical.
O que você precisa


-
-
Remove all the 4.3mm screws on the bottom using a J000 Phillips screwdriver. There should be seven screws (4 silver, 2 black).
-
-
-
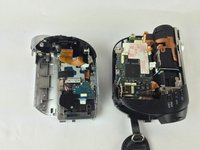
Take the half of camera containing both lens components and turn front portion towards you.
-
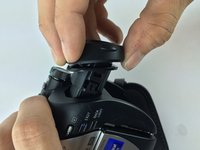
Remove the four 4.3mm Phillips #0 screws pictured.
-


In order to reassemble your device, follow these instructions in reverse order.
In order to reassemble your device, follow these instructions in reverse order.

Equipe

USF Tampa, Team 7-6, Cheng Spring 2016 Membro de USF Tampa, Team 7-6, Cheng Spring 2016
USFT-CHENG-S16S7G6
3 Membros
Autoria de 10 guias