
Sony Cyber-shot DSC-W5 LCD Screen Replacement
Introdução
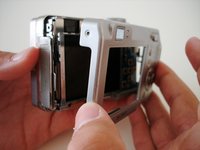
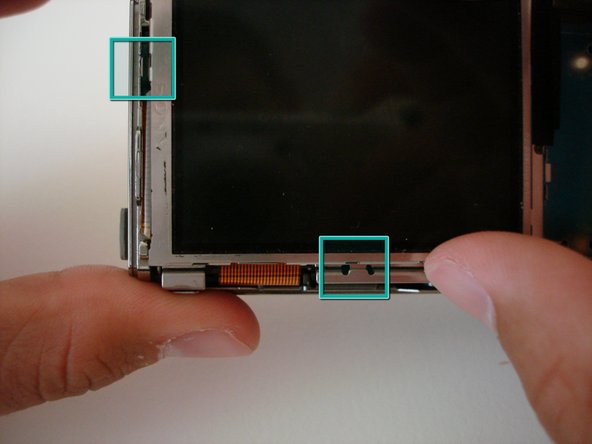
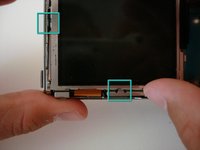
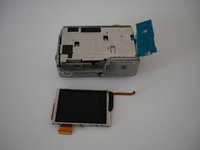
Ir para o passo 1This guide will show you how to access the LCD screen in order to repair or replace the screen.
O que você precisa


-
-
Remove Memory Stick Pro from the card reader slot on the bottom of the camera.
-
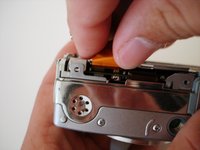
Remove both batteries.
-


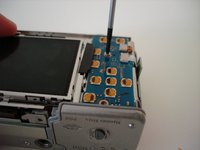


To reassemble your device, follow these instructions in reverse order.
To reassemble your device, follow these instructions in reverse order.
Cancelar: não concluí este guia.
4 outras pessoas executaram este guia.
Equipe

Cal Poly, Team 15-50, Garner Spring 2010 Membro de Cal Poly, Team 15-50, Garner Spring 2010
CPSU-GARNER-S10S15G50
5 Membros
Autoria de 12 guias