
Sirius XM Onyx Plus Screen Replacement
5 minutos
Moderado
Introdução
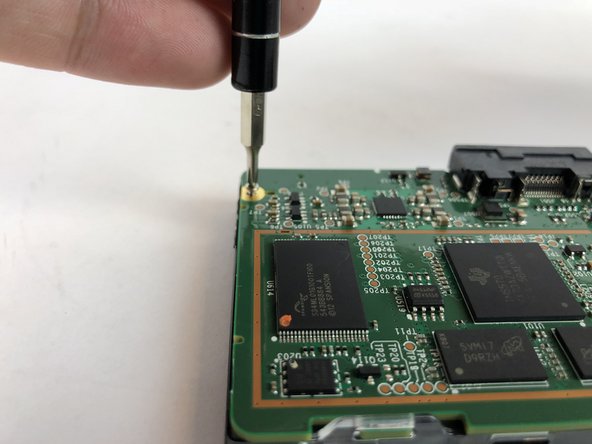
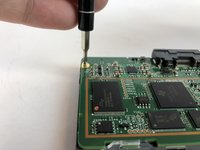
Ir para o passo 1Screens can crack or wear out so you need to change the screen.
O que você precisa


Quase terminado!
To reassemble your device, follow these instructions in reverse order.
Conclusão
To reassemble your device, follow these instructions in reverse order.
Cancelar: não concluí este guia.
Uma outra pessoa concluiu este guia.
Equipe

USF Tampa, Team S7-G2, Passmore Spring 2018 Membro de USF Tampa, Team S7-G2, Passmore Spring 2018
USFT-PASSMORE-S18S7G2
4 Membros
Autoria de 5 guias