
Shower Valve Cartridge Replacement
Introdução
Vá para o passo 1A leak in the shower could be a very frustrating situation in the household. Each time water drips from the faucet it means that your money is falling out of your pocket slowly. If you are handy then you can save money, but if you are not handy then hiring a plumber can be a very expensive service. The purpose for this project is to help people learn how to fix a leaking shower/tub faucet on their own without hiring an expensive plumber and save your pennies.
O que você precisa
Peças
Ferramentas


Exibir mais…
-
-
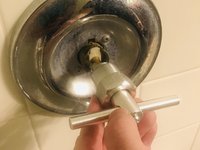
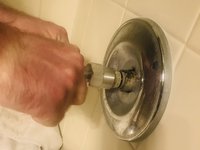
Turn off the main water valve to your house and turn on the water in the bathtub and wait for the remaining water to drain.
-
-
-
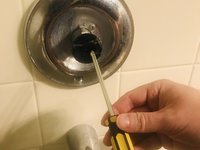
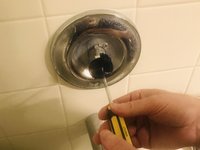
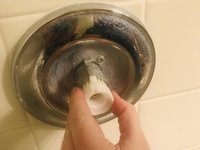
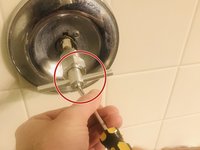
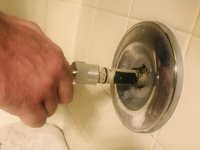
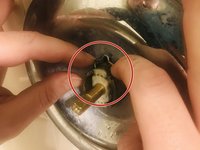
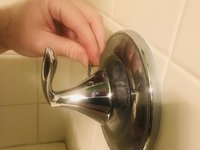
Remove the clip (looks similar to a cotter pin) by pulling it straight up; may use a flathead screwdriver to assist with removing it, but be careful not to lose any parts.
-
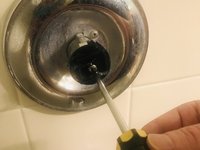
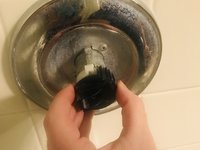
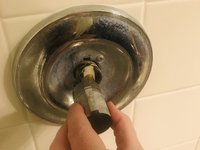
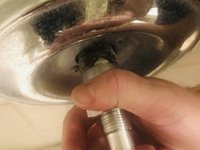
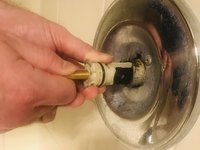
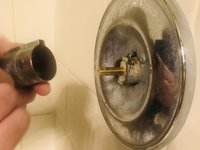
Ensure that you annotate which side the Hot and Cold belong; there is an “H/C” marking on the cartridge cover; ensure that when you replace it with the new cartridge that it’s facing the same way as the old cartridge.
-
-
-
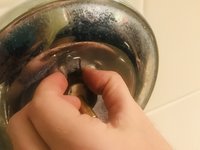
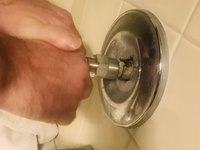
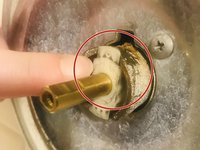
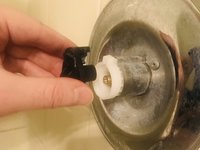
Now take the new cartridge and start pushing the cartridge cover where “H/C” is annotated into the socket opening with the “H/C” oriented as the previous cartridge.
-
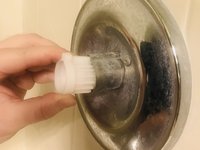
If the cartridge does not go all the way in to the same stop location, use the tool that came with the new cartridge to assist with pushing it in on the cover; this will ensure that you do not damage the new cartridge during installation.
-
-
-
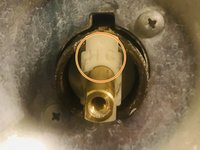
Next take the clip (the clip that looks like a cotter pin) and reinstall it all the way or the collar won’t go back on; ensure that it’s completely installed. You may have to adjust it so that it sits correctly.
-
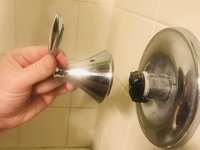
Next, return the other pieces in reverse from when you took it apart; the collar first, then the handle adapter, then the handle.
-
-
-
Replace the other pieces in reverse order; the collar first, then the handle adapter, then the handle.
-
Turn the main water back on, test the functionality of the valve by turning on the water at the shower; if the water comes out cold then to hot in the correct rotation, then you’ve successfully repaired your shower cartridge; if not, then you may have to reverse the orientation of the cartridge and repeat the steps to ensure proper functionality.
-


To reassemble your device, follow these instructions in reverse order.
To reassemble your device, follow these instructions in reverse order.
Cancelar: não concluí este guia.
2 outras pessoas executaram este guia.
Equipe

USF Sarasota-Manatee, Team S1-G1, Stewart Spring 2020 Membro de USF Sarasota-Manatee, Team S1-G1, Stewart Spring 2020
USFSM-STEWART-S20S1G1
Membros da 23
Autoria de 30 guias