Introdução
Use this guide to replace the battery in your Samsung Galaxy Tab S7+.
For your safety, discharge the battery below 25% before disassembling your tablet. This reduces the risk of fire if the battery is accidentally damaged during the repair. If your battery is swollen, take appropriate precautions.
There is a significant chance that you may break the unreinforced and fragile display panel during this procedure. Be sure to apply plenty of heat and be extremely careful during the prying stage.
You'll need replacement adhesive in order to complete this repair.
O que você precisa
-
-
Apply a heated iOpener to the bottom edge of the device to loosen the adhesive underneath.
-
-
-
While you're waiting for the adhesive to loosen, note the following:
-
There's a long circuit board attached to the screen that sits parallel to the bottom edge.
-
This image shows an example of the display separating from the glass panel.
-
-
-
Once the screen is warm to touch, apply a suction handle to the bottom edge of the screen and as close to the edge as possible.
-
Lift the screen with the suction handle to create a small gap between the screen and the frame.
-
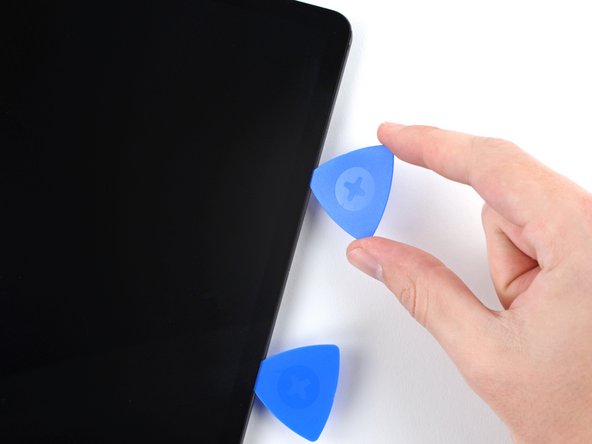
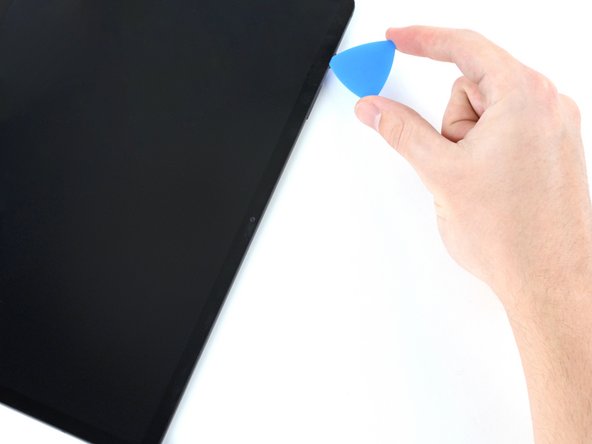
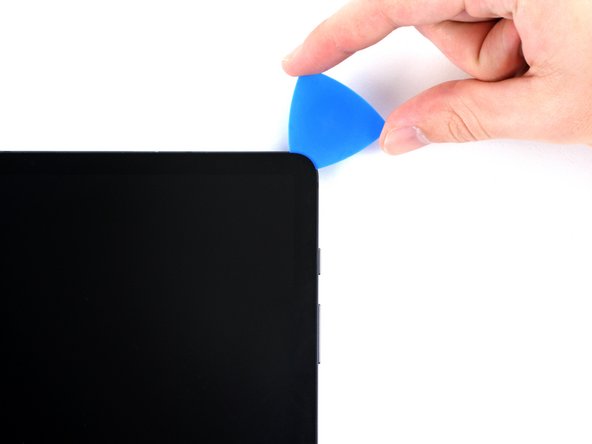
Insert an opening pick into the gap between the frame and the screen.
-
Leave the opening pick in place to prevent the adhesive from resealing.
-
-
-
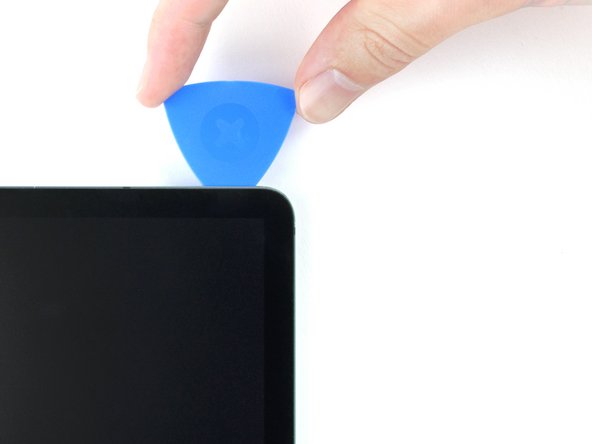
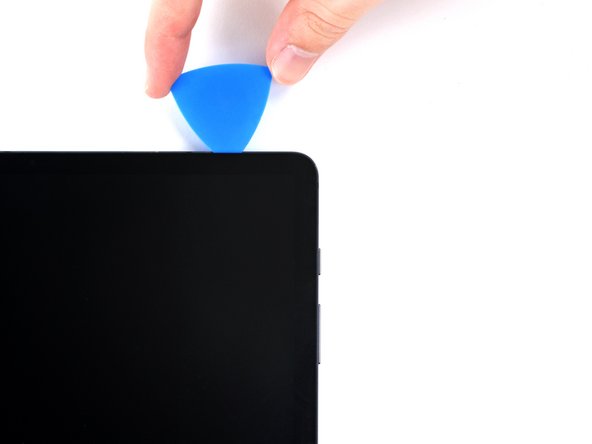
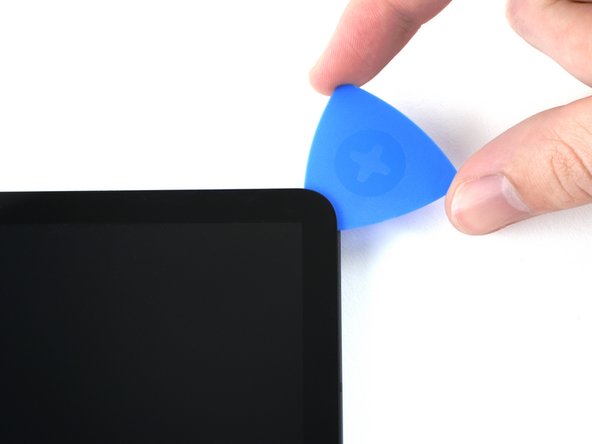
Insert a new opening pick into the gap you created.
-
Slide the new pick along the bottom edge of the device towards the bottom-right corner.
-
-
-
Apply a heated iOpener to the right edge of the device to loosen the adhesive underneath.
-
-
-
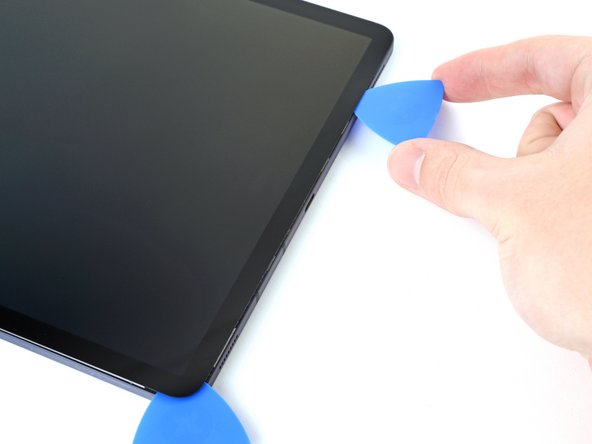
Rotate the opening pick around the bottom-right corner of the device.
-
Leave the opening pick in place to prevent the adhesive from resealing.
-
-
-
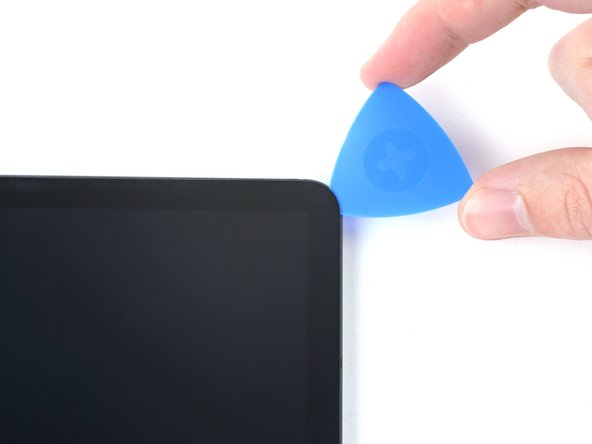
Insert a new opening pick into the gap you created.
-
Slide the new pick along the right edge of the device towards the top-right corner.
-
-
-
Apply a heated iOpener to the top edge of the device to loosen the adhesive underneath.
-
-
-
Rotate the opening pick around the top-right corner of the device.
-
Leave the opening pick in place to prevent the adhesive from resealing.
-
-
-
Insert a new opening pick into the gap you created.
-
Slide the new pick along the top edge of the device towards the top-left corner.
-
-
-
Apply a heated iOpener to the left edge of the device to loosen the adhesive underneath.
-
-
-
Rotate the opening pick around the top-left corner of the device.
-
Leave the opening pick in place to prevent the adhesive from resealing.
-
-
-
Insert a new opening pick into the gap you created.
-
Slide the new pick along the left edge of the device towards the bottom-left corner.
-
-
-
-
Rotate the opening pick around the bottom-left corner of the device.
-
Leave the opening pick in place to prevent the adhesive from resealing.
-
-
-
With the top of the device facing you, pull the screen up and away from you like you're opening a book.
-
Rest the screen upside down and parallel to the frame before continuing.
-
This is a good point to power on your tablet and test all functions before sealing it up. Be sure to power your tablet back down completely before you continue working.
-
Remove any adhesive chunks with a pair of tweezers or your fingers. Use some high concentration (over 90%) isopropyl alcohol to wipe away any adhesive residue.
-
If you're using custom-cut adhesives, follow this guide. If you're using double-sided tape, follow this guide.
-
-
-
Use the flat end of a spudger to pry up and disconnect the display cable's press connector secured to the screen.
-
-
-
Use a Phillips #00 screwdriver to remove the fifty 3 mm-long screws securing the frame bracket to the frame.
-
Bottom left = 9 screws
-
Bottom right = 14 screws
-
Top right = 12 screws
-
Top left = 15 screws
-
-
-
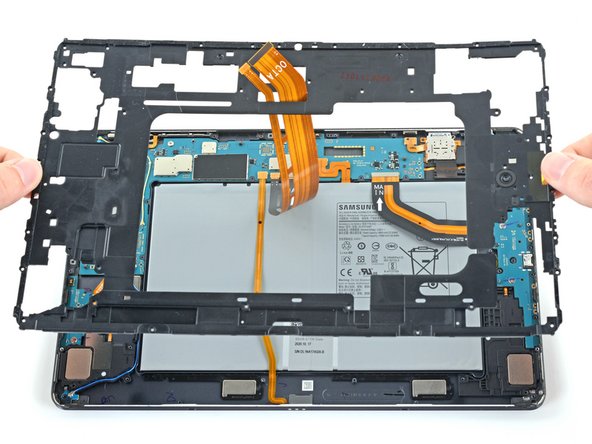
Lift the frame bracket away from the frame, making sure to thread the display cable through its socket.
-
-
-
Use the flat end of a spudger to pry up and disconnect the battery's press connector secured to the motherboard.
-
-
-
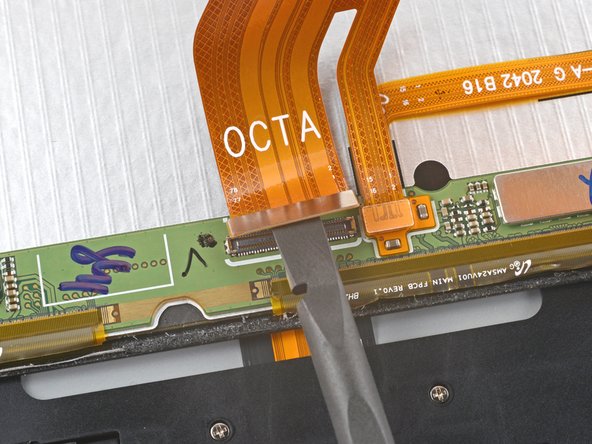
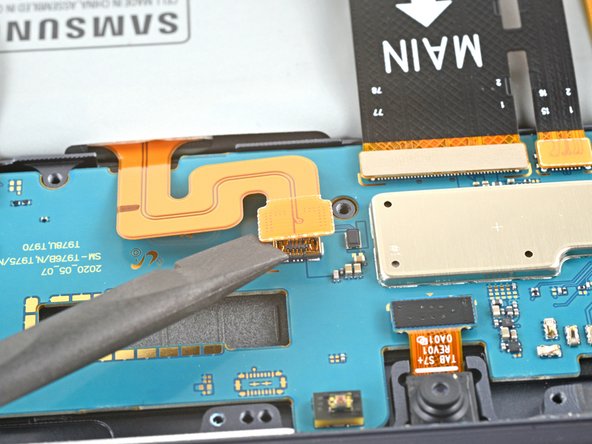
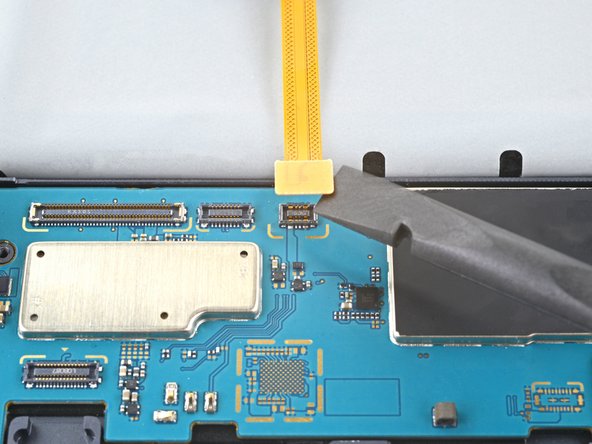
Use the flat end of a spudger to pry up and disconnect the display cable's press connector secured to the motherboard.
-
Repeat for the fingerprint sensor cable attached to display cable.
-
-
-
Use the flat end of a spudger to pry up and disconnect the keyboard dock port cable's press connector secured to the motherboard.
-
-
-
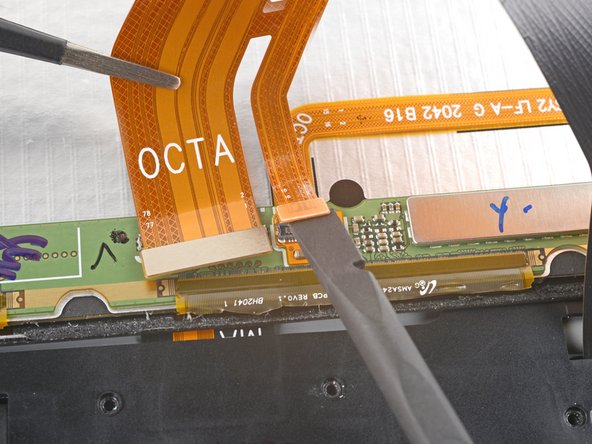
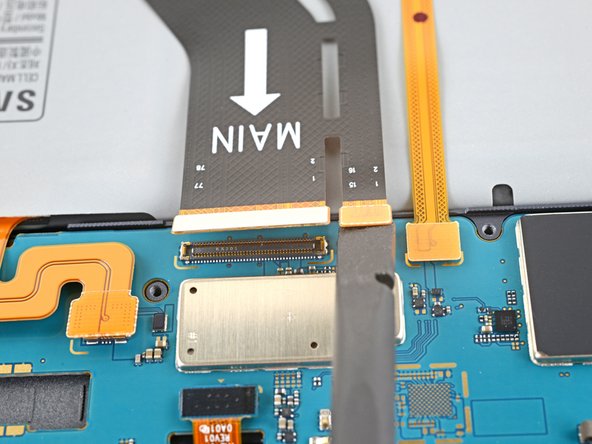
Use the flat end of a spudger to pry up and disconnect the daughterboard interconnect cable's press connector secured to the motherboard.
-
-
-
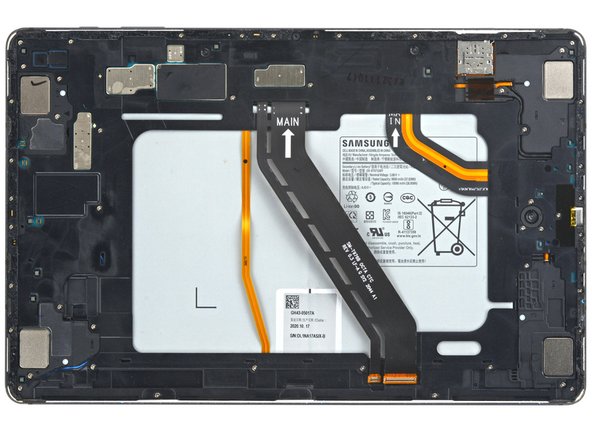
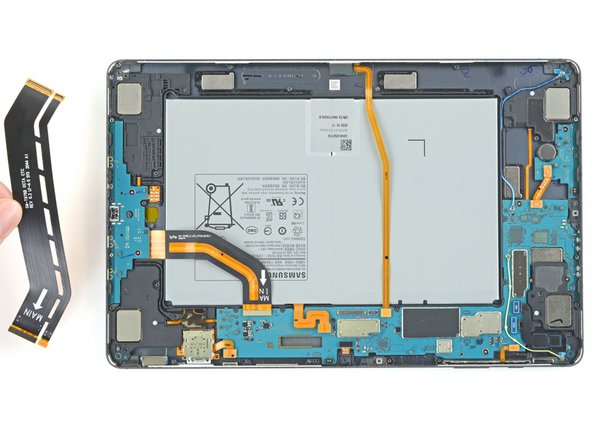
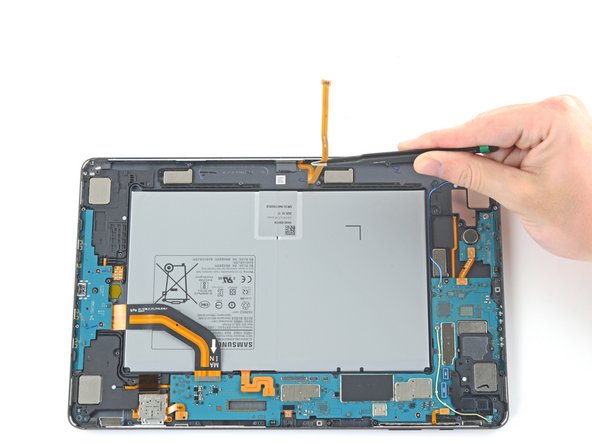
Use blunt tweezers, or your fingers, to bend the orange keyboard dock port cable away from the device.
-
-
-
Use blunt tweezers, or your fingers, to bend the interconnect cable away from the device.
-
-
-
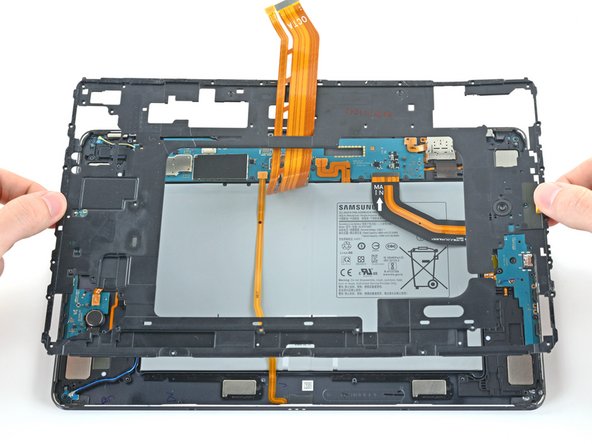
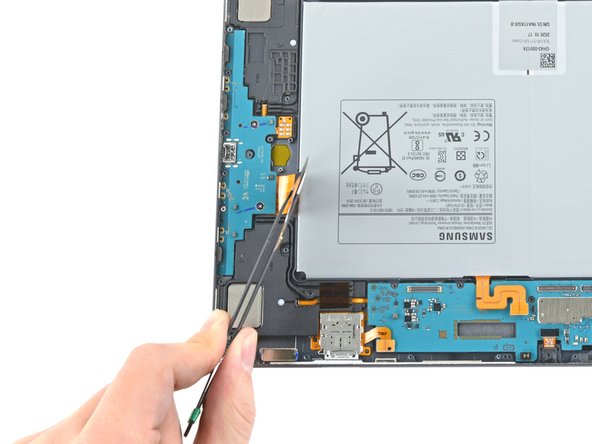
Apply a few drops of high concentration (over 90%) isopropyl alcohol to the gaps surrounding the battery's right edge.
-
Wait between one to two minutes for the adhesive to loosen.
-
-
-
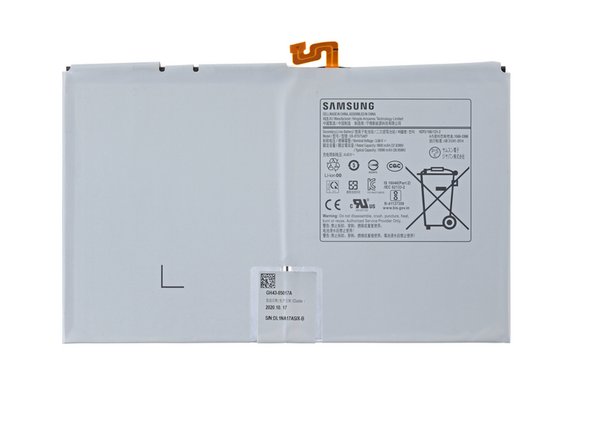
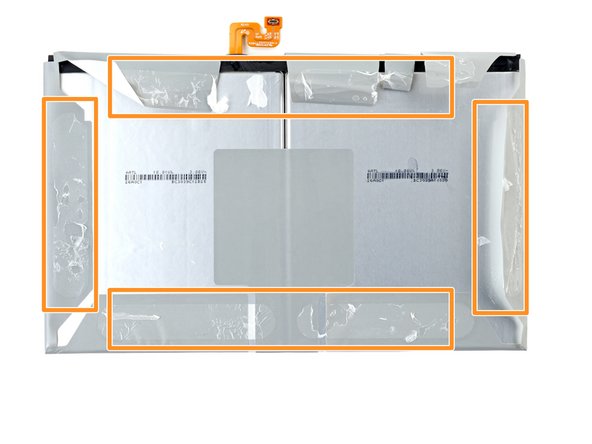
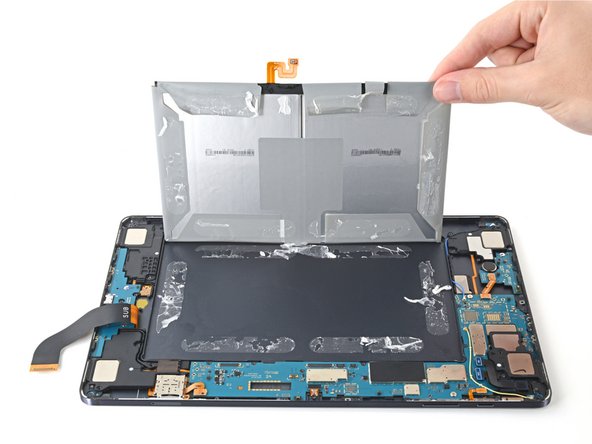
The battery is comprised of two cells that are shrouded in a plastic jacket.
-
The adhesive securing the battery to the frame is concentrated in a ring shape around the perimeter of the battery.
-
-
-
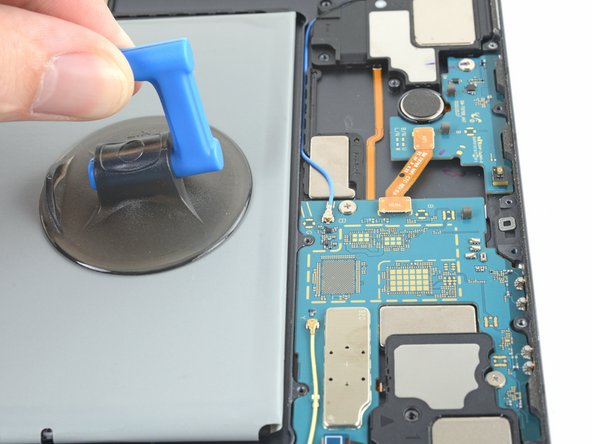
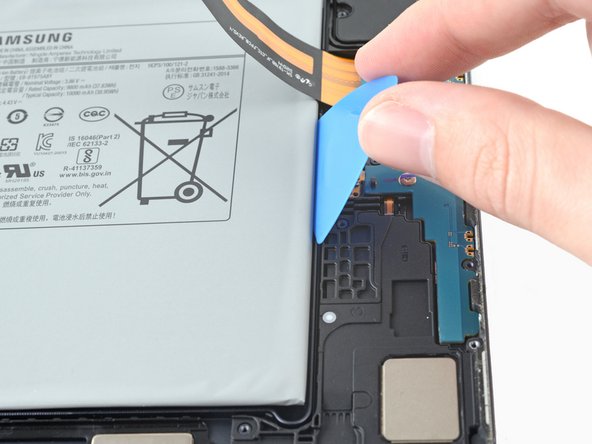
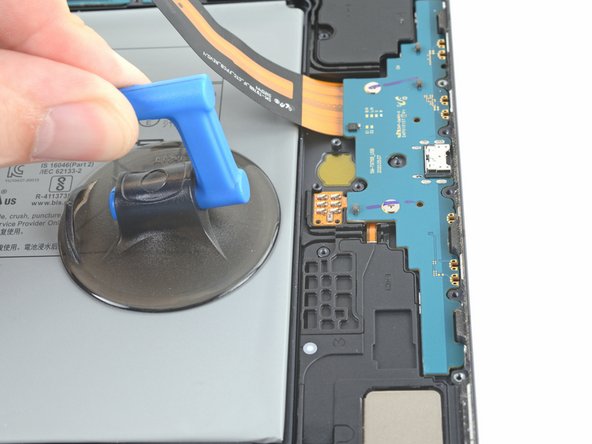
Apply a suction cup to the battery, as close to the center of the right edge as possible.
-
Insert an opening pick into the edge with the widest gap between the frame and the battery.
-
-
-
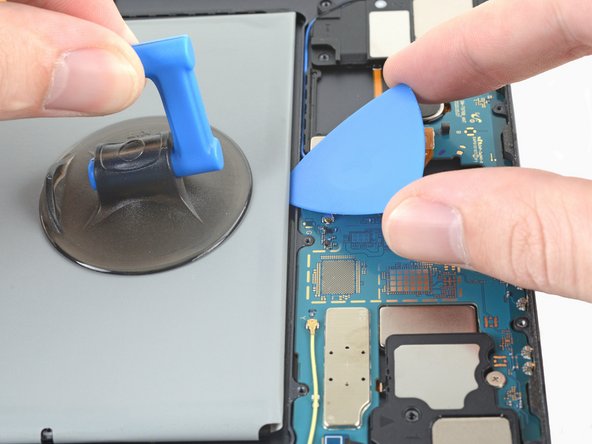
Rotate the opening pick to insert its long edge into the gap.
-
Pull up on the suction cup with strong, steady force and pry up with the opening pick to separate the battery from the frame.
-
-
-
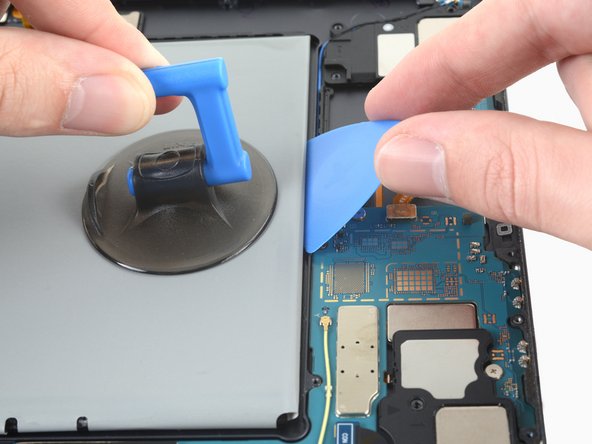
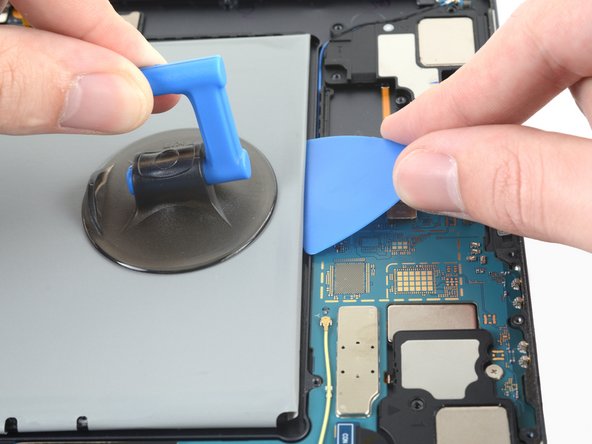
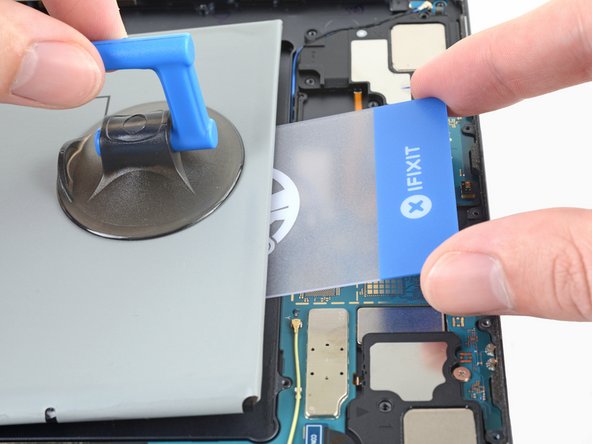
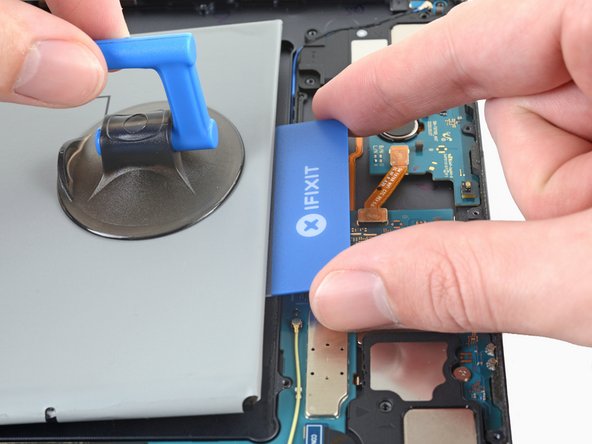
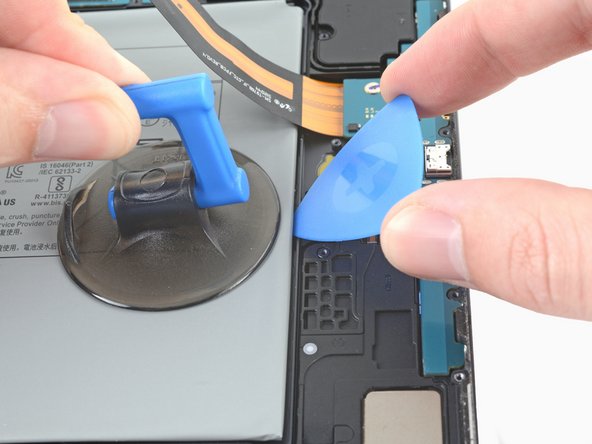
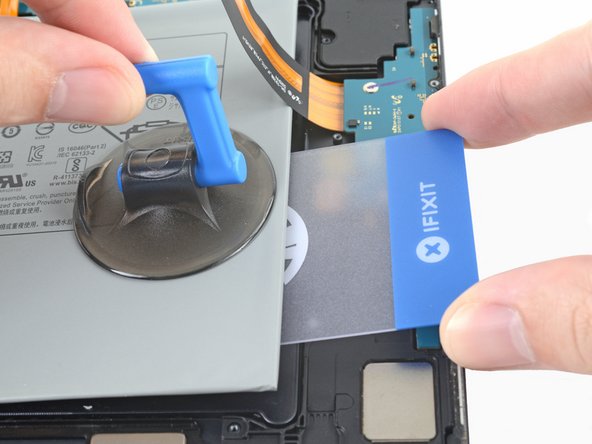
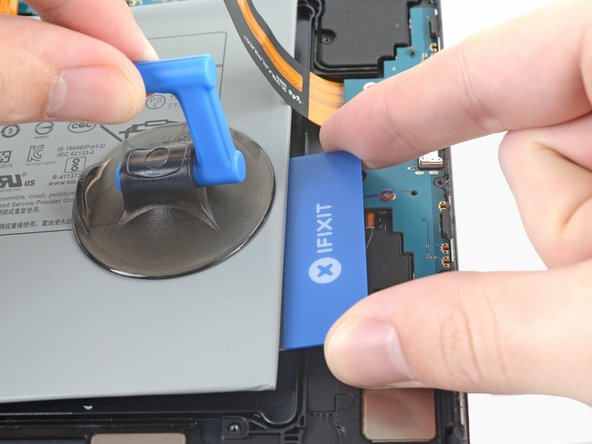
Insert a plastic card into the gap between the frame and the battery.
-
Use the plastic card to slice the adhesive underneath the battery.
-
-
-
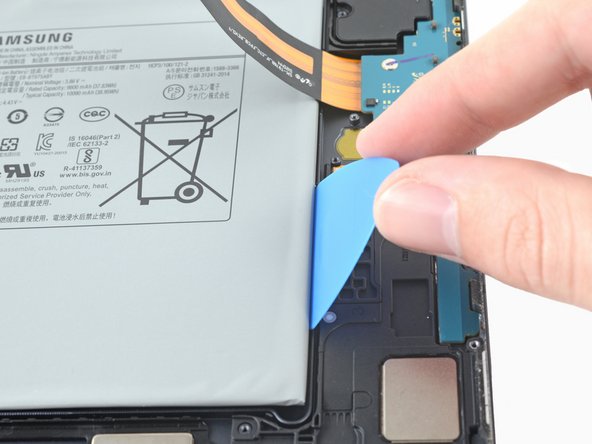
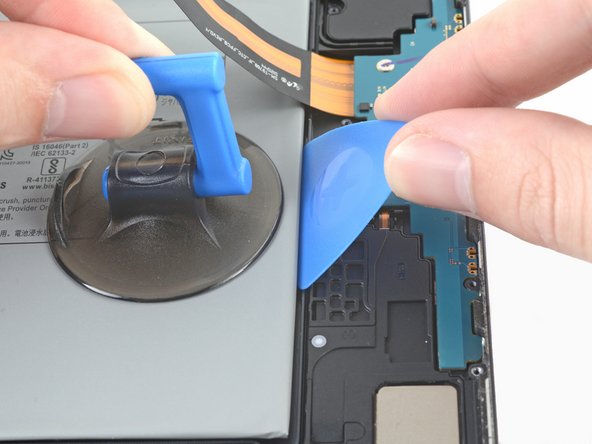
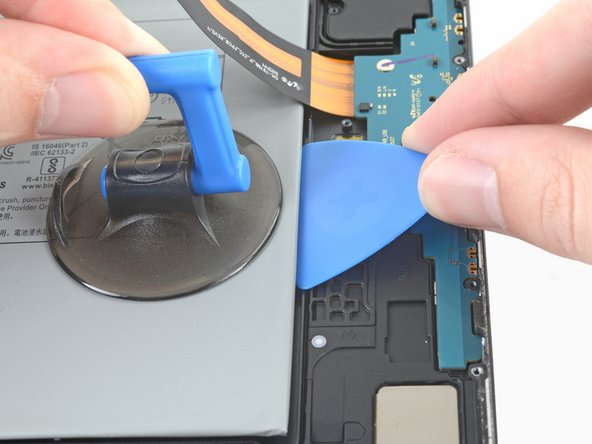
Insert an opening pick into the edge with the widest gap between the frame and the battery's left edge.
-
Rotate the opening pick to insert its long edge into the gap.
-
Slide the pick along the battery's edge to create a gap wide enough for isopropyl alcohol to be added.
-
-
-
Apply a few drops of high concentration (over 90%) isopropyl alcohol to the gaps surrounding the battery's left edge.
-
-
-
Apply a suction cup to the battery, as close to the center of the left edge as possible.
-
Insert an opening pick into the edge with the widest gap between the frame and the battery.
-
-
-
Rotate the opening pick to insert its long edge into the gap.
-
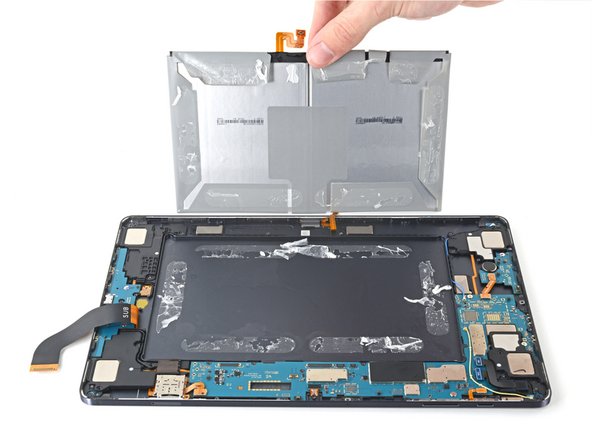
Pull up on the suction cup with strong, steady force and pry up with the opening pick to separate the battery from the frame.
-


For optimal performance, calibrate your newly installed battery after completing this guide.
Take your e-waste to an R2 or e-Stewards certified recycler.
Compare your new replacement part to the original part—you may need to transfer remaining components or remove adhesive backings from the new part before you install it.
Repair didn’t go as planned? Try some basic troubleshooting, or ask our Samsung Galaxy Tab S7+ Answers community for help.
Cancelar: não concluí este guia.
2 outras pessoas executaram este guia.


4 comentários
Where do we just get the battery for the Tab S7 Plus
Holy cow. Who would dare attempt this?
This question is probably dumb but is the sheer heat from the IOpener able to crack the screen?
Well I don't know about anybody else but I'm absolutely cacking it. ($@$*!&%& myself)
My galaxy Tab S7 plus just literally stop charging I've tried multiple new cables magnetic cables nothing works it won't charge now and it's 0% so I have no choice but to attempt this.
I wonder how much extra would cost if I took this to a shop and got them to repair it for me.
Bear in mind I spent about 800 quid on the tablet.
I mean they've covered every step beautifully, what can go wrong? Lol
Would have been creatively added a video tutorial.