
Reverse Applique Patch

15 - 20 minutos
Fácil
Introdução
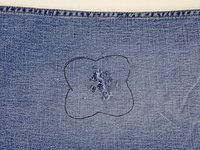
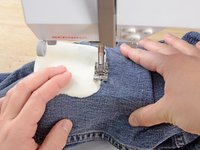
Ir para o passo 1Patch your jeans with a reverse applique. This technique is great for holes that have a large chunk of cloth missing. You can cut any shape and use any color fabric for the patch, so long as it is heavy-weight fabric.
O que você precisa
Ferramentas


Exibir mais…
A iFixit ganha comissão quando você compra por estes links.
-
-
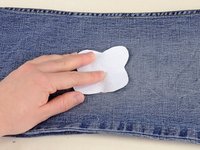
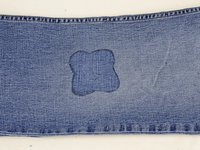
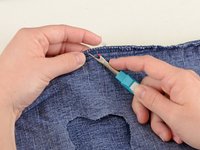
Examine the damage. Clip any long threads, and remove any debris from the hole.
-
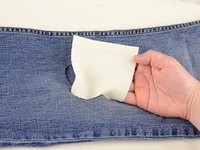
Measure the damaged area.
-
In our case it looks to be 2" by 2".
-


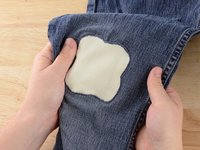
Quase terminado!
Linha de Chegada
Cancelar: não concluí este guia.
6 outras pessoas executaram este guia.


2Comentários do guia
worked! i’ve been wearing these torn pants for years. thanks so much!