
Repairing a Dried-Out Sharpie Marker

Introdução
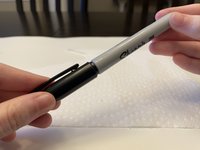
Vá para o passo 1A Sharpie can quickly dry out if you leave the cap off too long or use it often, making it weaker or completely unusable. Many Sharpies are thrown away because of this.
If your Sharpie has become dried-out and hard to use, you can use this guide to revive its ink and keep it out of the trash.
For this guide, it is recommended that you wear gloves so that you do not get ink or rubbing alcohol on yourself.
O que você precisa
Ferramentas


Cancelar: não concluí este guia.
Uma outra pessoa concluiu este guia.

Equipe

University of Memphis, Team 51-5, Peters Spring 2023 Membro de University of Memphis, Team 51-5, Peters Spring 2023
UM-PETERS-S23S51G5
1 Membro
Autoria de 2 guias