
Philips Sonicare ProtectiveClean 6500 Power Button, Mode Button Replacement
Introdução
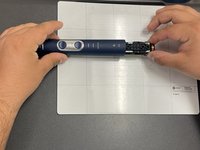
Ir para o passo 1The power button is a switch used to turn the device on and off. The mode button changes how the toothbrush will vibrate. If you are having problems with either of these functions these buttons are likely the cause. There are small components in this guide so a steady hand is suggested to not damage other parts. Exercise caution when using the soldering iron as it is very hot.


-
-
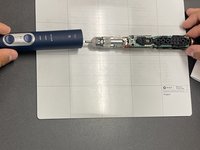
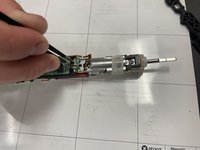
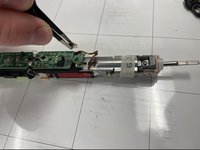
Pry the bottom cap away from the toothbrush body.
-
Pry the bottom cap away from the toothbrush body until it releases.
-
Remove the bottom cap by hand.
-
-
-
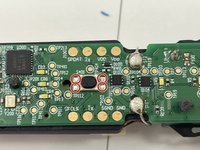
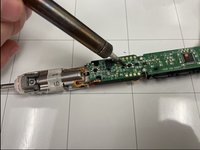
Locate the power button (solder locations circled in orange).
-
Locate the mode button (solder locations circled in red).
-
Both buttons are attached by four soldered pins each.
-


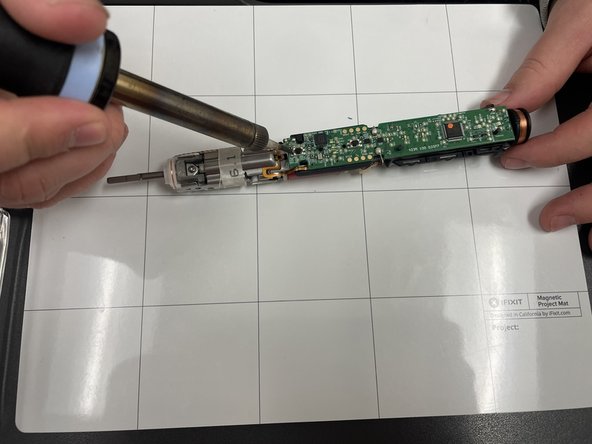


To reassemble your device, follow these instructions in reverse order.
To reassemble your device, follow these instructions in reverse order.
Equipe

IUPUI, Team 1-4, Harley Spring 2024 Membro de IUPUI, Team 1-4, Harley Spring 2024
IUPUI-HARLEY-S24S1G4
3 Membros
Autoria de 3 guias