Ir para o conteúdo principal
Palm Zire m150 Motherboard Replacement

Palm Zire m150 Motherboard Replacement

Kate

Kate e 2 outros colaboradores

Última atualização em May 17, 2016

30 minutos
Moderado
Faltando Passos

Introdução

Ir para o passo 1

The Palm Zire m150 may sometimes need a motherboard replacement depending on the diagnosis. This guide will teach you how to replace that motherboard if that is the remedy needed after going through the troubleshooting steps.

O que você precisa

Peças

Ferramentas

Exibir mais…

  1. Palm Zire m150 Motherboard Replacement, Motherboard: passo 1, imagem 1 %32
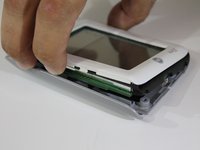
    • Lift up the flap on the Palm Zire M150.

    • For the purpose of this guide and being able to see clearly, we removed the flap completely. You can keep your flap on if you wish.

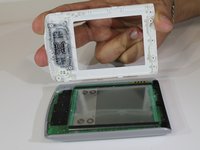
    • If you wish to remove it, gently lift up and pull horizontally. It should come off without an issue.

  2. Palm Zire m150 Motherboard Replacement: passo 2, imagem 1 %32
    • Take the screwdriver from the IFixit toolkit and use the T6 bit. Unscrew the the top two 3mm screws above where the flap was connected to the device.

  3. Palm Zire m150 Motherboard Replacement: passo 3, imagem 1 %32 Palm Zire m150 Motherboard Replacement: passo 3, imagem 2 %32
    • Gently pull the top cover off the device using both hands.

  4. Palm Zire m150 Motherboard Replacement: passo 4, imagem 1 %32
    • Remove the screen from the motherboard.

    • Be careful not to break the connector that connects the screen to motherboard.

  5. Palm Zire m150 Motherboard Replacement: passo 5, imagem 1 %32
    • Carefully remove the battery by prying up away from the motherboard.

    • Battery is glued to motherboard.

    • Remove the positive and negative terminals from the motherboard.

    • Slowly remove the motherboard by lifting upward and out of the bottom case housing.

  6. Palm Zire m150 Motherboard Replacement: passo 6, imagem 1 %32 Palm Zire m150 Motherboard Replacement: passo 6, imagem 2 %32
    • Insert NEW motherboard into the bottom case housing.

    • On the NEW motherboard, use a soldering iron to solder the positive and negative terminals to the new motherboard.

    • Let solder cool before reassembling unit.

Conclusão

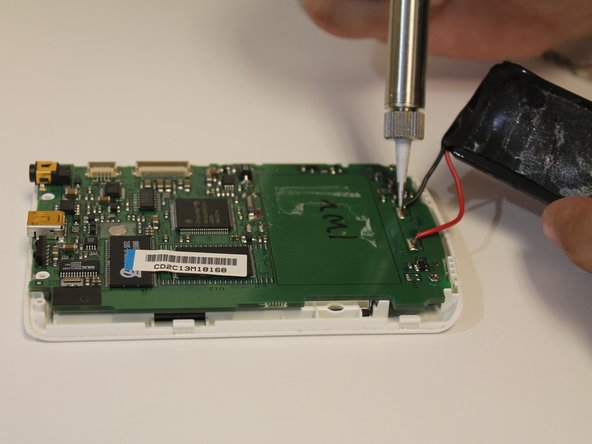
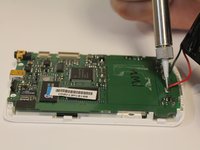
To reassemble your device, follow these instructions in reverse order.

Uma outra pessoa concluiu este guia.

Kate

Membro desde: 01/26/16

528 Reputação

Autoria de 5 guias

0 comentários

Comentar

Exibir estatísticas:

Últimas 24 horas: 0

Últimos 7 dias: 2

Últimos 30 dias: 3

Ao todo: 441