
PSP 300x Analog Stick Replacement
Introdução
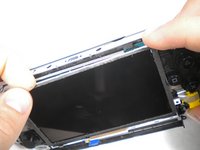
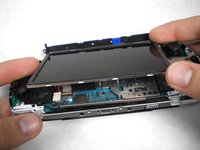
Ir para o passo 1Guide for removing the Analog stick in a Sony PSP-3000
O que você precisa


-
-
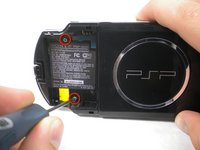
Place the PSP face down and locate the battery cover on the left side of the device.
-
Lift and remove the battery cover to reveal the battery.
-
Remove the battery.
-
-
-
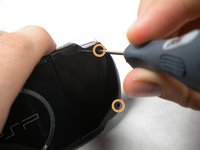
Peel back the warranty sticker that is behind the battery with a spudger or your fingernail.
-
-
-
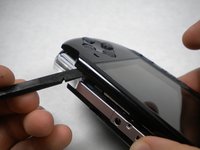
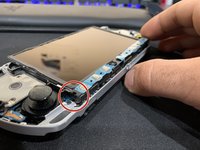
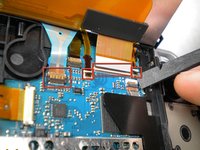
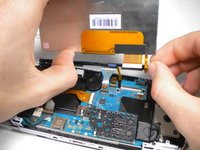
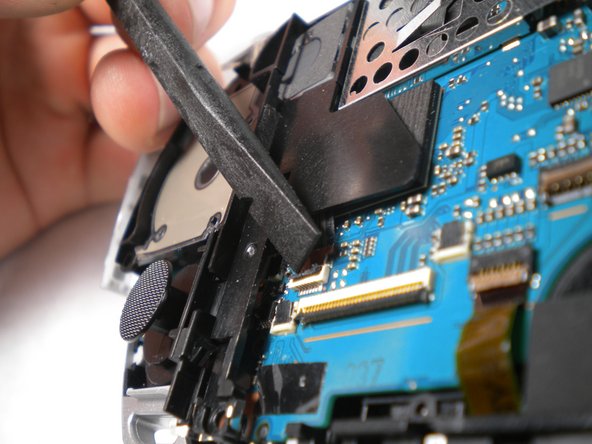
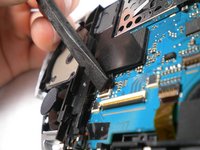
Push the homebar to the right to release the tab located on the right side of the LCD screen.
-


To reassemble your device, follow these instructions in reverse order.
To reassemble your device, follow these instructions in reverse order.
Cancelar: não concluí este guia.
22 outras pessoas executaram este guia.
2 comentários
Thank you for the tutorial, and I learned a lot!
Thank you so much!!! you are the best!!!