
Nokia Lumia 610 Touchscreen Glass / Digitizer Assembly Replacement

1 hora
Fácil
Guia colaborativo
Introdução
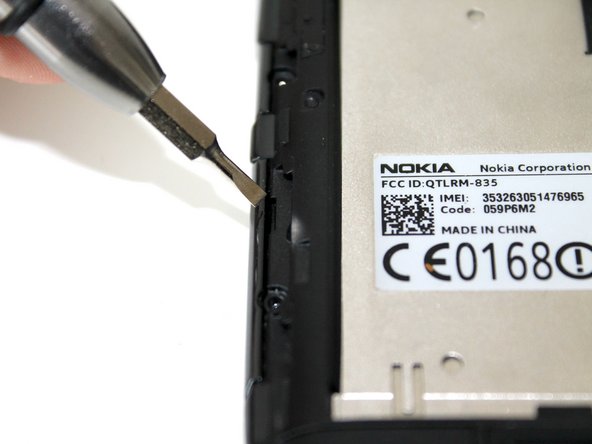
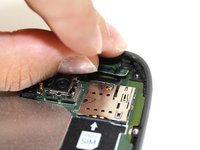
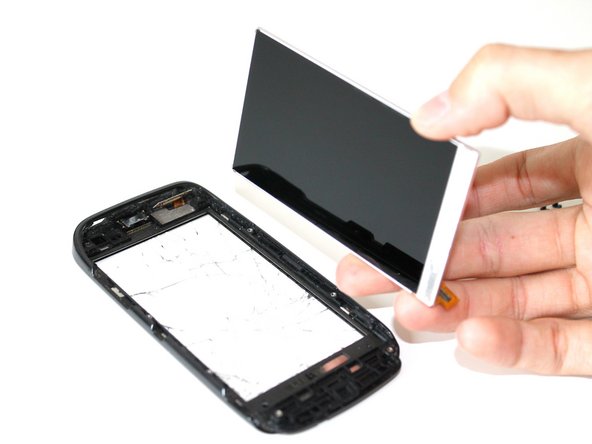
Ir para o passo 1This repair is very easy; all you need is a T5 Torx Screwdriver, and a new Digitizer Glass & Frame Assebly - it's better to order it with the Front Frame as well, as it makes repairing a lot simpler, and will give your phone a new look and feel.
O que você precisa
Peças
Ferramentas

Exibir mais…
A iFixit ganha comissão quando você compra por estes links.
-
-
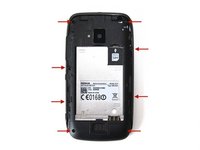
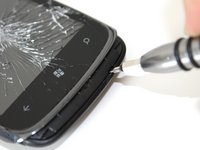
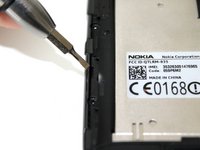
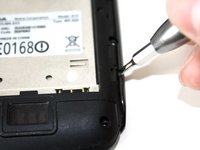
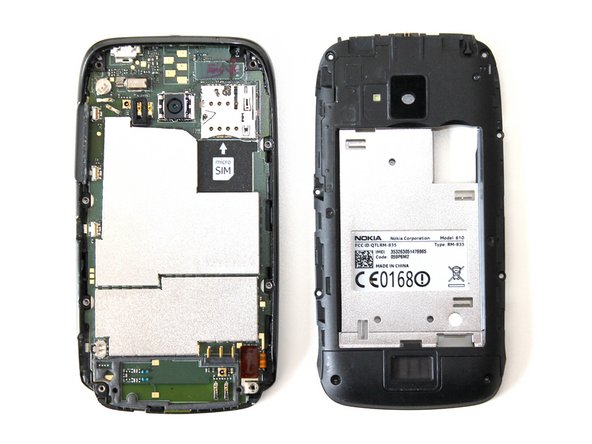
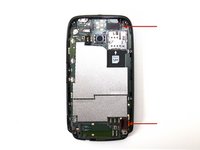
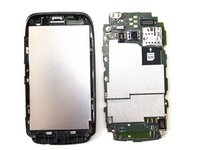
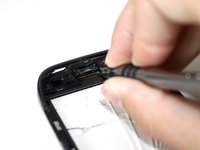
The first thing you'll need is a Nokia Lumia 610 with a broken front glass
-


Quase terminado!
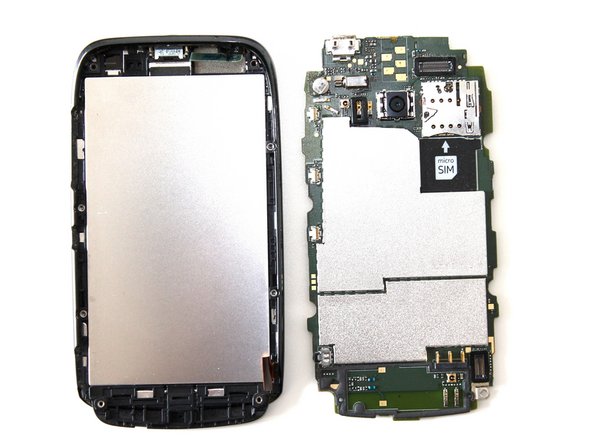
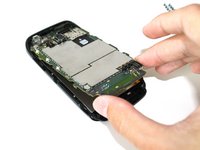
To reassemble your device, follow these instructions in reverse order.
Conclusão
To reassemble your device, follow these instructions in reverse order.
Cancelar: não concluí este guia.
8 outras pessoas executaram este guia.
