
Nikon D70 LCD Assembly Replacement

Introdução
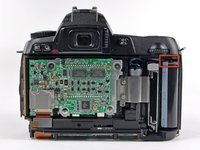
Ir para o passo 1Use this guide to replace a broken rear LCD.
O que você precisa


-
-
Use your finger tip to pull the battery release tab toward the center of the D70.
-
Open the battery door and rotate it away from the bottom cover.
-
-
-
Remove the following eight screws securing the bottom cover to the D70:
-
Six 5.8 mm Phillips screws
-
One 10.7 mm Phillips screws
-
One 8.2 mm Phillips screws
-
-
-
Remove the two 4.8 mm Phillips screws securing the battery side of the rear cover to the D70.
-
-
-
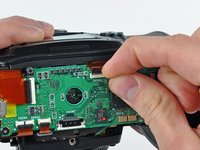
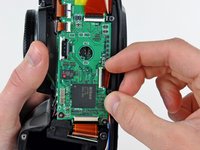
Use your thumbnails to push the ZIF cable lock toward the LCD.
-
Pull the LCD ribbon cable out of its socket.
-


To reassemble your device, follow these instructions in reverse order.
To reassemble your device, follow these instructions in reverse order.
Cancelar: não concluí este guia.
4 outras pessoas executaram este guia.

1Comentário do guia
Is there a way to test the LCD to make sure it works? Mine doesn't come on at all- no menu, no reviewing images. No backlight. Nothing. The unit takes photos fine, verified by connecting to a PC.
Some electronics tend to have a "test mode" of some sort to verify that parts work. Thought maybe this guy did as well...