
Nikon D3200 LCD Screen Replacement
Introdução
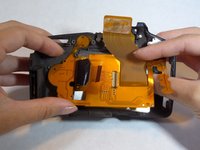
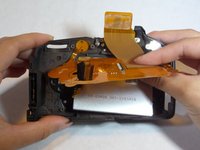
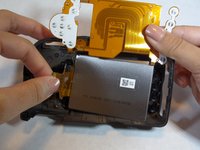
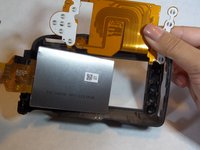
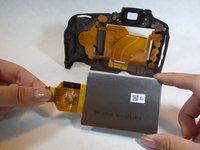
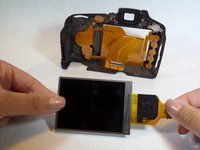
Ir para o passo 1This guide helps you replace the LCD screen. Please note that the LCD screen and the glass screen are two separate parts.
O que você precisa


-
-
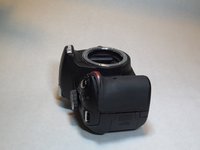
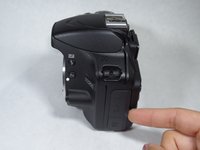
Locate the battery compartment on the bottom of the camera directly below the mode dial.
-
-
-
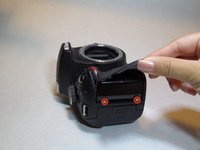
Turn the camera so the bottom faces you.
-
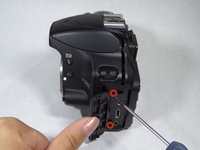
Locate and remove the 6 screws using a Phillips #00 screwdriver.
-


To reassemble your device, follow these instructions in reverse order.
To reassemble your device, follow these instructions in reverse order.
Cancelar: não concluí este guia.
19 outras pessoas executaram este guia.
Gear Up For Future Repairs
Shop all


Equipe

CSU Fullerton, Team 1-3, Bruce Fall 2014 Membro de CSU Fullerton, Team 1-3, Bruce Fall 2014
CSUF-BRUCE-F14S1G3
6 Membros
Autoria de 4 guias
7Comentários do guia
Now do it without breaking the camera
Seriously. Dont do a how to if you broke the item you were trying to fix and didn't say anything.
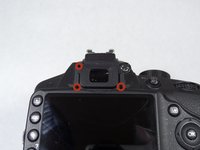
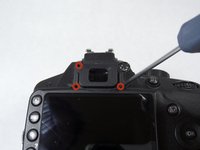
He missed two screws. One is behind the rubber triangle on the back and one is behind sticker on the dial by the view finder.
Agree with guy above....misses out two vital screws...the one behind the triangle and the one behind the sticker...good effort...now another tip. If you are using a 00 screwdriver there is a danger of stripping the head. So apply pressure through the screwdriver to the head of the screw and turn the camera..... not the screwdriver. You can apply more torque through rotating the camera than through rotating the screwdriver handle whilst maintaining load. BUT BE GENTLE AND SENSIBLE. Next do not over tighten when you put it back together....
i find when backing the screws out, it is important to make the point of the screwdriver perfectly aligned vertically to the screw. as that will keep all the driver ribs fully in contact with the screw slots. and once the screw is a half turn out i turn it back in a touch to release the plastic that has wound itself onto the screw threads (during initial assembly at factory). once that is done they seem to unscrew much easier. the wrong size driver is the reason most screw heads get stripped (its not the threads that strip!) the screw is metal and the body is a plastic and carbon fiber composite material. some screws are driven too hard into the material and seem to "fuse" as if there was some Locktite or other thread sealant applied. any harsh attempt to pry, twist or lever these cameras apart is due to 'hidden screws' that are concealed behind, under and out of plain view. even those in plain sight may be concealed under wires, flex connectors or simple kapton tape strips.
My D3200 has two chips at the corners, but camera works fine, after looking at this I am wondering if I should just leave well alone…. I just bought another Nikon camera, and I just ordered the screen protector after learning my lesson to not let my grandson takes it down.
Any suggestion anyone?