
MacBook Pro 15" Unibody Late 2011 Upper Case Replacement

Introdução
Vá para o passo 1Replacing the upper case requires removal of nearly every component inside your MacBook Pro.
O que você precisa


-
-
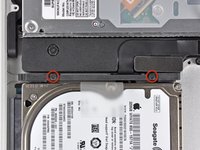
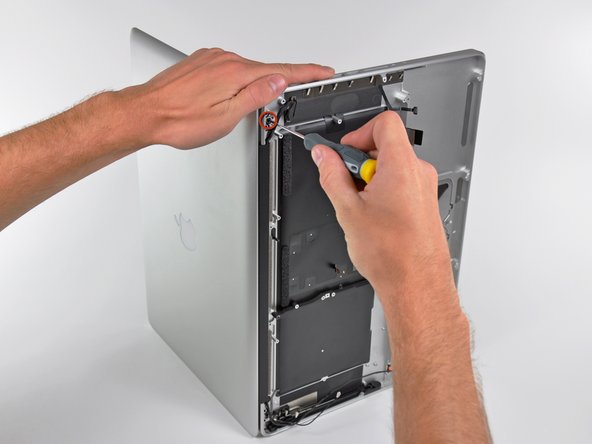
Remove the following ten screws securing the lower case to the upper case:
-
Three 13.5 mm (14.1 mm) Phillips screws.
-
Seven 3 mm Phillips screws.
-
-
-
Use the edge of a spudger to pry the battery connector upwards from its socket on the logic board.
-
-
-
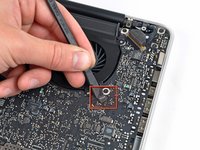
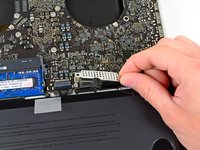
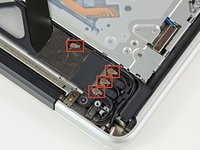
Remove the three 3.4 mm T6 Torx screws securing the left fan to the logic board.
-
-
-
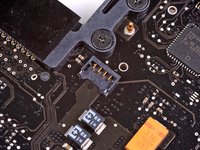
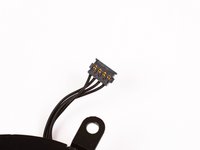
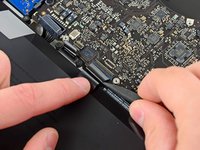
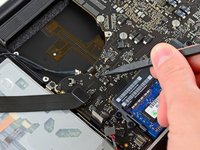
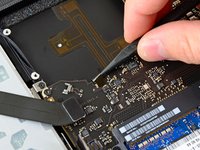
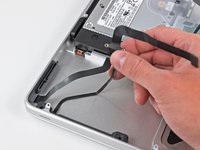
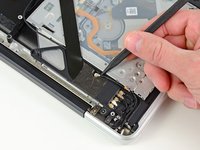
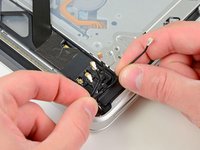
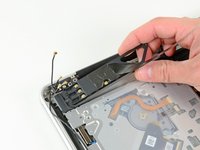
Use the flat end of a spudger to lift the right fan connector out of its socket on the logic board.
-
-
-
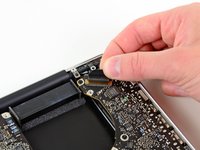
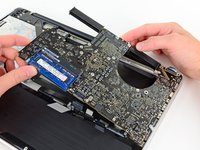
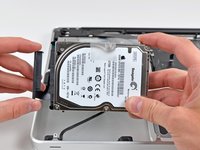
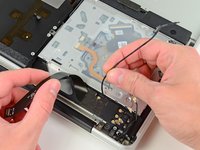
Carefully lift the logic board assembly from its left side and work it out of the upper case, minding the optical drive cable and the I/O ports that may get caught during removal.
-
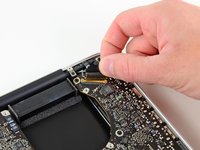
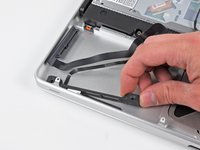
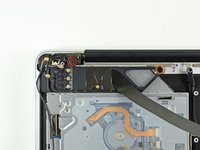
If necessary, use the flat end of a spudger to separate the microphone from the upper case.
-
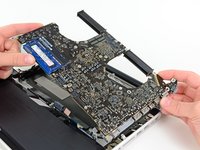
Pull the I/O port side of the logic board away from the side of the upper case and remove the logic board assembly.
-
-
-
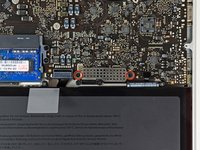
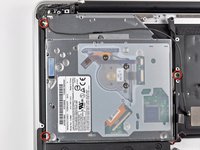
Remove the two 7.5 mm ( 7.2 mm )Tri-point screws securing the battery to the upper case.
-
-
-
Remove the following six screws securing the subwoofer and right speaker to the upper case:
-
Two 3.2 mm ( 3.0 mm ) Phillips screws.
-
Two 12.3 mm Phillips screws.
-
One 2.5 mm Phillips screw.
-
One 8.3 mm ( 8.1 mm ) Phillips screw.
-
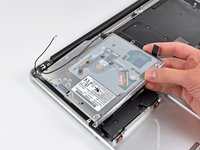
Lift the subwoofer and right speaker assembly out of the upper case.
-
-
-
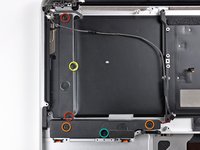
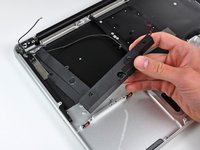
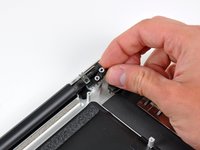
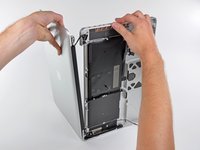
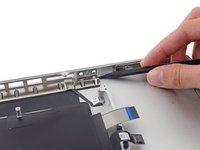
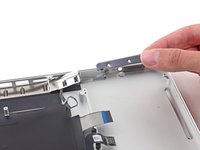
Grab the upper case with your right hand and rotate it slightly toward the top of the display so the upper display bracket clears the edge of the upper case.
-
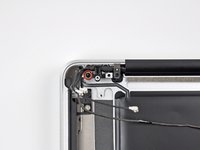
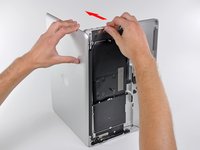
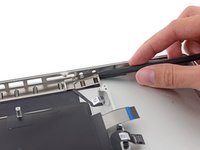
Rotate the display slightly away from the upper case.
-
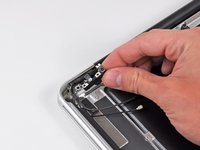
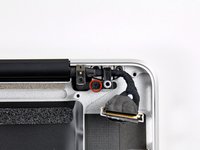
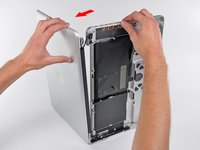
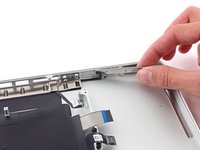
Lift the display up and away from the upper case, minding any brackets or cables that may get caught.
-


To reassemble your device, follow these instructions in reverse order.
To reassemble your device, follow these instructions in reverse order.
Cancelar: não concluí este guia.
34 outras pessoas executaram este guia.
