
Logitech Harmony Smart Keyboard On/Off Switch Replacement
Introdução
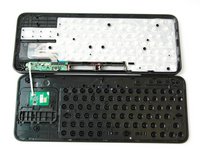
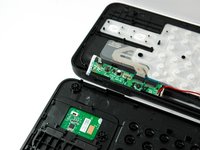
Ir para o passo 1This is a replacement guide for the on/off switch on the Logitech Harmony Smart Keyboard.
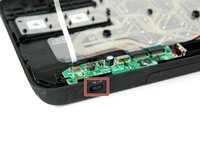
The on/off switch, or power switch, powers the keyboard on and off. The on/off switch appears green when powered on, and appears red when powered off.
O que você precisa


-
-
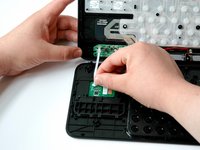
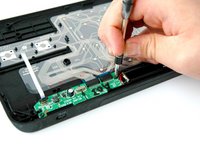
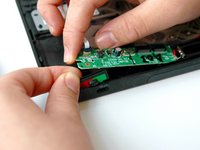
Grip the lower end of the ribbon flex cable (white band) using your thumb and index finger.
-
Then slide the strip out toward yourself in a scooping motion.
-
-
-
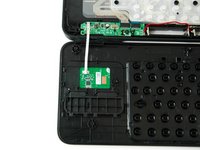
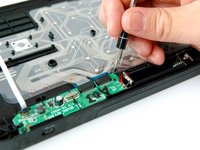
Lift up and hold the left side of the green card with one index finger.
-
Grip and pull the on/off switch out with your other index finger and thumb.
-


To reassemble your device, follow these instructions in reverse order.
To reassemble your device, follow these instructions in reverse order.
Cancelar: não concluí este guia.
2 outras pessoas executaram este guia.
Equipe

CSU Fullerton, Team S1-G2, Bruce Fall 2017 Membro de CSU Fullerton, Team S1-G2, Bruce Fall 2017
CSUF-BRUCE-F17S1G2
3 Membros
Autoria de 10 guias
1Comentário do guia
please share switch rear side.. and where could we buy this switch.. ?