
Kenwood DNX571HD LCD Touch Screen Replacement
Introdução
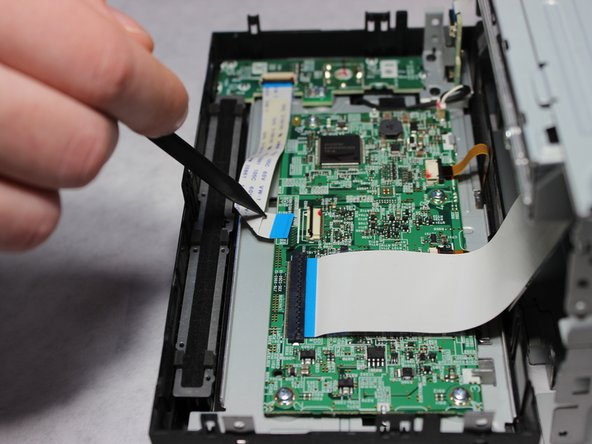
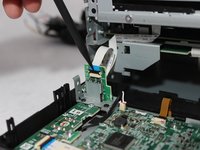
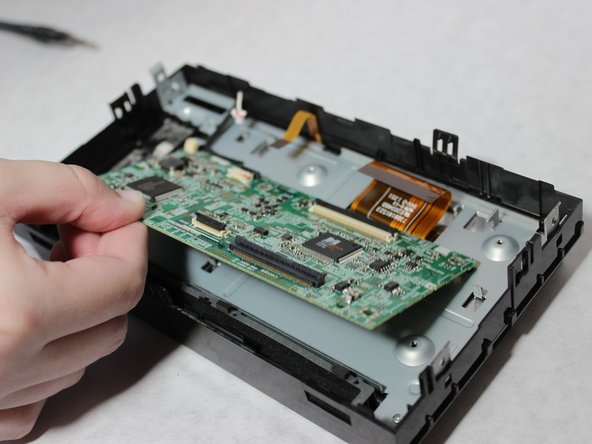
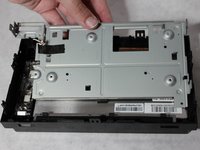
Ir para o passo 1If your screen has been damaged and needs to be replaced, this guide will provide the steps to remove the old screen and replace it with a new one.
O que você precisa


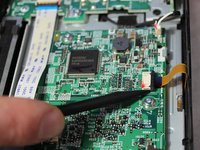


To reassemble your device, follow these instructions in reverse order.
To reassemble your device, follow these instructions in reverse order.
Cancelar: não concluí este guia.
5 outras pessoas executaram este guia.
Equipe

Washington State, Team S1-G1, Hope Fall 2018 Membro de Washington State, Team S1-G1, Hope Fall 2018
WSU-HOPE-F18S1G1
4 Membros
Autoria de 6 guias