JVC GR-D93U LCD Screen Replacement
Introdução
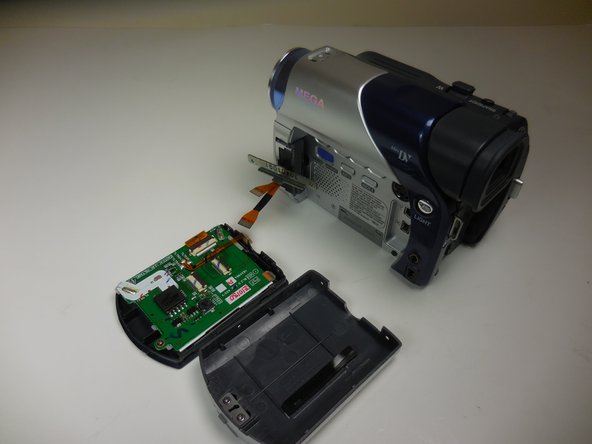
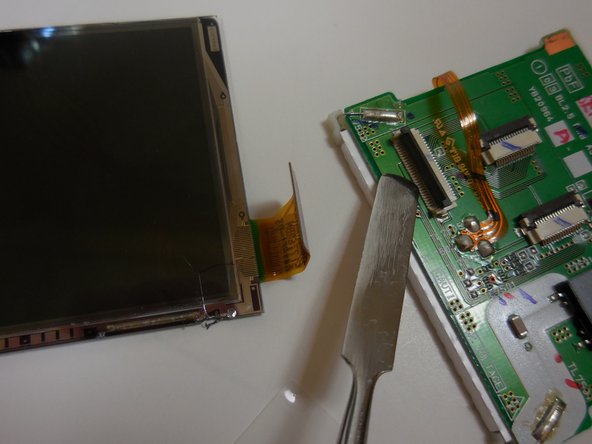
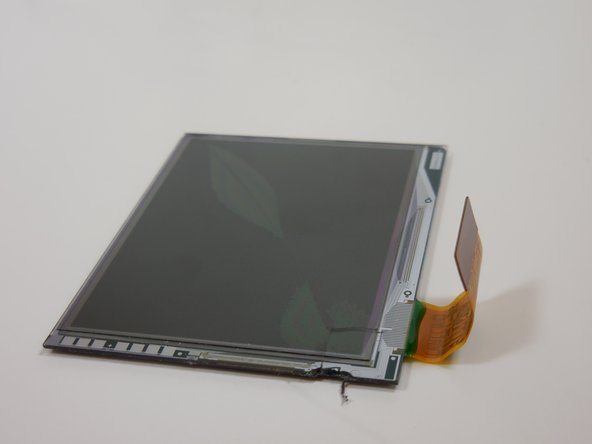
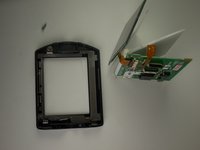
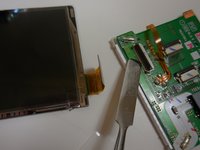
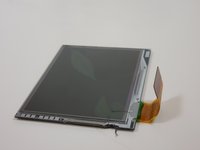
Ir para o passo 1The LCD Screen on the GR-D93U is where the viewer can see the video that is being recorded and is where the playback is displayed. It is important to have the screen and can be frustrating if the screen is cracked or won't display content. The process of replacing the screens involves unscrewing a lot of screws so have a place that you will be able to keep the screws.
O que você precisa
Peças
Ferramentas
Exibir mais…
-
-
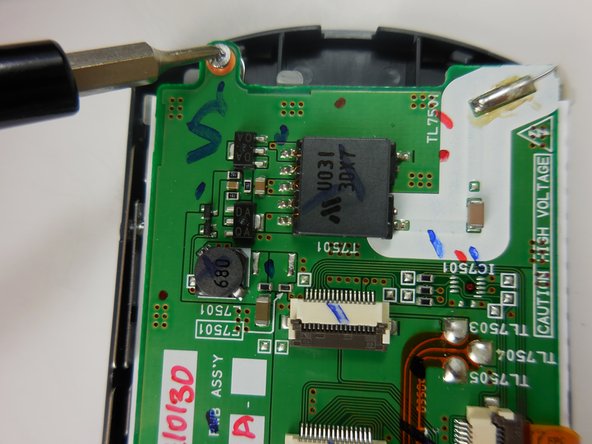
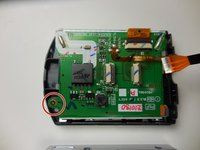
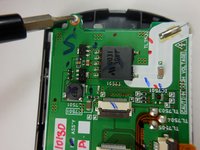
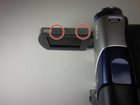
Unscrew 3 mm Phillips #0 screws around the LCD Screen. You will have to turn the screen to get the screws on the bottom of the screen.
-
To reassemble your device, follow these instructions in reverse order.
To reassemble your device, follow these instructions in reverse order.
Gear Up For Future Repairs
Shop all


