
India Mark II Traveling Valve Replacement
Introdução
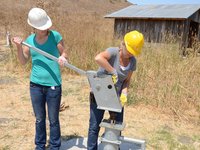
Vá para o passo 1This guide will lead you through removing the traveling valve from the pump cylinder. It can then be replaced as a unit, or disassembled further to replace an individual internal component.
O que você precisa
Ferramentas


Exibir mais…
-
-
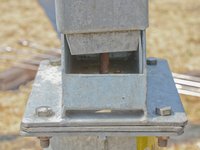
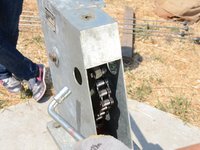
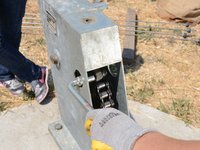
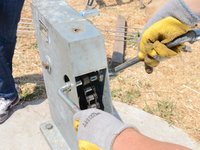
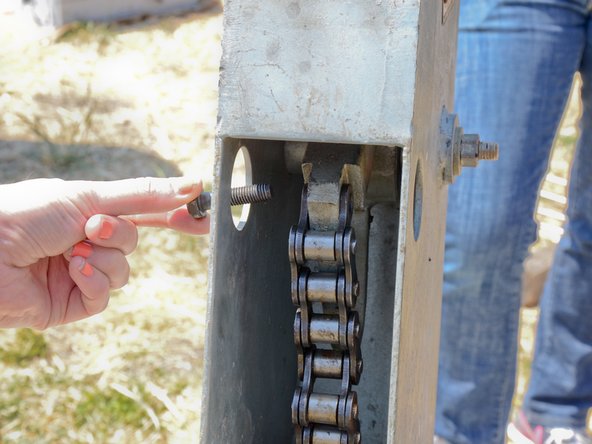
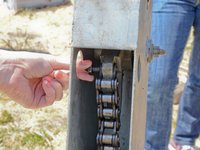
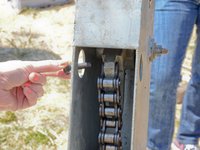
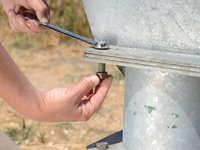
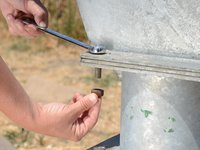
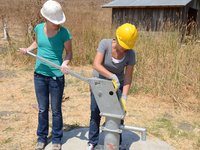
Remove the hex head bolt from the top of the access door on the pump head.
-
-
-
Place the spacer collar around the pump rod below the raised chain, with the beveled side down, and the flat side facing up.
-
-
-
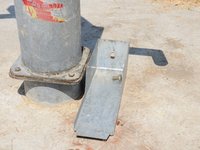
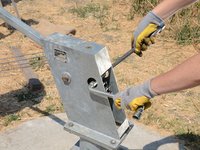
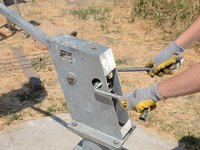
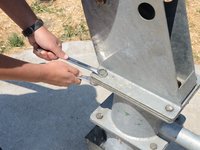
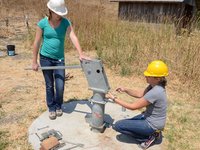
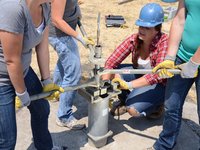
Remove the two bolts from the handle side of the pump head.
-
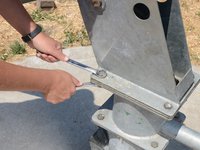
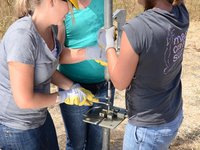
Use one wrench on the bolt and another on the nut beneath. Hold the bolt stationary and loosen the nut.
-
-
-
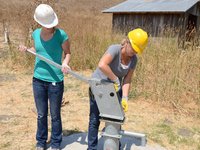
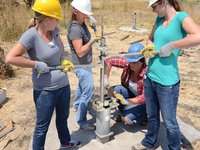
Slightly twist the head flange, until the corners overhang the top of the tank far enough to grab.
-
-
-
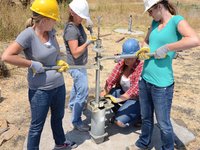
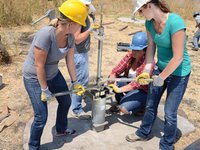
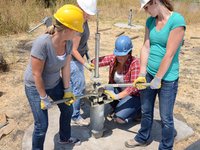
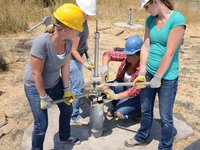
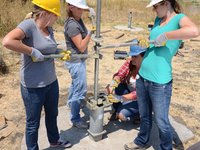
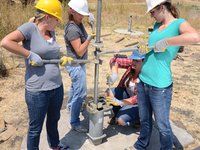
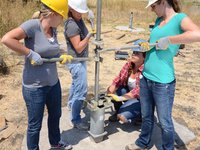
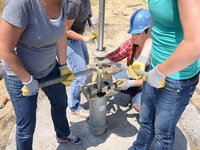
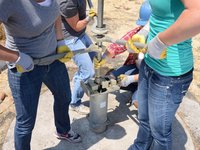
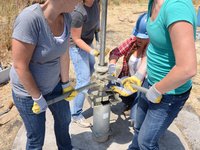
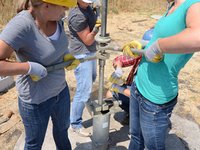
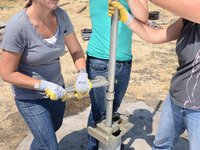
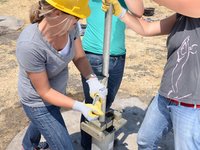
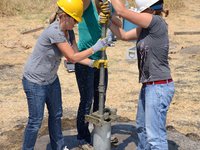
Add the other two lifting arms.
-
Ensure three things about the arms:
-
They must be equally spaced around the riser main (120° apart).
-
The arms must not touch each other, the coupling at the top, or the pipe vise at the bottom.
-
The openings should alternate, to keep the riser main secure.
-
-
-
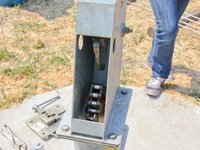
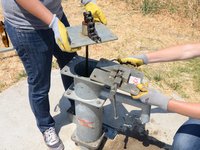
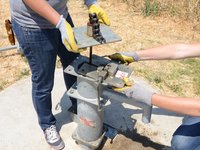
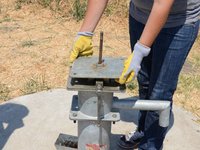
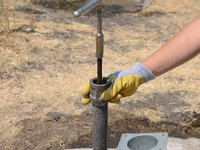
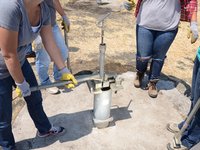
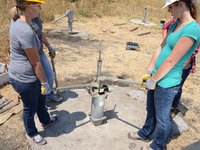
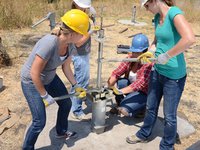
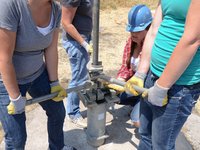
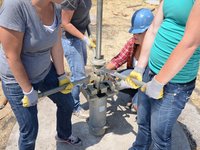
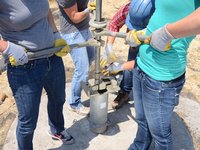
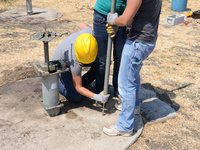
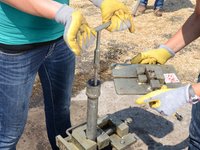
Pull the assembly of riser main pipe and cylinder out of the well and set the assembly on a block of wood to keep the cylinder off the ground.
-
-
-
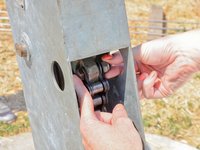
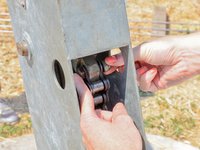
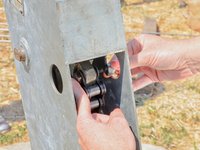
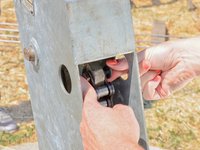
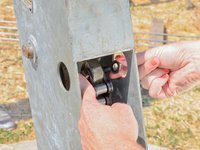
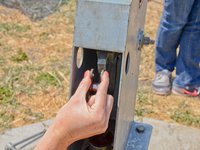
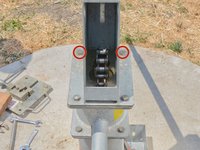
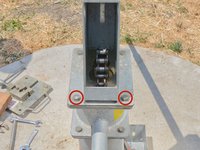
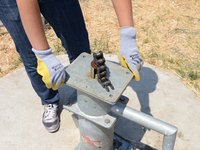
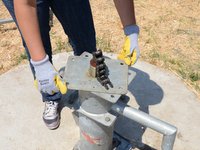
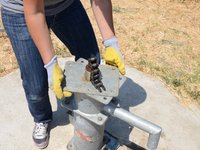
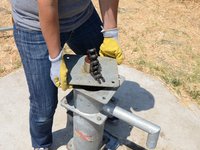
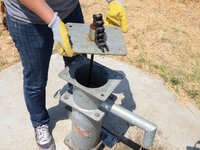
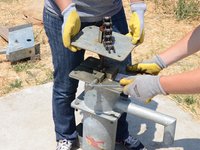
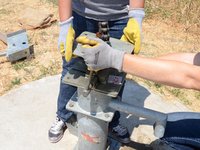
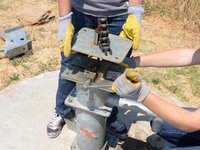
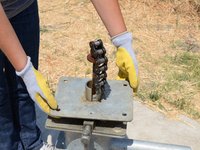
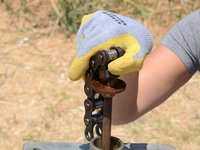
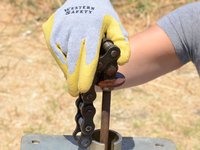
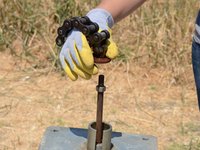
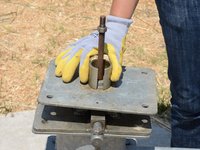
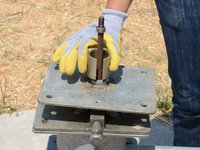
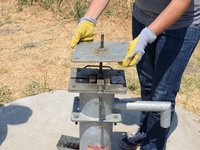
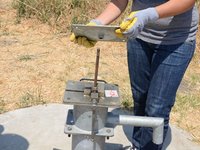
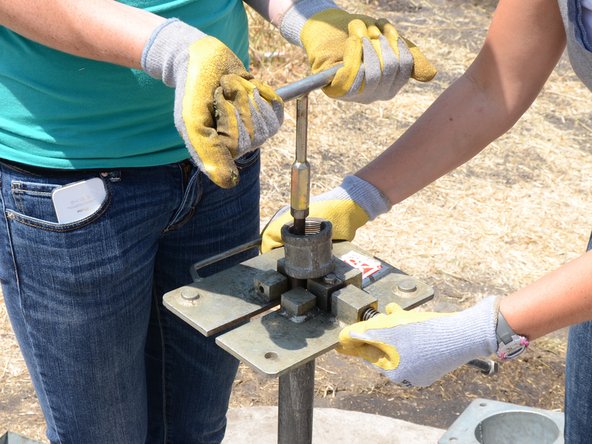
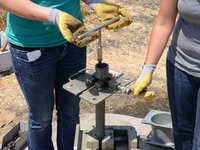
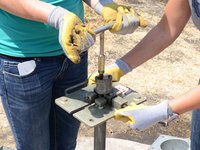
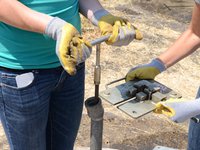
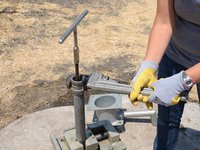
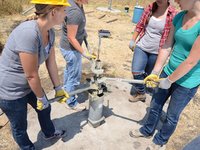
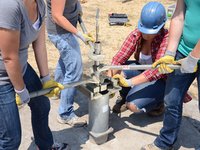
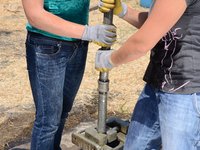
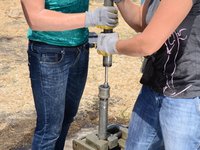
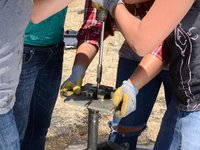
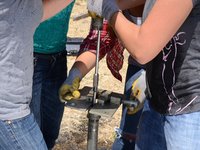
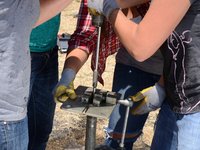
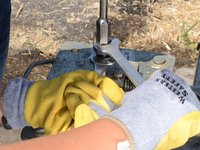
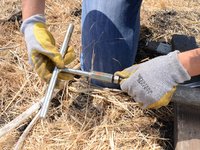
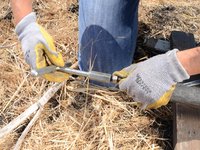
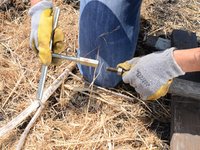
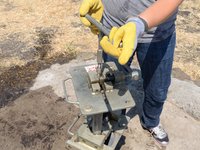
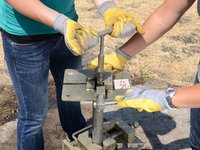
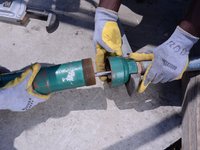
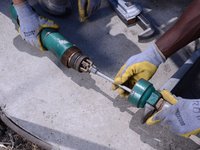
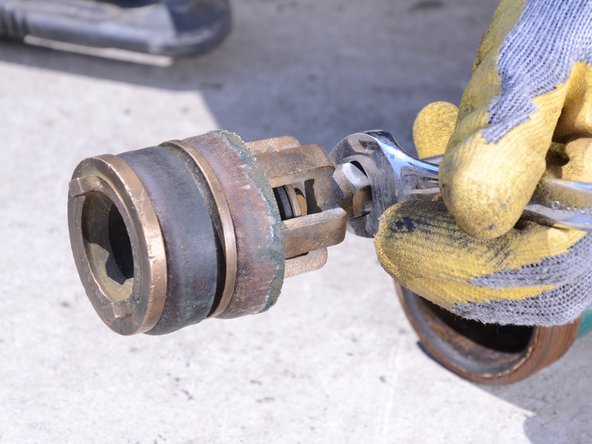
Insert a wrench into the slots located at the bottom of the traveling valve.
-
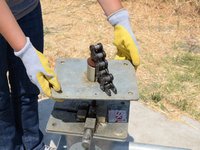
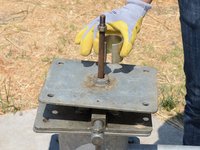
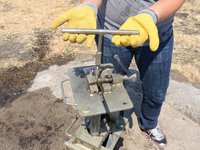
Using another wrench for leverage, unscrew the valve off the pump rod.
-


To reassemble your device, follow these instructions in reverse order.
To reassemble your device, follow these instructions in reverse order.
