
How to Tie a Tie: Pratt
Introdução
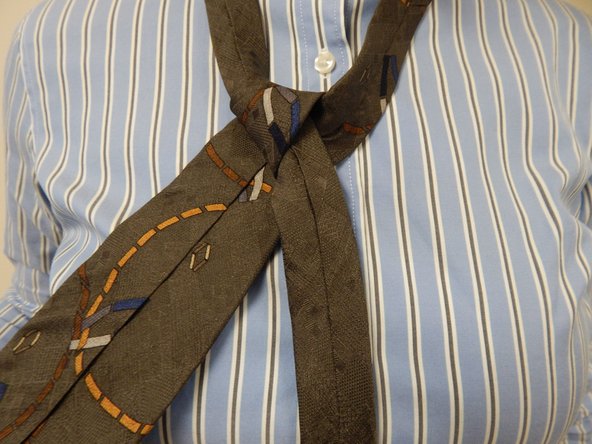
Ir para o passo 1Active End: The end of the tie that will be used to tie the knot. This can be either the wide end or narrow end of the tie depending on the tie knot.
Front Side: The side of the tie without the seam down the middle.
Under Side: The side of the tie with the seam down the middle and clothing tags visible.
Shirt Collar: A band of material around the neck of a shirt that can either be folded or unfolded.
Neck Loop: The loop of the tie that goes around the collar.
Keeper Loop: A piece of fabric that is sewn onto the underside of the wide end of the tie that can be used to keep the narrow end of the tie hidden.
The Pratt: A simple knot that is not as commonly used as the Half-Windsor, but is considered unique and elegant. The knot is usually a medium size knot, somewhere between a Four-in-Hand and a Half-Windsor.
O que você precisa
Peças
-
-
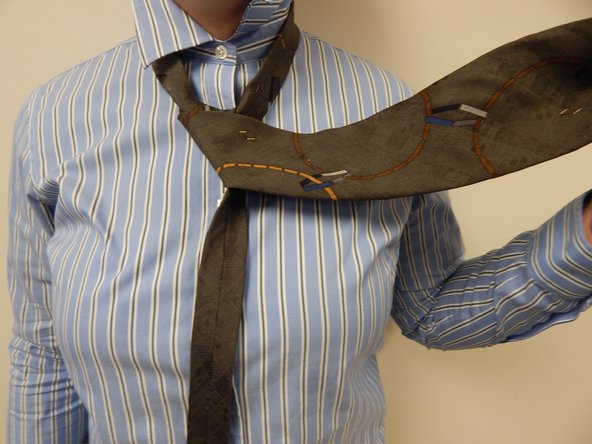
Take the active end and cross it under the narrow end, so that it points to the left.
-
-
-
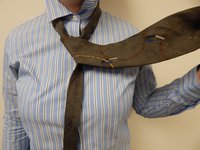
Tighten the knot by pulling down on the active end and up on the knot, adjusting for size and evenness.
-


Congratulations! You've successfully tied the Pratt knot!
Congratulations! You've successfully tied the Pratt knot!
Cancelar: não concluí este guia.
3 outras pessoas executaram este guia.
Equipe
