Ir para o conteúdo principal
How to Repair a Broken Drawstring Tunnel in a Backpack

How to Repair a Broken Drawstring Tunnel in a Backpack

Ben Blischke

Ben Blischke e um outro colaborador

Última atualização em September 20, 2024

15 minutos
Fácil
Guia colaborativo

If your backpack's drawstring is loose and the closing mechanism isn't working as it should, don't worry! We've got you covered. In just a few simple steps, we'll show you how to repair the string and make your favourite backpack as secure and comfortable as it used to be!

  1. How to Repair a Broken Drawstring Tunnel in a Backpack, Identify the repair area: passo 1, imagem 1 %32 How to Repair a Broken Drawstring Tunnel in a Backpack, Identify the repair area: passo 1, imagem 2 %32 How to Repair a Broken Drawstring Tunnel in a Backpack, Identify the repair area: passo 1, imagem 3 %32
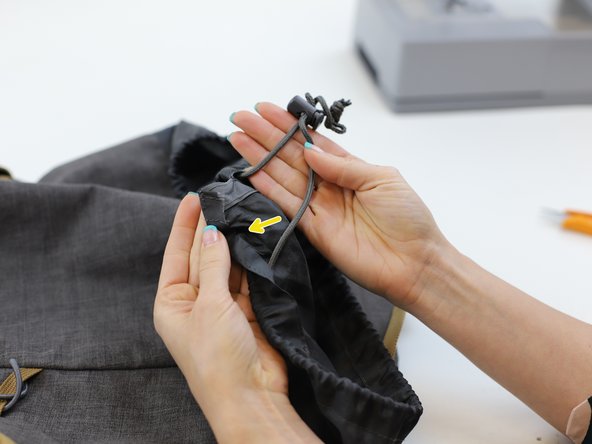
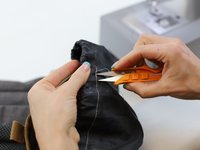
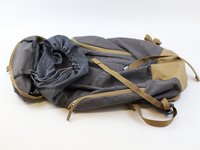
    • Identify the defective area and assess how large the damage is.

  2. How to Repair a Broken Drawstring Tunnel in a Backpack, Clean the area: passo 2, imagem 1 %32 How to Repair a Broken Drawstring Tunnel in a Backpack, Clean the area: passo 2, imagem 2 %32 How to Repair a Broken Drawstring Tunnel in a Backpack, Clean the area: passo 2, imagem 3 %32
    • Cut away any damaged threads around the drawstring tunnel, to create a clean surface to repair.

  3. How to Repair a Broken Drawstring Tunnel in a Backpack, Prepare the drawstring: passo 3, imagem 1 %32 How to Repair a Broken Drawstring Tunnel in a Backpack, Prepare the drawstring: passo 3, imagem 2 %32 How to Repair a Broken Drawstring Tunnel in a Backpack, Prepare the drawstring: passo 3, imagem 3 %32
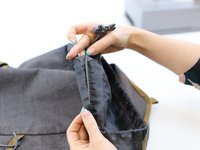
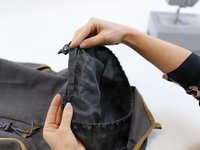
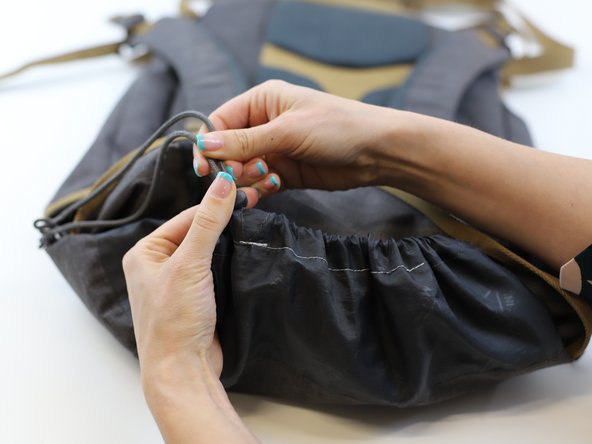
    • Place the drawstring inside the tunnel.

    • Turn the edges inside, so that the drawstring is tucked inside.

  4. How to Repair a Broken Drawstring Tunnel in a Backpack, Pin the area: passo 4, imagem 1 %32 How to Repair a Broken Drawstring Tunnel in a Backpack, Pin the area: passo 4, imagem 2 %32 How to Repair a Broken Drawstring Tunnel in a Backpack, Pin the area: passo 4, imagem 3 %32
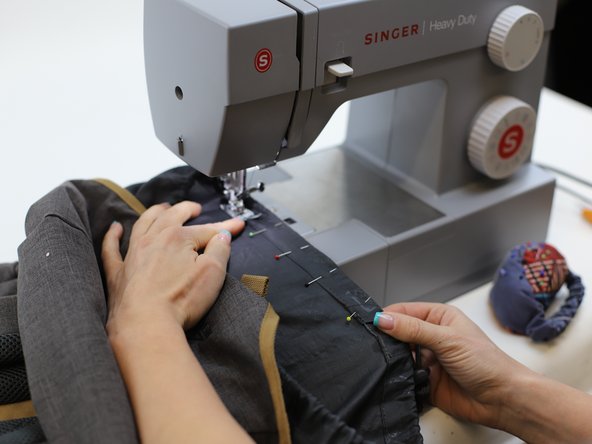
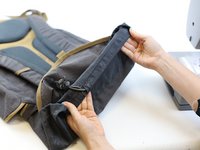
    • Pin the folded parts of the tunnel securely in place and prepare the sewing machine.

    • Tip: For tips on setting up the machine take a look at this iFixit guide.

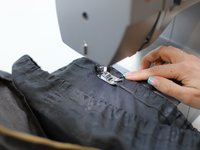
    • Depress the sewing machine foot and remove any pins in the way of the sewing route.

  5. How to Repair a Broken Drawstring Tunnel in a Backpack, Sew the repair: passo 5, imagem 1 %32 How to Repair a Broken Drawstring Tunnel in a Backpack, Sew the repair: passo 5, imagem 2 %32 How to Repair a Broken Drawstring Tunnel in a Backpack, Sew the repair: passo 5, imagem 3 %32
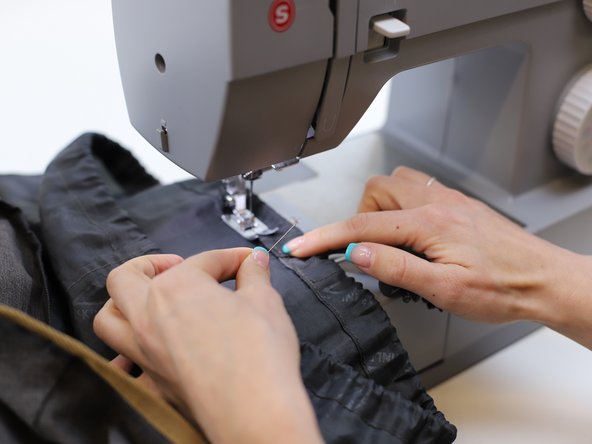
    • Start sewing a straight line from one side to the other and add a lock stitch at the beginning and the end.

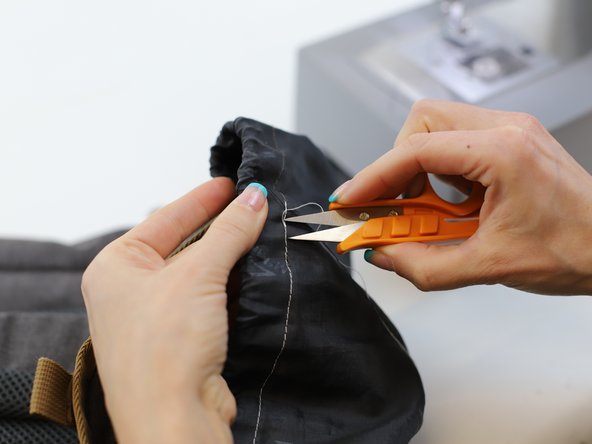
    • Finish the sewing and cut the loose thread to make a neat finish.

  6. How to Repair a Broken Drawstring Tunnel in a Backpack, Finished and ready!: passo 6, imagem 1 %32 How to Repair a Broken Drawstring Tunnel in a Backpack, Finished and ready!: passo 6, imagem 2 %32 How to Repair a Broken Drawstring Tunnel in a Backpack, Finished and ready!: passo 6, imagem 3 %32
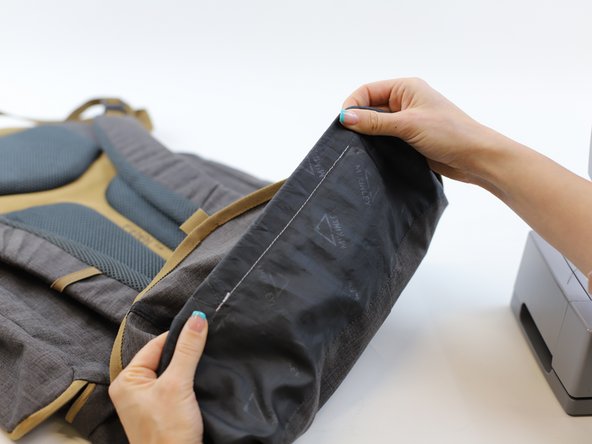
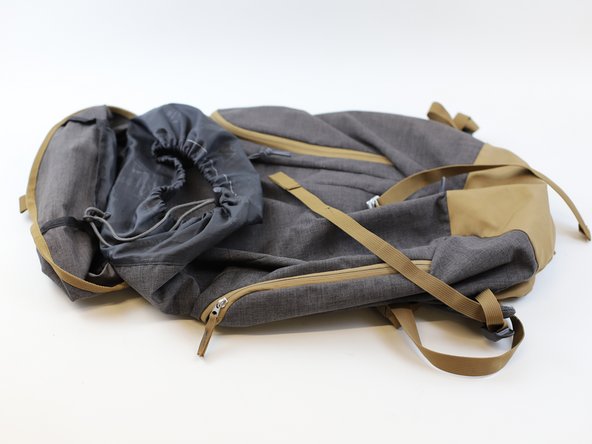
    • 🛠️🏆👏 Congratulations! The repair is complete, and you're ready to go!

Conclusão

In need of another repair? Don't worry! Check out our other guides to find quick solutions for your favourite clothing, footwear and equipment!

Ben Blischke

Membro desde: 07/19/23

9.298 Reputação

Autoria de 62 guias

Equipe

INTERSPORT Membro de INTERSPORT

Community

Membros da 22

Autoria de 161 guias

0 comentários

Adicione um comentário

Exibir estatísticas:

Últimas 24 horas: 2

Últimos 7 dias: 8

Últimos 30 dias: 14

Duração total: 167