
How to Change Mortise Lock and its Cylinder
Introdução
Vá para o passo 1Use this guide to replace the mortise lock and cylinder of the door lock.
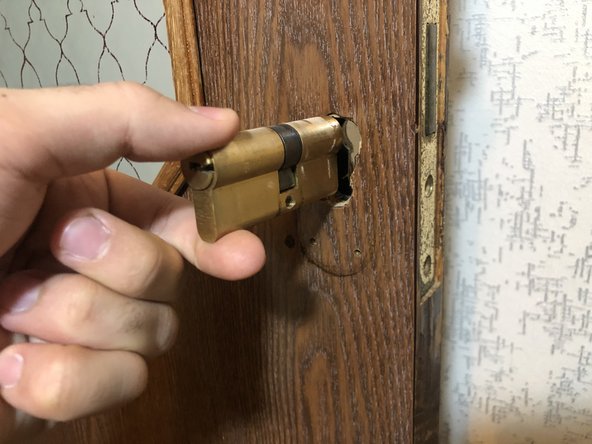
Door lock details tend to deform as a result of long-term use, this can lead to the door lock becoming unusable. Hence, you may want to consider changing details like mortise lock and cylinder in order to return the door lock to a working condition.
O que você precisa


-
-
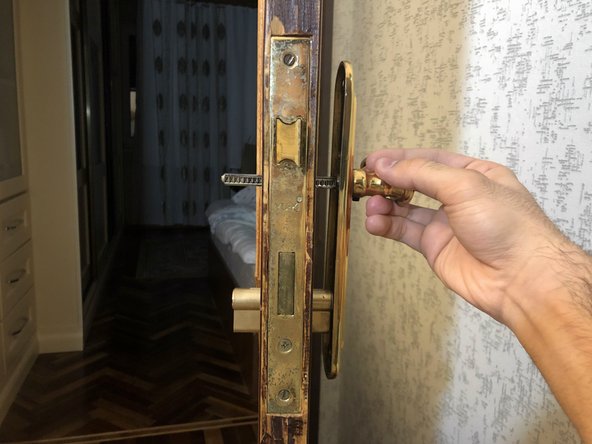
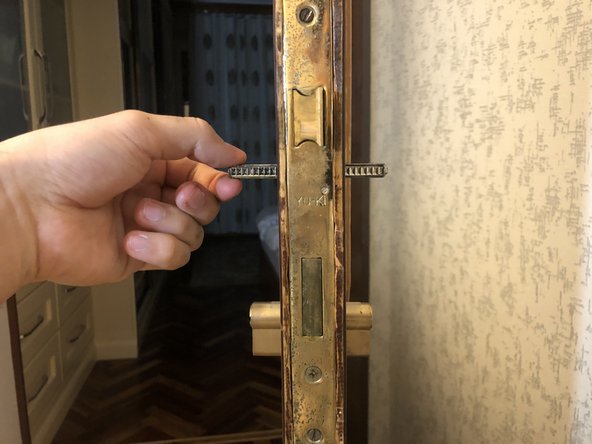
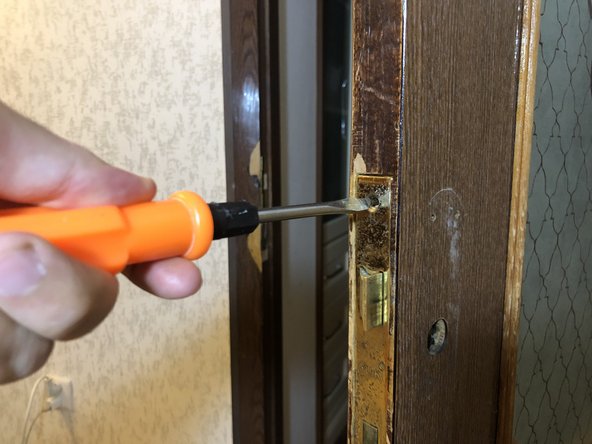
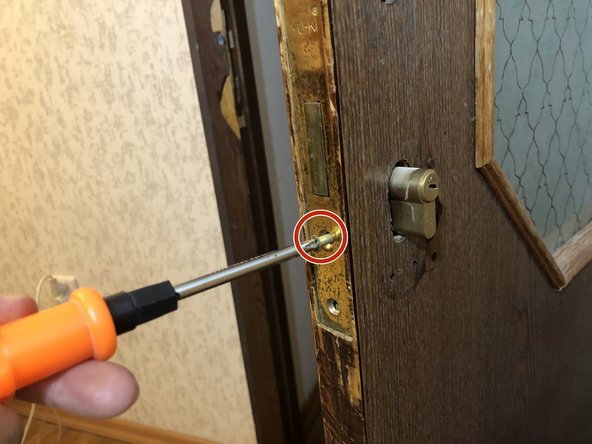
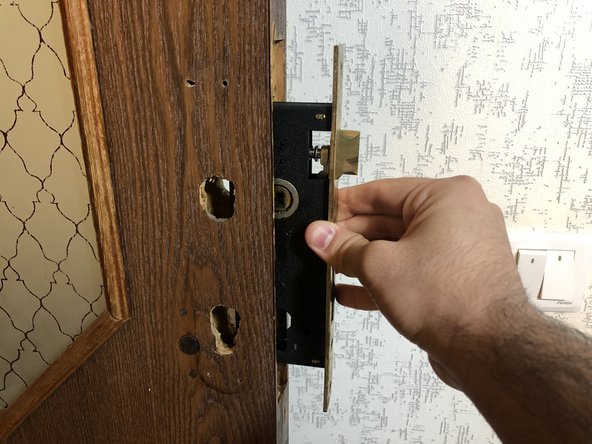
Determine the position of the screws on both door handles and the front plate.
-


To reassemble your device, follow these instructions in reverse order.
To reassemble your device, follow these instructions in reverse order.
Cancelar: não concluí este guia.
Uma outra pessoa concluiu este guia.
Equipe

York University, Team S1-G11, O'Regan Winter 2021 Membro de York University, Team S1-G11, O'Regan Winter 2021
YORK-O'REGAN-W21S1G11
1 Membro
1 Guia de autoria