Introdução
This guide will show you how to replace the concrete foundation if your fence post has started to sway.
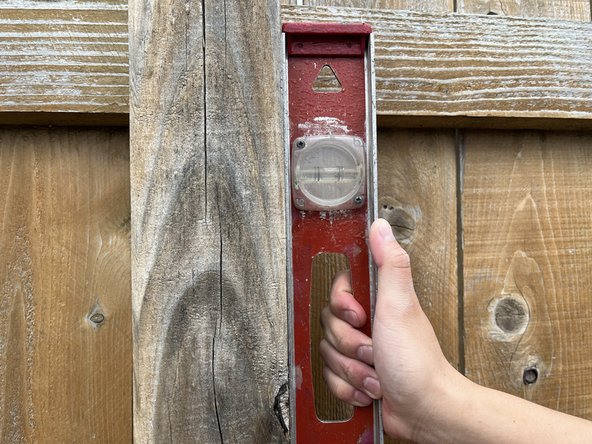
Before you use this guide, be sure that your fence post is not warped or damaged. This would mean you would need a replacement post before following the steps to this guide. If the post is not damaged the problem you are facing is likely that the foundation of the post needs to be restored.
Steps 4 and 5 will need the use of concrete mix to create a new foundation for your fence post. I recommend opening the bag partially to pour only desired amounts at a time. Depending on the size of the hole you dug in steps 2 and 3, you may only use some of the concrete mix.
Good luck on repairing your fence post. This guide aims to show all required actions and stop swaying from happening again in the future.
O que você precisa
-
-
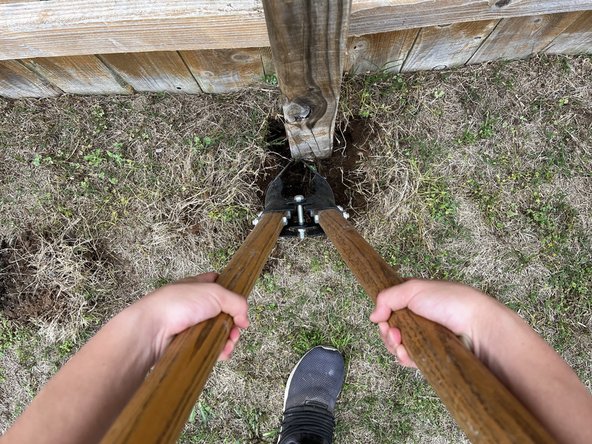
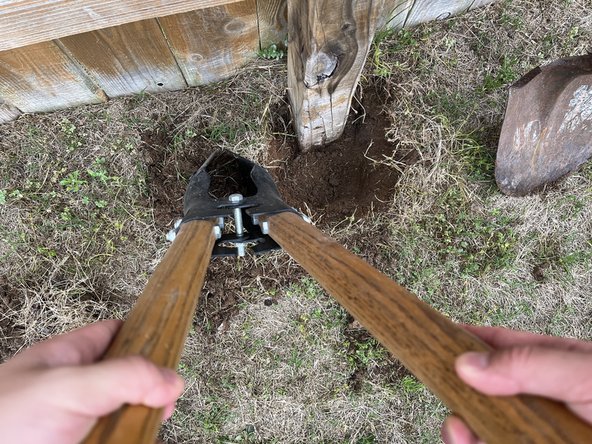
Measure from the center of the post to outer edges of the hole using the measuring tape.
-
-


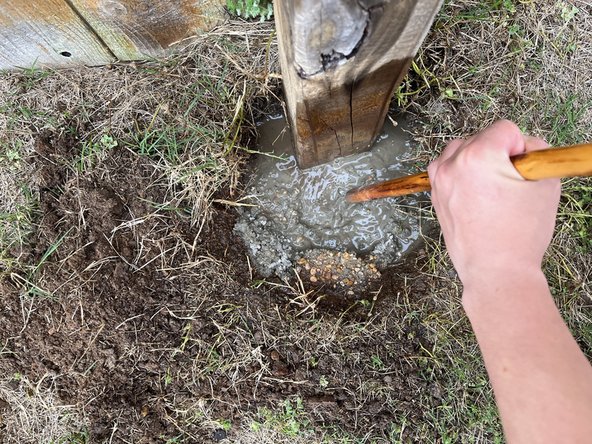


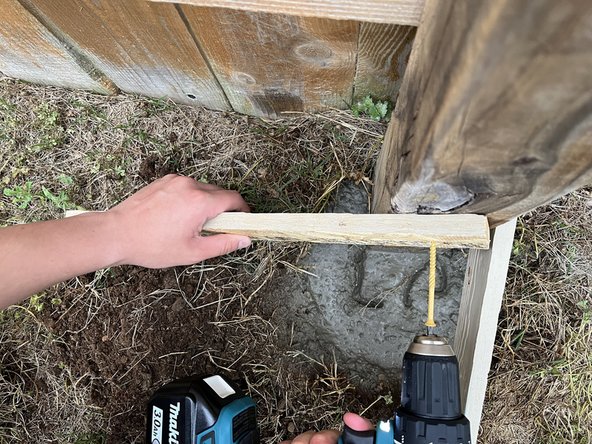
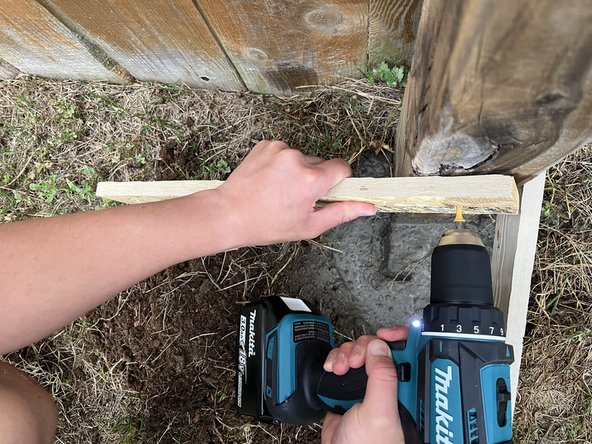


Congratulations, you now have a strong and sturdy fence post! Feel free to take off bracing wood once concrete fully settles.
Cancelar: não concluí este guia.
Uma outra pessoa concluiu este guia.

Equipe

Austin Community College, Team 55-9, Watkins Spring 2024 Membro de Austin Community College, Team 55-9, Watkins Spring 2024
AUSTINCC-WATKINS-S24S55G9
1 Membro
1 Guia de autoria