
Hoover LiNX Power Button Replacement
Introdução
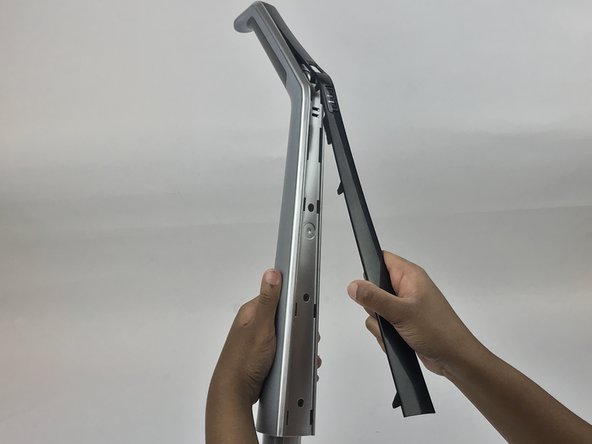
Ir para o passo 1This guide will show you how to replace the internal switch inside the handle. This guide will be identical to the motherboard guide with a few extra steps. This would be needed if the power button is no longer working in the handle.
O que você precisa


-
-
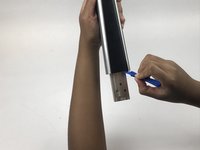
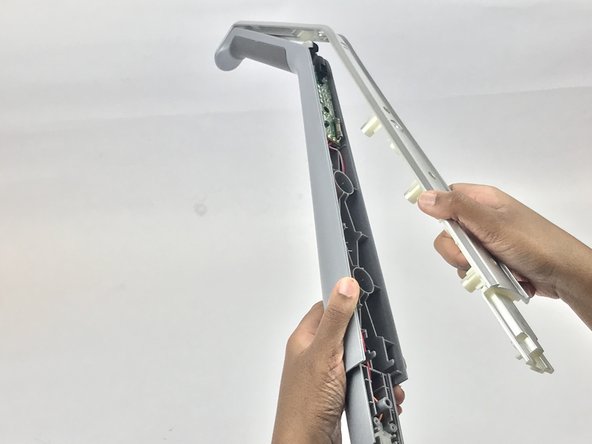
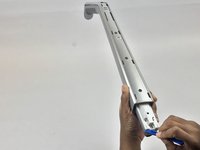
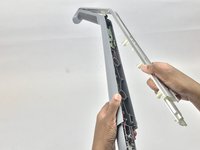
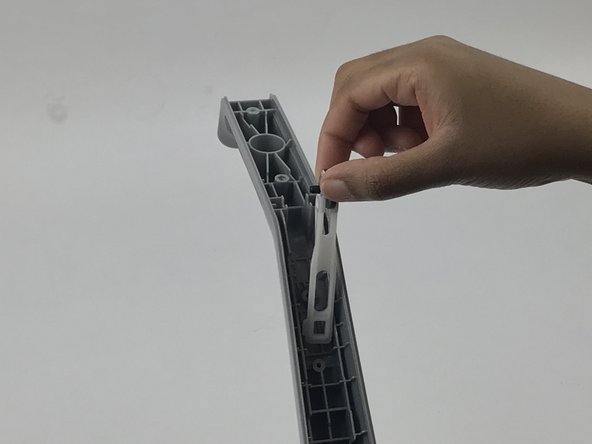
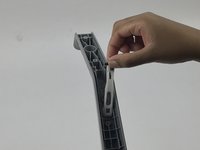
Remove the single 15mm Phillips #1 screw from the handle.
-
-
-
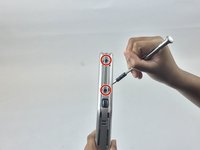
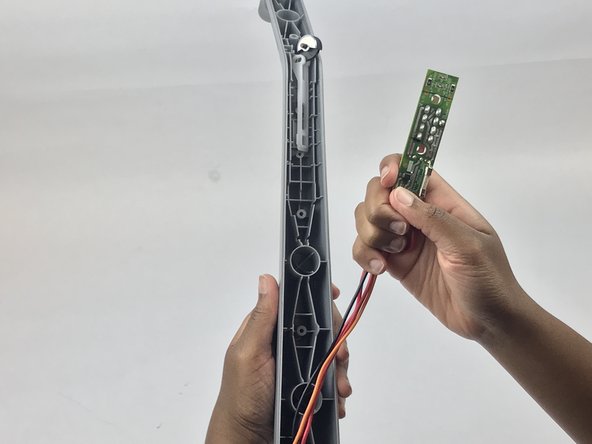
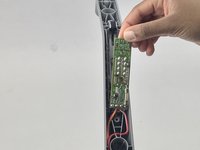
Remove the black rubber cover from the motherboard.
-


To reassemble your device, follow these instructions in reverse order.
To reassemble your device, follow these instructions in reverse order.
Cancelar: não concluí este guia.
2 outras pessoas executaram este guia.
Equipe

USF Tampa, Team S7-G4, Passmore Spring 2018 Membro de USF Tampa, Team S7-G4, Passmore Spring 2018
USFT-PASSMORE-S18S7G4
4 Membros
Autoria de 12 guias