
HP Pavilion Notebook 15-ab293cl Hard Drive Replacement

Introdução
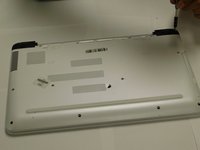
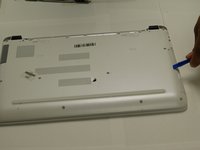
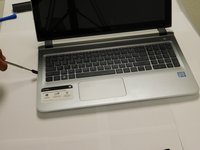
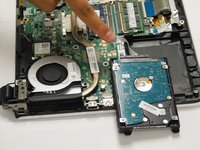
Vá para o passo 1This step-by-step guide will explain how to open and remove your HP Pavilion Notebook 15-ab293cl hard drive. After removing the hard drive, you can easily replace it.
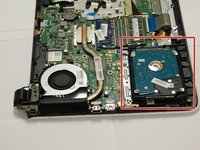
The hard drive is the device in your computer that stores and retrieves your saved data. If you are running low on space, upgrading your hard drive will give you more space to work. If your hard drive fails, replacing your it will allow you to continue using your computer.
O que você precisa
Kits de conserto
Estes kits contêm todas as peças e ferramentas necessárias para executar este guia.


Peças


Ferramentas


Exibir mais…


To reassemble your device, follow these instructions in reverse order.
To reassemble your device, follow these instructions in reverse order.
Cancelar: não concluí este guia.
Uma outra pessoa concluiu este guia.

Equipe

Gateway, Team S1-G2, Luster Fall 2018 Membro de Gateway, Team S1-G2, Luster Fall 2018
GCC-LUSTER-F18S1G2
Membros da 4
Autoria de 4 guias