
HP Elitebook 8460p Speaker Assembly Replacement

Introdução
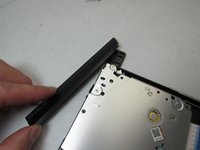
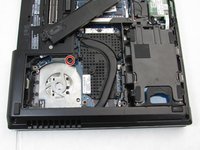
Vá para o passo 1Use this guide to replace the internal speaker assembly if the speakers are known to be blown on your HP Elitebook 8460p.
This guide requires disassembling a large part of the laptop and will take a longer period of time. Make sure to keep track of all the components and screws that must be removed. This guide also requires removing the chassis of the laptop which involves pry tools. Complete each step slowly and carefully to avoid breaking any plastic components.
Ground yourself with the ESD strap to prevent electrostatic discharges from damaging any of the components that must be removed or the motherboard.
To complete this guide, you will need a Phillips #0 screw driver, a T2 Torx screw driver, a plastic pry tool, and an ESD strap.
O que você precisa
Peças
Ferramentas


Exibir mais…
-
-
On the back of the computer, slide the left switch towards the outside of the laptop until you hear a click.
-
-
-
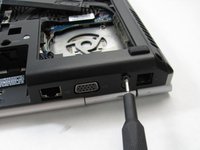
On the back of the laptop, slide the right switch toward the outside of the laptop until you hear a click.
-
-
-
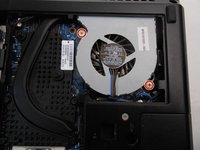
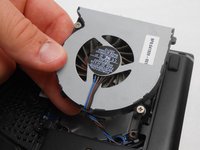
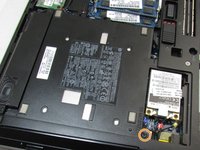
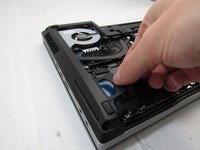
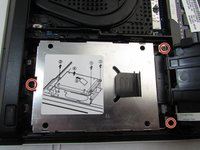
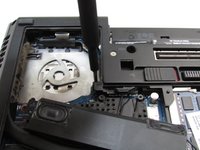
Using a Phillips #0 bit, unscrew the two screws on opposite corners of the fan.
-
-
-
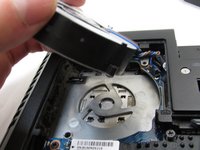
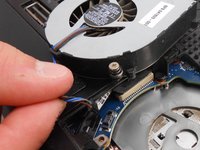
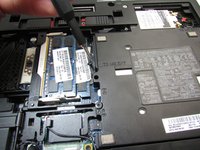
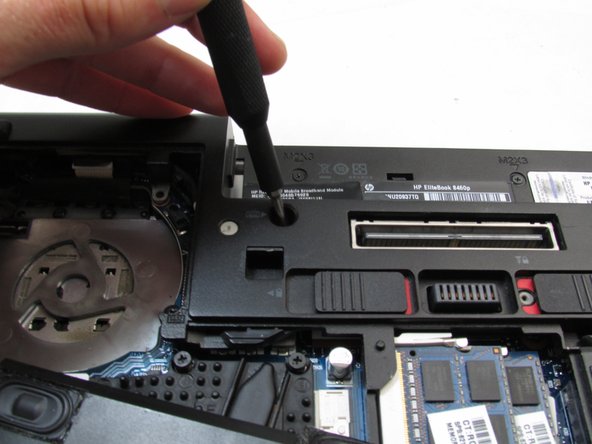
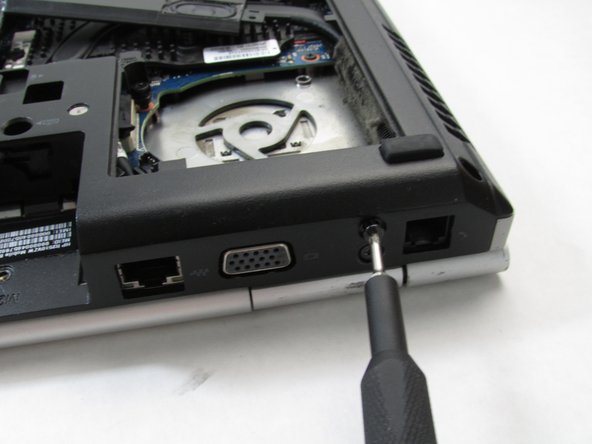
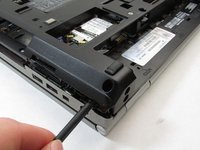
Using a Phillips #0 bit, unscrew the one Phillips head screw.
-
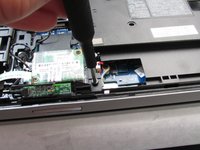
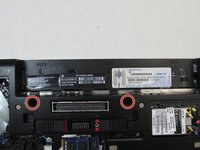
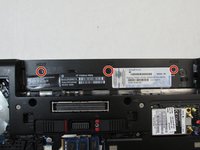
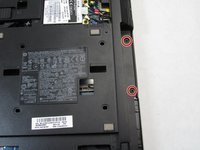
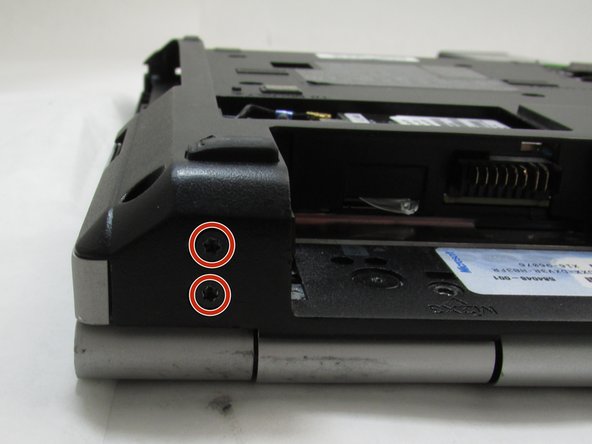
Using a T2 Torx screwdriver, remove the two 8.0mm Torx screws.
-
-
-
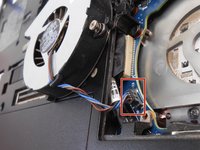
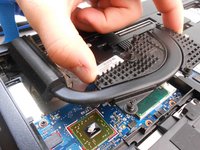
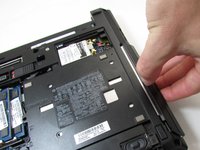
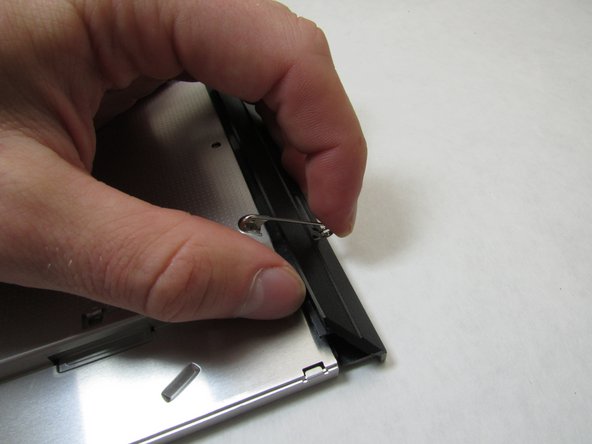
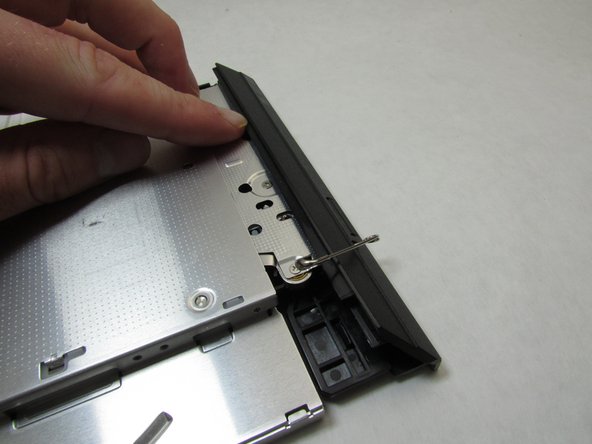
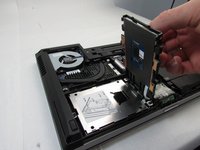
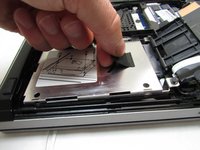
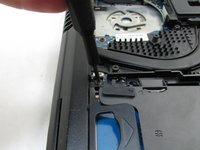
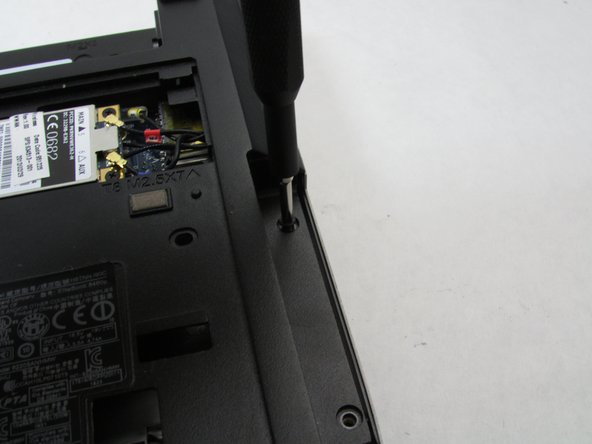
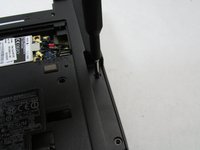
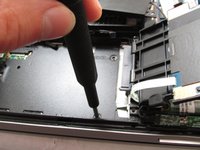
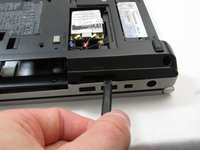
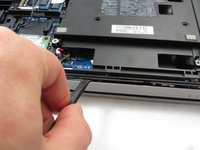
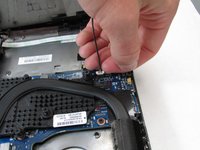
Pull the tab with the small engraved arrow up and towards the inside of the laptop.
-
-
-
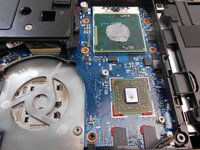
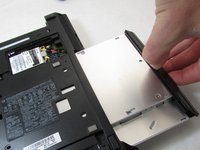
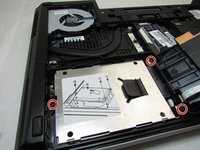
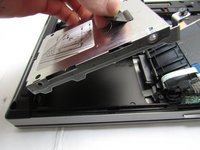
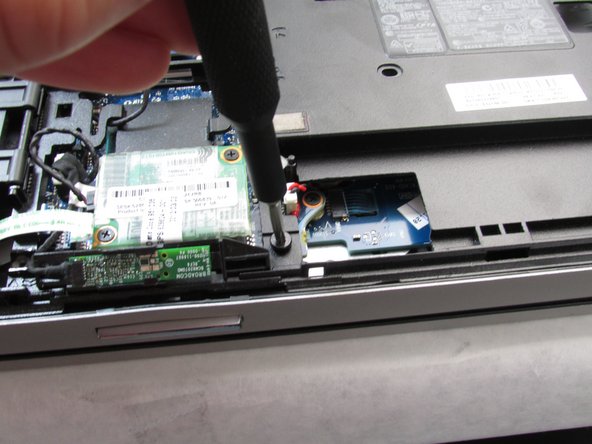
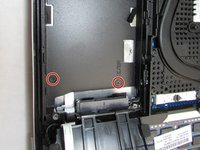
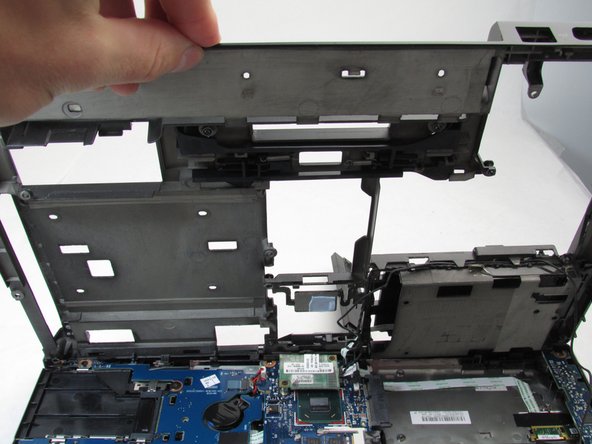
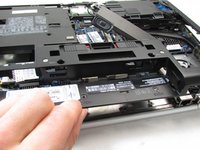
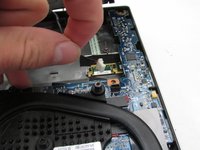
Using a Phillips #0 screwdriver, remove the two 3.0mm screws holding the speaker assembly in place.
-


To reassemble your device, follow these instructions in reverse order.
To reassemble your device, follow these instructions in reverse order.
Cancelar: não concluí este guia.
6 outras pessoas executaram este guia.

Equipe

Embry-Riddle Aeronautical University, Team S12-G1, Lamothe Fall 2019 Membro de Embry-Riddle Aeronautical University, Team S12-G1, Lamothe Fall 2019
ERAU-LAMOTHE-F19S12G1
Membros da 4
Autoria de 10 guias
2 comentários
Thanks for the tutorial. I skipped step 11 - 29 and just cut the wire of the old speakers on both ends. Put in the new speaker and hid the wire under the lid of the hard drive. Looking back.. I could have done this straight away after step 5. Removing the fan and heat sinc isn't necessary if onne's going to cut the wire. Nevertheless, taking out the fan was good to remove all the dust in front of the outlet.
Thanks again!
Thanks for your idea..I have searching easy way for it 🙏