Ir para o conteúdo principal

Guitar String Replacement

O que você precisa

  1. Guitar String Replacement, String: passo 1, imagem 1 %32
    • Examine the bridge of the guitar to see if it is currently balanced.

  2. Guitar String Replacement: passo 2, imagem 1 %32 Guitar String Replacement: passo 2, imagem 2 %32 Guitar String Replacement: passo 2, imagem 3 %32
    • Unlock and remove the string clamps at the head of the guitar by using your allen wrench to unscrew the clamp.

  3. Guitar String Replacement: passo 3, imagem 1 %32 Guitar String Replacement: passo 3, imagem 2 %32
    • Unwind the first string you wish to change.

    • If you have one available, or you wish to purchase one, a string winder can be used here to quicken this process.

    • Unwinding strings on a guitar with a floating bridge could cause the other strings to tighten. Therefore, it would be a good idea to start at the smallest string.

  4. Guitar String Replacement: passo 4, imagem 1 %32 Guitar String Replacement: passo 4, imagem 2 %32 Guitar String Replacement: passo 4, imagem 3 %32
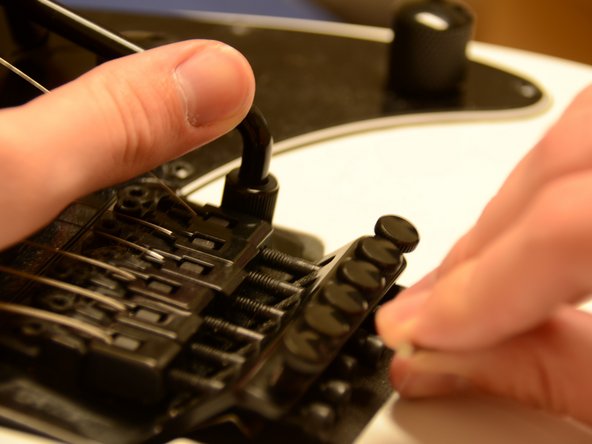
    • Using your allen wrench, loosen the string clamp at the bridge and remove the string.

    • You can use a "whammy bar", that should be included with the guitar, to lift up the bridge if need be.

  5. Guitar String Replacement: passo 5, imagem 1 %32 Guitar String Replacement: passo 5, imagem 2 %32
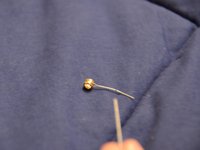
    • Using your wire cutters, remove the ball end from the string and place that end into the bridge of the guitar.

  6. Guitar String Replacement: passo 6, imagem 1 %32 Guitar String Replacement: passo 6, imagem 2 %32
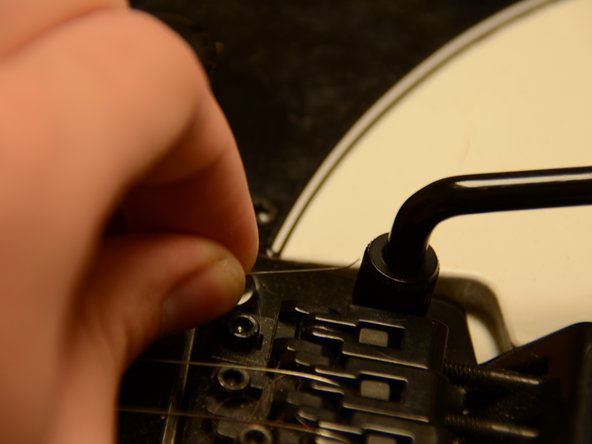
    • Tighten the string clamp at the bridge of the guitar.

    • Remember that you can use your whammy bar to lift up the bridge if you need to.

  7. Guitar String Replacement: passo 7, imagem 1 %32 Guitar String Replacement: passo 7, imagem 2 %32
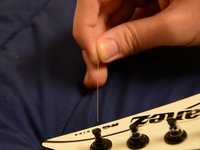
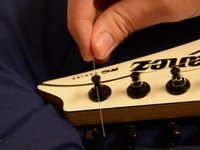
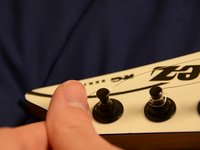
    • Insert the string into the tuning peg from the right side of the guitar.

  8. Guitar String Replacement: passo 8, imagem 1 %32 Guitar String Replacement: passo 8, imagem 2 %32 Guitar String Replacement: passo 8, imagem 3 %32
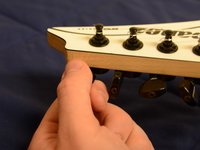
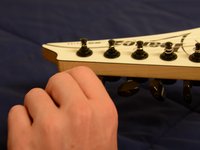
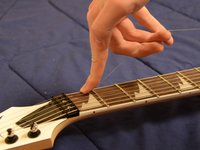
    • Using one finger of one hand, press down lightly onto the first fret of the string you are changing. Use the remaining fingers to lift up the string. This will ensure that there is slack on the string to use when winding it later.

    • Wrap the string around the peg clockwise and underneath itself.

    • Fold the string over itself and crease it so it will stay in that position when you wind it.

  9. Guitar String Replacement: passo 9, imagem 1 %32 Guitar String Replacement: passo 9, imagem 2 %32
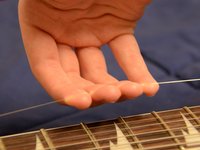
    • Pull upwards on the string as shown in the picture several times and in several different spots along the neck to stretch the string.

    • Be sure not to pull too hard, or you'll snap the string!

    • Now, repeat steps 3 through 9 to replace the remaining strings.

  10. Guitar String Replacement: passo 10, imagem 1 %32
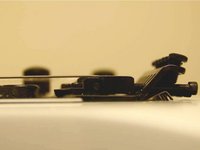
    • Re-examine the bridge for any changes in bridge balance. If the bridge does not line up with the body of the guitar, move on to the next steps to adjust the tension in the springs on the back of the guitar.

    • The picture to the left shows one example of a bridge that is unbalanced, where the tension in the back springs are pulling too hard on the bridge and must be adjusted.

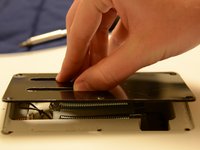
  11. Guitar String Replacement: passo 11, imagem 1 %32 Guitar String Replacement: passo 11, imagem 2 %32 Guitar String Replacement: passo 11, imagem 3 %32
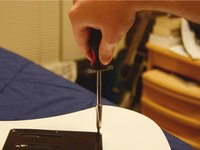
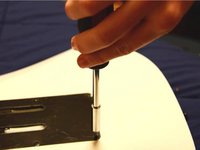
    • Using your screwdriver, unscrew the 6 1.2 cm Phillips #0 screws that hold on the back plate of the guitar, and remove the back plate.

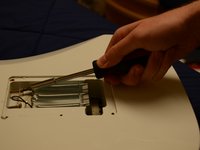
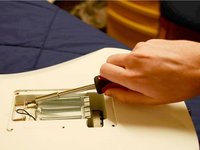
  12. Guitar String Replacement: passo 12, imagem 1 %32 Guitar String Replacement: passo 12, imagem 2 %32
    • Adjust the tension in the springs in the back of the guitar by using your Phillips head screwdriver to tighten or loosen the screws pulling on the springs.

    • It shouldn't take too much to adjust the tension, maybe half a turn or so for each screw.

    • Be absolutely sure to turn both screws (if more than one exist) the same amount.

  13. Guitar String Replacement: passo 13, imagem 1 %32 Guitar String Replacement: passo 13, imagem 2 %32 Guitar String Replacement: passo 13, imagem 3 %32
    • Tune your strings once again to see if the adjustment you made to the spring tension was enough to balance the bridge.

    • Now you must repeat this step several times. Go back and forth between tuning the strings and adjusting the spring tension until the bridge lines up with the body of the guitar. This is the part that will take quite a bit of time.

Conclusão

After balancing the bridge and tuning the strings, simply replace the back plate, lock the string clamps at the head of the guitar, and play to your heart's content!

Matt Bryan

Membro desde: 09/29/15

110 Reputação

Autoria de 1 guia

Equipe

Cal Poly, Team 14-4, Green Fall 2015 Membro de Cal Poly, Team 14-4, Green Fall 2015

CPSU-GREEN-F15S14G4

Membros da 5

Autoria de 16 guias

0 comentários

Adicione um comentário

Exibir estatísticas:

Últimas 24 horas: 1

Últimos 7 dias: 2

Últimos 30 dias: 16

Duração total: 547