
Garmin inReach Mini Back Case Replacement

Introdução
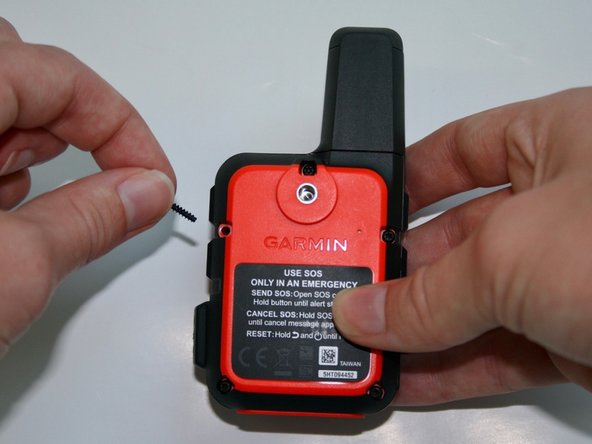
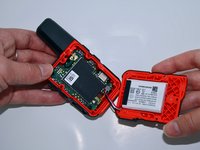
Ir para o passo 1This guide demonstrates how to replace the back case of the Garmin inReach Mini (model number 5HT094452). This guide is a prerequisite for users who are attempting to replace the battery or motherboard of the device. The battery of the device is located inside the back case. Removing the back hard case involves removing a number of small screws, and it is crucial to keep careful track of these pieces so that the case can be replaced properly.
O que você precisa

-
-
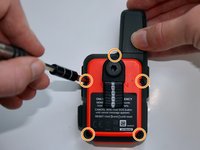
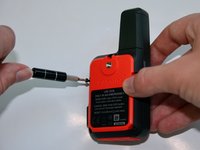
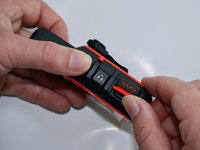
Remove the five 1.8 mm screws located on the top, sides, and bottom corners of the backside of the device.
-


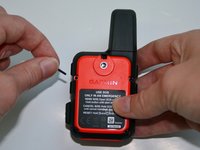


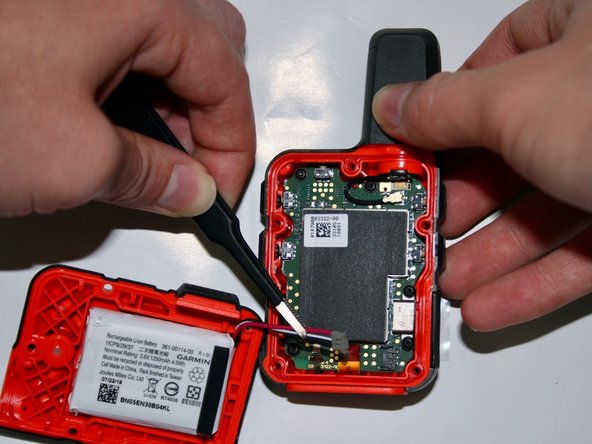


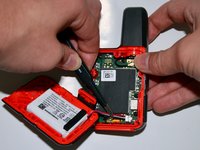
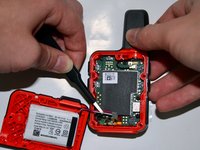

To reassemble your device, follow these instructions in reverse order.
To reassemble your device, follow these instructions in reverse order.

Equipe

University of Alabama, Team 2-2, Bedsole Fall 2021 Membro de University of Alabama, Team 2-2, Bedsole Fall 2021
UA-BEDSOLE-F21S2G2
4 Membros
Autoria de 4 guias