
EchoMaster MRC-WLP43 Camera Replacement
5 minutos
Moderado
Precisa de melhores imagens
Melhor Introdução
Introdução
Ir para o passo 1If your monitor and display is working, but your camera wont turn on then here is a guide on how to replace it. The only tools you will need is a #1 Philips head screwdriver and a #00 Phillips head screwdriver if needed.
O que você precisa


-
-
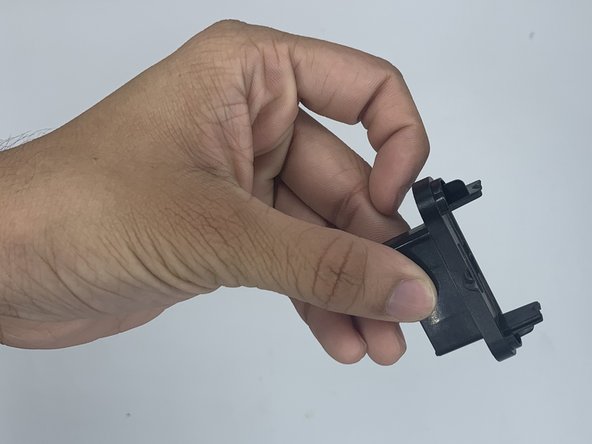
Unscrew the two silver 1.4 mm Phillips #1 screws connecting the metal bar to the camera.
-


Quase terminado!
To reassemble your device, follow these instructions in reverse order.
Conclusão
To reassemble your device, follow these instructions in reverse order.
Equipe

University of North Texas, Team 3-1, Saru Jimmy Spring 2023 Membro de University of North Texas, Team 3-1, Saru Jimmy Spring 2023
UNT-SARU JIMMY-S23S3G1
4 Membros
Autoria de 5 guias