
Cricut Maker Front Door Replacement

Introdução
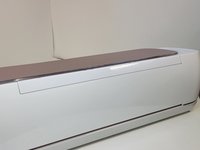
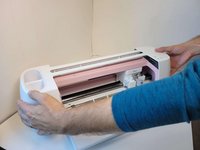
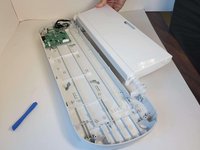
Vá para o passo 1Follow this guide if you need to replace the front door of your Cricut Maker or if you need to access other parts of the device that require the door to be removed. The front door of the Cricut Maker holds the closing magnets, which close the machine entirely, keeping debris out, and your machine spic and span.
The door cannot be removed without removing the lid first. That said, if your lid is not magnetizing to the door, or your door is broken and you would like to replace it yourself, this guide is for you.
To be safe, be sure to turn off the device and unplug it from the outlet prior to beginning this repair.


-
-
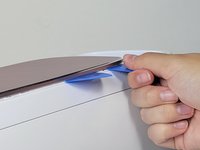
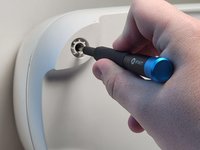
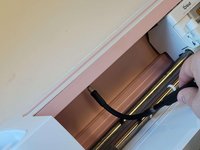
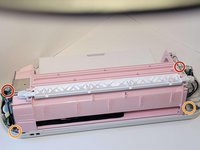
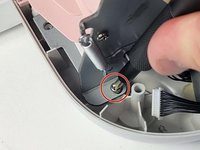
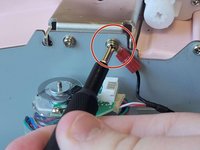
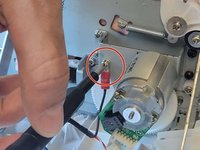
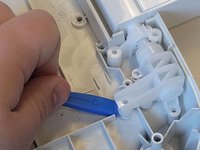
To remove the cover from the connecting joint, use an iFixit opening tool, and pry around the perimeter of the cover to release it.
-
Remove the cover from the connecting joint and set it aside.
-
-
-
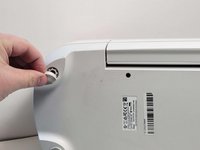
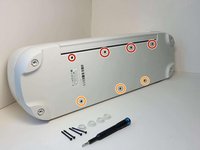
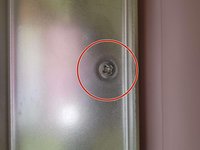
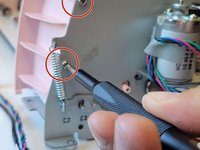
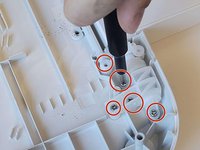
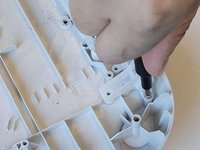
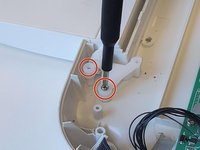
Using your hands or an opening tool, remove the four foot pads covering four screws.
-
Use a Phillips #1 screwdriver to remove four 41 mm screws from the feet.
-
-
-
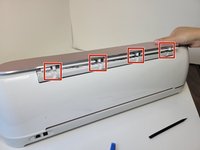
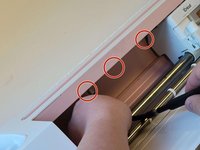
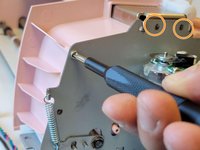
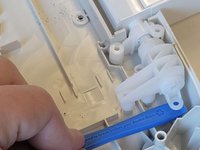
Remove the seven screws (Four 8.5 mm screws, and three 12.5 mm screws) on the bottom of the device, this will allow you to remove the cover later on.
-
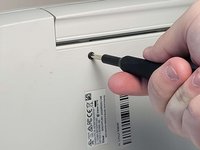
Use a Phillips #1 screwdriver to remove the four 8.5 mm screws from the bottom of the device.
-
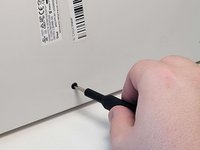
Use a Phillips #0 screwdriver to remove the three 12.5 mm screws.
-


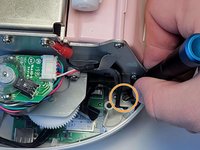


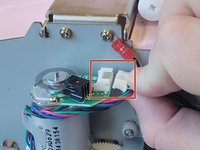
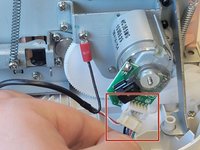


To reassemble your device, follow these instructions in reverse order.
To reassemble your device, follow these instructions in reverse order.
Cancelar: não concluí este guia.
Uma outra pessoa concluiu este guia.

Equipe

Austin Community College, Team 9-1, Watkins Fall 2022 Membro de Austin Community College, Team 9-1, Watkins Fall 2022
AUSTINCC-WATKINS-F22S9G1
Membros da 3
Autoria de 23 guias