
Cricut Maker Belt Replacement

Introdução
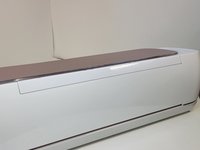
Vá para o passo 1The belt of the Cricut Maker allows the machine to maneuver the blades and engraving tips along the desired material to produce desired patterns. If the belt is worn out or damaged, you may need to replace it.
If you find your machine will not sustain your patterns or the patterns are damaged or delayed, this replacement guide is for you!
Be sure to turn your Cricut Maker off and unplug it from the outlet before beginning this guide.
O que você precisa
Ferramentas


Exibir mais…
-
-
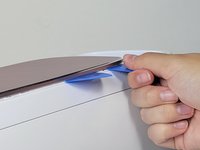
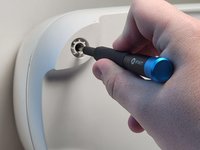
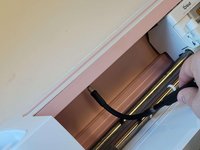
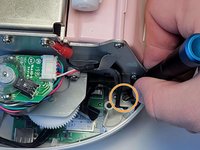
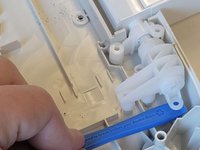
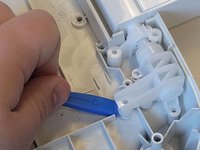
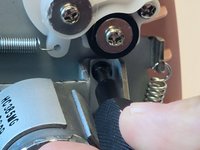
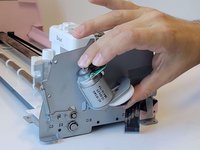
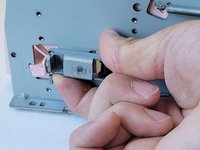
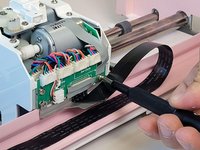
To remove the cover from the connecting joint, use an iFixit opening tool, and pry around the perimeter of the cover to release it.
-
Remove the cover from the connecting joint and set it aside.
-
-
-
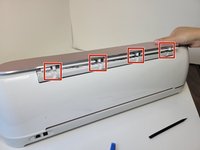
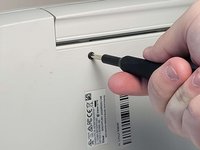
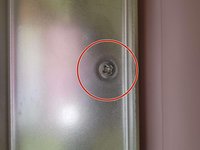
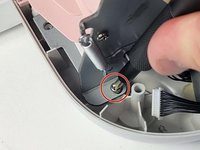
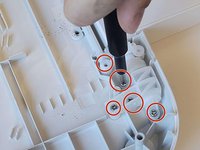
Using your hands or an opening tool, remove the four foot pads covering four screws.
-
Use a Phillips #1 screwdriver to remove four 41 mm screws from the feet.
-
-
-
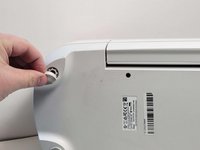
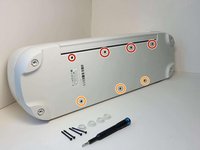
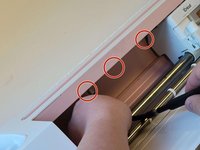
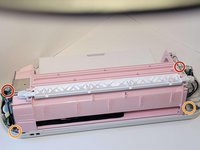
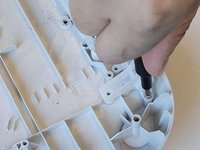
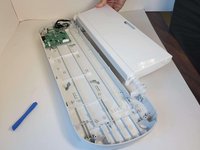
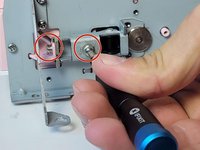
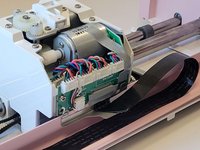
Remove the seven screws (Four 8.5 mm screws, and three 12.5 mm screws) on the bottom of the device, this will allow you to remove the cover later on.
-
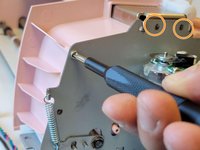
Use a Phillips #1 screwdriver to remove the four 8.5 mm screws from the bottom of the device.
-
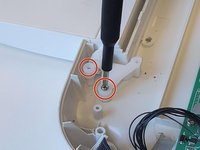
Use a Phillips #0 screwdriver to remove the three 12.5 mm screws.
-
-
-
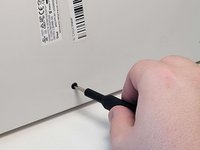
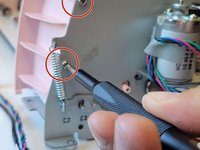
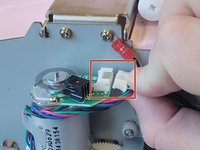
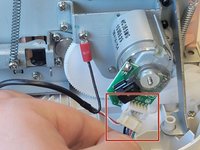
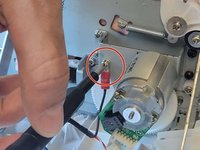
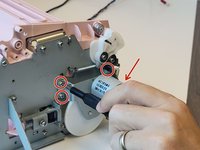
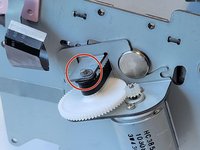
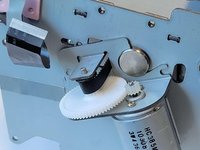
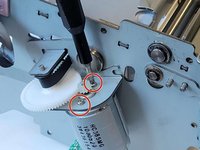
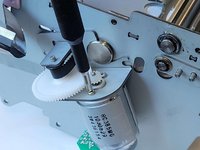
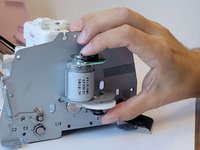
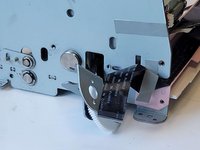
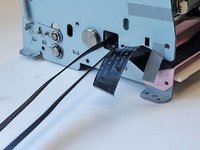
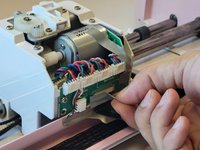
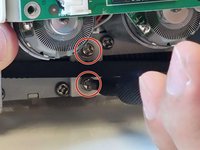
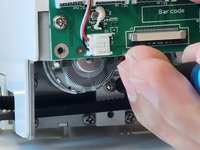
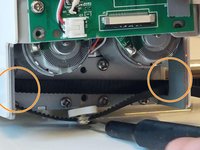
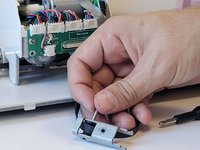
Use a Phillips #1 screwdriver to remove the four 5 mm screws that attach the motor on the left side of the machine.
-


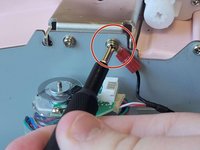


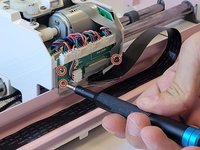


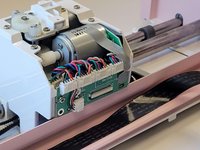


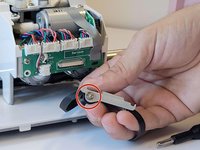
To reassemble your device, follow these instructions in reverse order.
To reassemble your device, follow these instructions in reverse order.
Cancelar: não concluí este guia.
4 outras pessoas executaram este guia.

Equipe

Austin Community College, Team 9-1, Watkins Fall 2022 Membro de Austin Community College, Team 9-1, Watkins Fall 2022
AUSTINCC-WATKINS-F22S9G1
3 Membros
Autoria de 23 guias
4 comentários
Where can I find the replace for the belt?
Wie auch meine Vorredner, würde ich gerne wissen, ob du einen Link zu einem passenden Riemen bereitstellen kannst.
Beste Grüße
No answer on where to buy 😵💫😵💫😵💫