
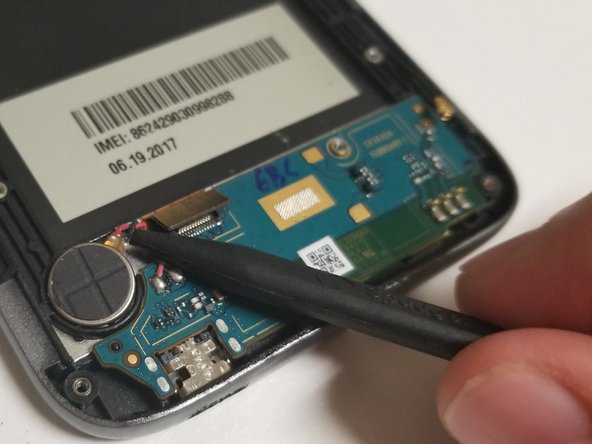
Coolpad Defiant Daughterboard Replacement
Introdução
Ir para o passo 1Use this guide to replace the daughterboard in your phone.
O que você precisa


-
-
Turn the phone with the back cover facing towards you.
-
Carefully remove the back cover by holding one corner of the case and carefully pulling it away from the phone.
-
-
-
Find the gap on the bottom of the battery.
-
With a tool or with your hands, pull the battery upward and set it aside safely.
-
-
-
Remove all fifteen screws using the Phillips #000 screwdriver.
-
Remove the back panel after all screws are removed.
-


To reassemble your device, follow these instructions in reverse order.
To reassemble your device, follow these instructions in reverse order.
Equipe

University of North Texas, Team S5-G6, Thompson Fall 2018 Membro de University of North Texas, Team S5-G6, Thompson Fall 2018
UNT-THOMPSON-F18S5G6
3 Membros
Autoria de 10 guias