
Canon Powershot SD550 LCD Screen Replacement
Introdução
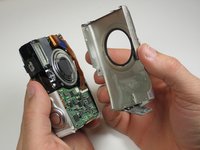
Ir para o passo 1A cracked LCD screen is a prevalent problem in digital cameras. But, before you spend money on a new LCD screen, make sure the camera still works by taking a few pictures and uploading them to your computer. A cracked LCD will not affect the quality of the pictures. You do not want to try to replace the LCD if something else is broken.
O que você precisa


-
-
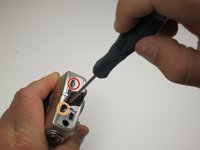
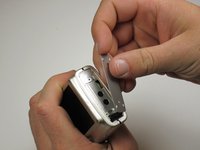
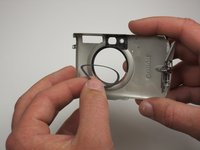
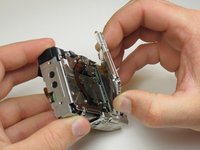
Peel the navigation buttons from the button panel and set them aside.
-
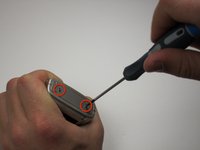
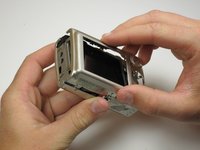
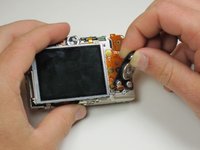
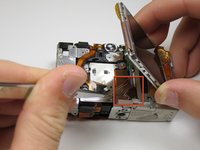
To free the LCD display, remove the 2.9 mm screw in the top left corner.
-
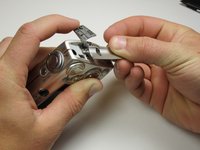
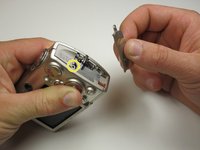
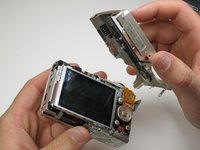
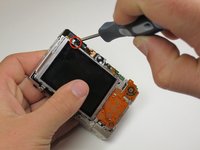
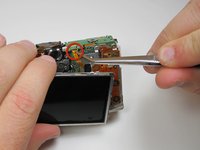
Rotate the screen clockwise until it lifts away from the camera.
-


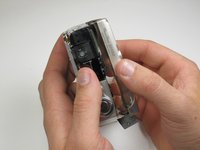


To reassemble your device, follow these instructions in reverse order.
To reassemble your device, follow these instructions in reverse order.
Cancelar: não concluí este guia.
2 outras pessoas executaram este guia.
Equipe

Cal Poly, Team 18-23, Garner Spring 2011 Membro de Cal Poly, Team 18-23, Garner Spring 2011
CPSU-GARNER-S11S18G23
5 Membros
Autoria de 7 guias