
Canon PowerShot SD1200 IS LCD Replacement
Introdução
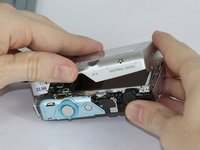
Ir para o passo 1Removing the LCD screen seems intimidating, but everything comes apart rather easily. You just have to lift tabs, remove a single screw and lift out the screen.
O que você precisa


-
Ferramenta utilizada neste passo:Tweezers$4.99
-
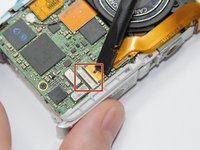
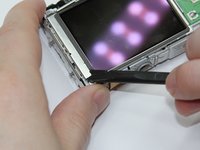
Use the spudger to lift the retaining flap on the Zero Insertion Force (ZIF) tab securing the thick ribbon cable.
-
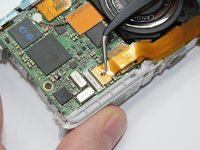
Slide out the ribbon cable using fingers or tweezers.
-
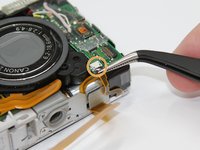
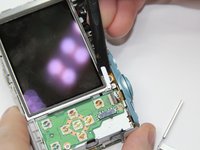
Using tweezers, disconnect the small ribbon cable below the flash assembly from the No Fuss Connector by simply pulling the ribbon cable straight out.
-


To reassemble your device, follow these instructions in reverse order.
To reassemble your device, follow these instructions in reverse order.
Cancelar: não concluí este guia.
Uma outra pessoa concluiu este guia.
Equipe

USF Tampa, Team 17-5, Blackwell Fall 2016 Membro de USF Tampa, Team 17-5, Blackwell Fall 2016
USFT-BLACKWELL-F16S17G5
3 Membros
Autoria de 7 guias
1Comentário do guia
Hello do you guys sello the LCD screen and do you ship to México.