
Canon EOS 7D Bent CF Pin Fix/Card Reader Replacement
Introdução
Ir para o passo 1If you have experienced an issue with a bent CF pin or non functioning card reader, this guide shows how to replace the card reader. The part is approximately $30 on eBay US.
Let me first start out with a precaution:
This is a challenging repair. I would advise against it if you don't have repair experience, especially since it's an expensive camera.
However, if you are ambitious DO NOT LET THAT DISCOURAGE YOU. If you have done repairs before (replaced iPhone screen, built a computer etc) you will be fine. Just take your time and be patient. If you have an issue or cant understand my guide, please comment asking for help and I will be happy to explain
O que você precisa
Ferramentas

-
-
First the outside screws need to be taken off. Start with the three screws on the left of the camera (looking from the back).
-
To get to these screws, the front rubber pieces will need to be removed. Run a plastic opener under the edge, and peel the rest off.
-
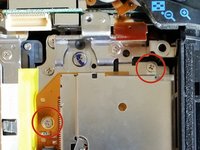
Once the rubber is off, remove the top two screws pictured
-
-
-
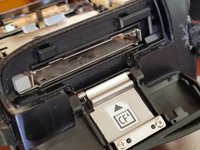
The final screw securing the back of the camera is located under the thumb grip rubber. Using the same process, peel back the rubber starting from the top.
-
The entire piece does not need to be removed, just enough to reveal the final screw well
-
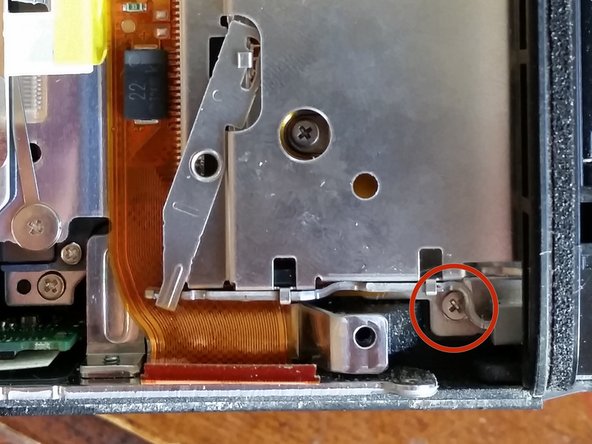
Once access is gained to the final screw remove it.
-
-
-
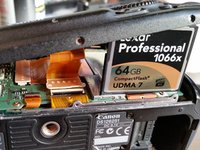
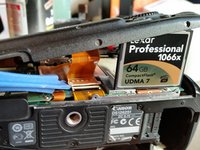
To remove the connecting flex cable, something can be used to hold it up (CF card was used in the example photo), or simply hold it up with another hand
-
Use a plastic opener to pry the bottom connector out of the socket.
-
Once disconnected, lift up the back and set it aside, it will not be needed until reassembly.
-
-
Ferramenta utilizada neste passo:Tweezers$4.99
-
Now, the flex cables need to be disconnected.
-
There is no particular order they need to be disconnected in, as long as they all are disconnected.
-
Upon reassembly, it helps to swab all the contacts at the end of the cables with a degreaser such as Isopropyl alcohol.
-
Most of the cables can be disconnected by flipping up a tightening bar.
-
To do so, insert a plastic opening tool under the edge and pry up
-
Now that the cable is lose, use tweezers or just simply your fingers to pull out the cable.
-
-
-
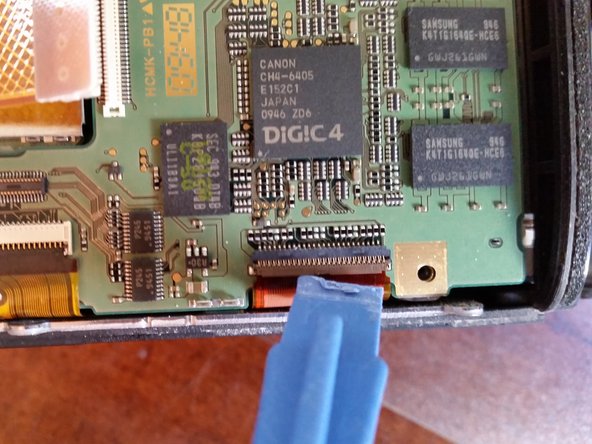
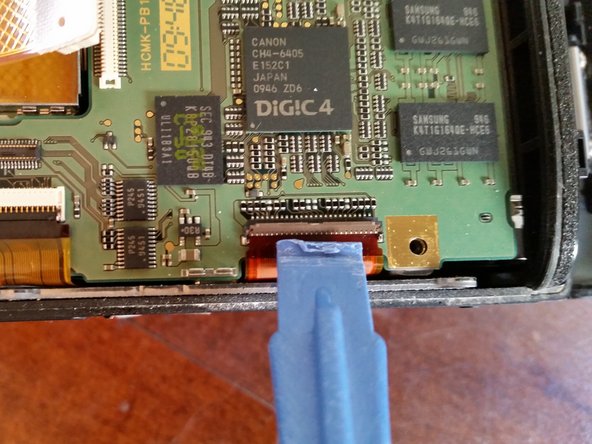
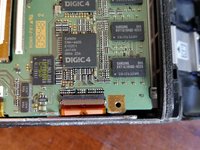
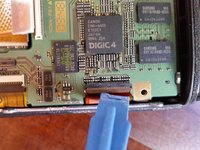
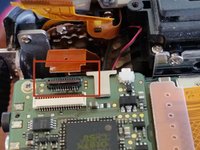
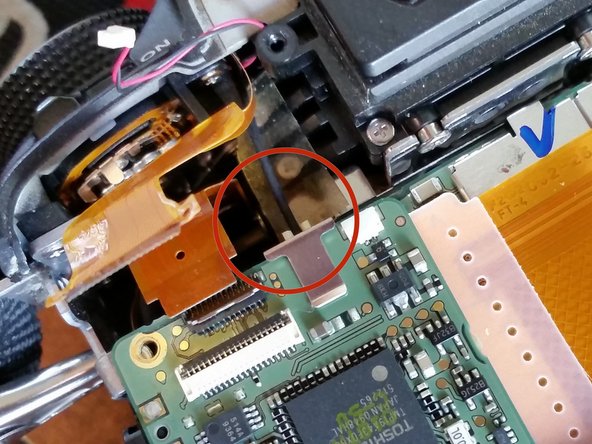
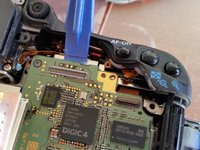
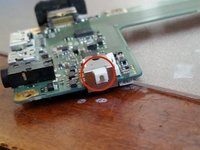
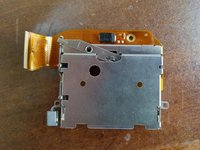
The board now is ready to come out. It has a connector on the top right, so it cannot be pulled out quickly. Instead, slide a plastic opening tool under the top right of the board, and pry up.
-
Once the connector is disconnected, carefully remove the board and set it aside.
-
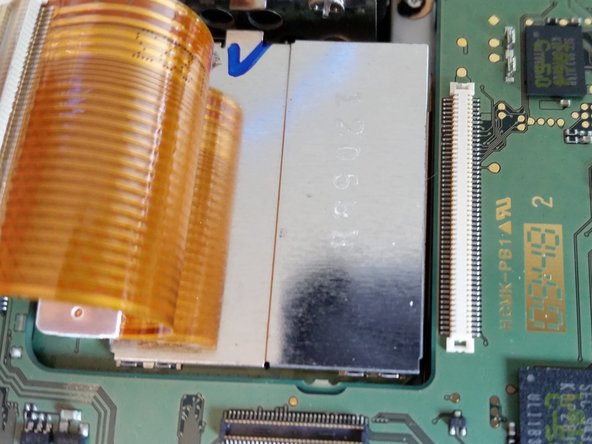
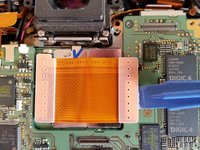
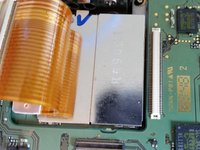
Reassembly: Make sure the black tube goes into the slot on the board, it's easy to miss.
-


To reassemble your device, follow these instructions in reverse order.
To reassemble your device, follow these instructions in reverse order.
Cancelar: não concluí este guia.
24 outras pessoas executaram este guia.
19Comentários do guia
Excellent guide! Some additional tips:
1. be extra sure that you've seated the ribbon connectors securely and correctly. I didn't and got an "Err 20". I disassembled, cleaned ribbons with alcohol, reassembled and it was fine.
2. It would be great if there was some pictures for removing the actual connector for the CF card from the housing. It was a little tricky but practicing using the old broken one will help you to seat the new one correctly.
Great guide. I was successful with my fix. A few more tips:
1. Eyepiece removal -- squeeze sides and SLIDE it upward toward the top of the camera.
2. Use a magnetic or slightly magnetized screw driver. On one of the tiny internal screws it came off my screw driver and dropped into the internals of the camera. I thought I was doomed, but after removing the main board and by carefully lifting and tilting the camera, I was able to find and retrieve it with tweezers.
3. When removing ribbon cables, the tightening bar flips up and the ribbon cable slides out (don't lift upward, slide it back toward the direction the cable comes from).
4. In step 13, I think he means "top left" corner and on my camera both cables had a tightening bar.
5. When reinserting the ribbon cables, I found it very helpful to use the tiny whole in the cable and pair of pointed tweezers to gently "squeeze" the ribbon cable into the connector. This also helped it go in straight.
After I reinstalled everything, I put in the battery, the empty battery signal blinking even on full charge.
nothing else showing.
Anyone know which part went wrong?
I have this same problem, where I'm stuck is with the main flex cable, which looks like it's not connected to anything.. help?