Ir para o conteúdo principal

Canon EOS 40D LCD Replacement

O que você precisa

  1. Canon EOS 40D LCD Replacement, Battery: passo 1, imagem 1 %32
    • Locate the battery compartment cover on the bottom of the camera below the shutter button.

  2. Canon EOS 40D LCD Replacement: passo 2, imagem 1 %32
    • Find the marked arrow on the battery compartment cover labeled "BATT. OPEN". Slide the lever following the arrow's direction and lift at the same time to release the latch.

  3. Canon EOS 40D LCD Replacement: passo 3, imagem 1 %32
    • Release the lever and allow the battery compartment cover to completely open.

    • Remove the battery.

  4. Canon EOS 40D LCD Replacement, LCD: passo 4, imagem 1 %32
    • Remove the rubber eyepiece by sliding it upwards.

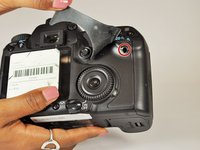
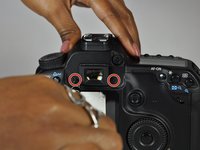
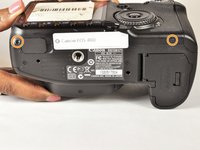
  5. Canon EOS 40D LCD Replacement: passo 5, imagem 1 %32 Canon EOS 40D LCD Replacement: passo 5, imagem 2 %32 Canon EOS 40D LCD Replacement: passo 5, imagem 3 %32
    • Remove the three 5.0 mm Phillips #000 screws.

    • Remove the two 3.0 mm Phillips #000 screws on the bottom of the camera.

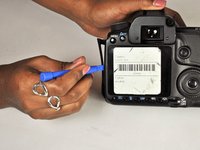
  6. Canon EOS 40D LCD Replacement: passo 6, imagem 1 %32 Canon EOS 40D LCD Replacement: passo 6, imagem 2 %32 Canon EOS 40D LCD Replacement: passo 6, imagem 3 %32
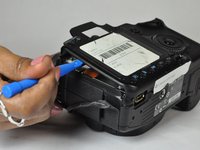
    • Remove the side cover using a plastic opening tool or your hands.

    • Use a plastic opening tool to gently start prying the rear case up from the rest of the camera.

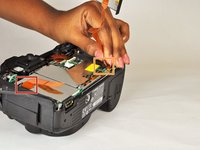
    • Use the tip of a spudger to disconnect the ZIF connector on the left side of the camera. The ribbon cable on this device was torn in the process of removing the back case, so there are no photos showing this step.

    • Disconnect the ribbon cable securing the rear case to the motherboard.

    • Separate the rear case from the camera.

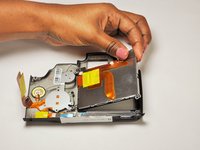
  7. Canon EOS 40D LCD Replacement: passo 7, imagem 1 %32 Canon EOS 40D LCD Replacement: passo 7, imagem 2 %32
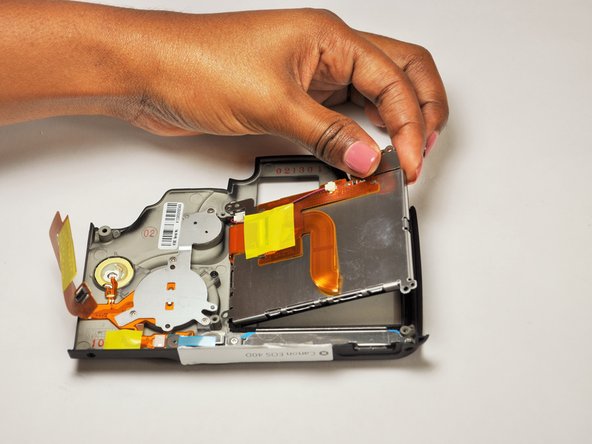
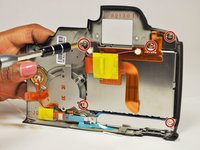
    • Remove the five 5.0 mm Phillips #000 screws securing the LCD to the rear case.

    • Lift the LCD free of the rear case.

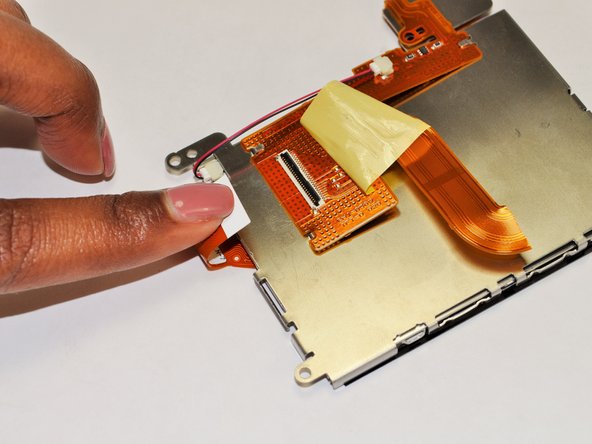
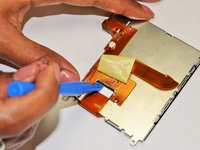
  8. Canon EOS 40D LCD Replacement: passo 8, imagem 1 %32 Canon EOS 40D LCD Replacement: passo 8, imagem 2 %32 Canon EOS 40D LCD Replacement: passo 8, imagem 3 %32
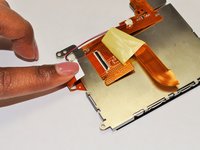
    • Remove the yellow tape covering the LCD ZIF connector.

    • Use a plastic opening tool to lift up the black retaining flap.

    • Pull the LCD ribbon cable out of the connector.

  9. Canon EOS 40D LCD Replacement: passo 9, imagem 1 %32
    • Use a pair of tweezers to disconnect the cable connector.

    • The LCD frame should now come free of the LCD panel.

  10. Canon EOS 40D LCD Replacement: passo 10, imagem 1 %32
    • LCD panel remains.

    • It's a good idea to use a soft cloth to wipe the LCD screen and rear cover before reassembly.

Conclusão

To reassemble your device, follow these instructions in reverse order.

3 outras pessoas executaram este guia.

Diarra Thomas

Membro desde: 09/03/15

160 Reputação

Autoria de 1 guia

Equipe

USF Tampa, Team 12-3, Blackwell Fall 2015 Membro de USF Tampa, Team 12-3, Blackwell Fall 2015

USFT-BLACKWELL-F15S12G3

Membros da 4

Autoria de 16 guias

Um comentário

For the life of me, I cannot remove the two screws on either side of the view-finder!

tomaska - Responder

Adicione um comentário

Exibir estatísticas:

Últimas 24 horas: 1

Últimos 7 dias: 3

Últimos 30 dias: 31

Duração total: 4,462