
Blossom Ultrasonic Essential Oil Diffuser ARM-510GY Fan Replacement

Introdução
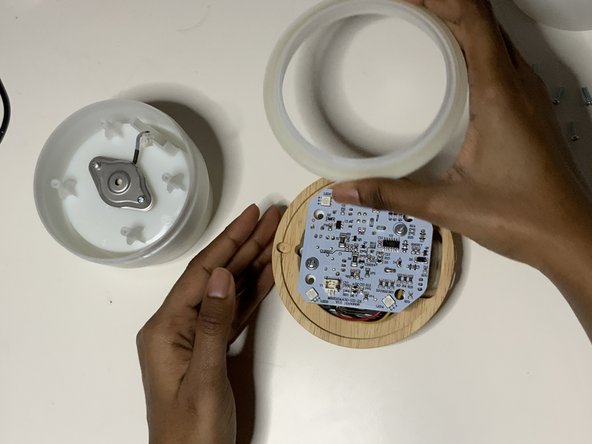
Vá para o passo 1A diffuser's fan and battery are common faults in a diffuser breaking down. The fan keeps the internals of the device, like the motherboard, from overheating. In this guide, we replace a fan from a Blossom Ultrasonic Essential Oil Diffuser ARM-510GY.
Before disassembling the diffuser, make sure there is no oil or water left in the diffuser and make sure the diffuser is unplugged.
O que você precisa

-
-
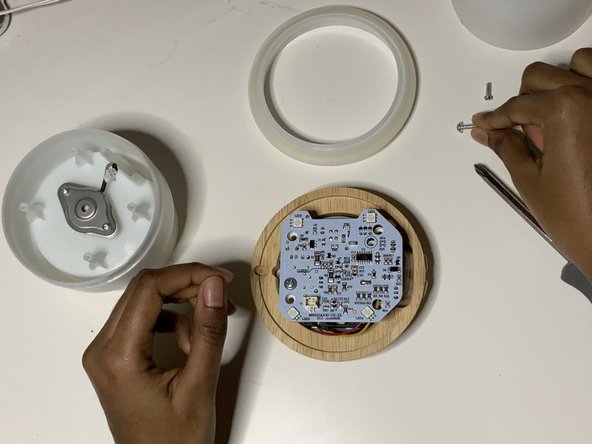
Use a Phillips #2 screwdriver to remove the four 8 mm screws on the bottom of the diffuser.
-


To reassemble your device, follow these instructions in reverse order.
To reassemble your device, follow these instructions in reverse order.

Equipe

York University, Team R-17, Melo-Thaiss Winter 2022 Membro de York University, Team R-17, Melo-Thaiss Winter 2022
YORK-MELO-THAISS-W22SRG17
1 Membro
Autoria de 2 guias