
Bissell Air180 Fan Replacement

Introdução
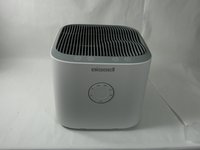
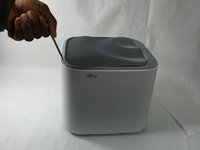
Vá para o passo 1The fan on the Bissell Air180 is a vital component in air purification. With propellers constantly in motion, it can be easy for something to get stuck or cause this component to malfunction.
O que você precisa
Ferramentas


-
-
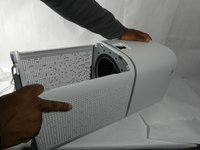
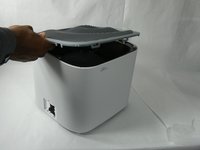
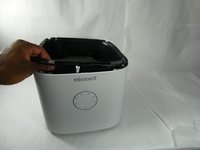
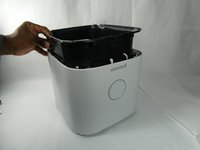
Squeeze the clip on the back panel of the bottom housing and pull the panel away from the housing, exposing the air filter.
-
-
-
Remove the four 18mm Phillips #1 screws connecting the bottom housing to the rest of the device.
-
-
-
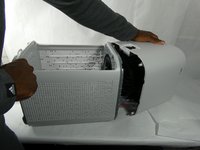
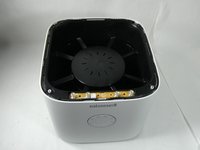
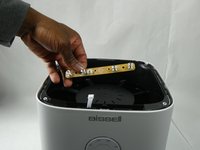
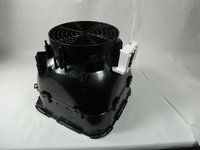
Pry off the top vent, separating it from the fan and motherboard housing.
-
-
-
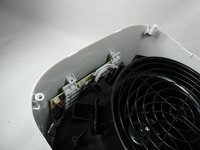
Flip the motherboard and fan housing upside down to find where to disconnect the fan from the rest of the device.
-
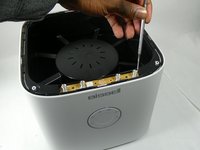
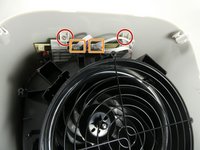
Remove the two 11 mm screws using a Phillips #1 screwdriver.
-
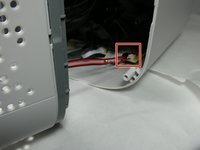
Detach the two wires connecting the fan to the motherboard so the fan is now loose inside the housing.
-


To reassemble your device, follow these instructions in reverse order.
To reassemble your device, follow these instructions in reverse order.

Equipe

UMass Dartmouth, Team 3-4, Botvin Fall 2022 Membro de UMass Dartmouth, Team 3-4, Botvin Fall 2022
UMASSD-BOTVIN-F22S3G4
Membros da 4
Autoria de 5 guias