Ir para o conteúdo principal

Bath Tub Cartridge Replacement

O que você precisa

  1. Bath Tub Cartridge Replacement, Cartridge: passo 1, imagem 1 %32
    • Turn off the water supply for the home. This is usually found in the basement next to the ventilation system.

    • If this is not done, the bathroom will overflow with water.

  2. Bath Tub Cartridge Replacement: passo 2, imagem 1 %32 Bath Tub Cartridge Replacement: passo 2, imagem 2 %32
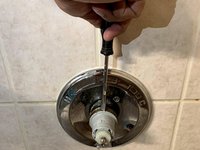
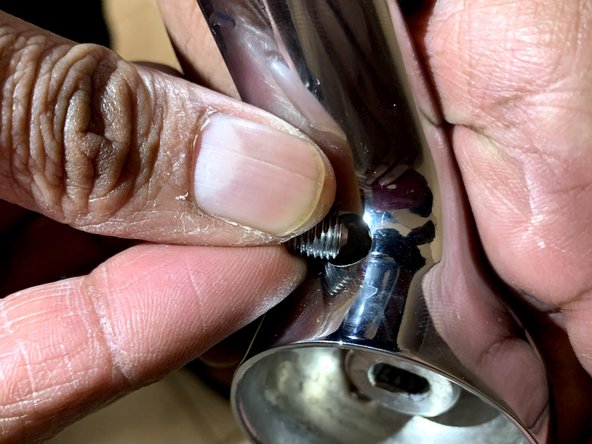
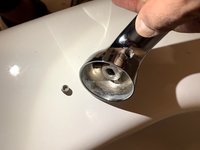
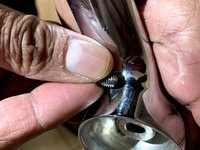
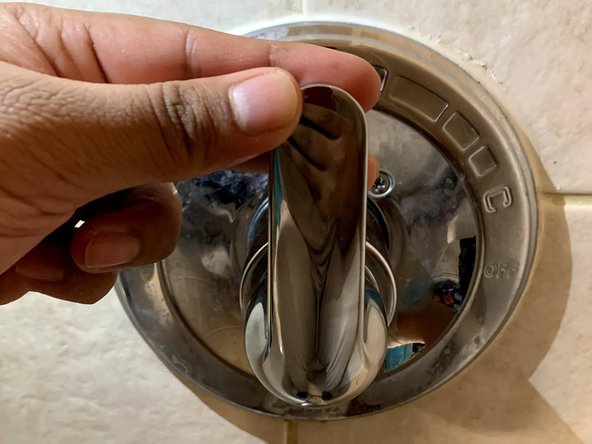
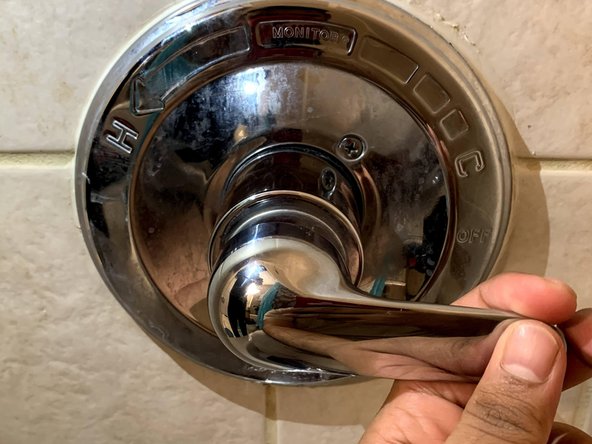
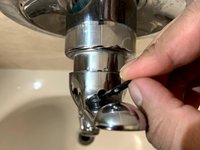
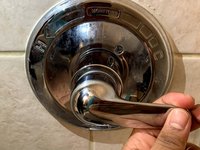
    • Loosen the faucet screw using an Allen key.

    • Every tub faucet is different, so yours may require a different size Allen key or screwdriver.

  3. Bath Tub Cartridge Replacement: passo 3, imagem 1 %32
    • When the screw is loosened, slide the handle off.

    • To keep screws from falling down the drain, place a towel over the drain to catch the screws.

  4. Bath Tub Cartridge Replacement: passo 4, imagem 1 %32 Bath Tub Cartridge Replacement: passo 4, imagem 2 %32 Bath Tub Cartridge Replacement: passo 4, imagem 3 %32
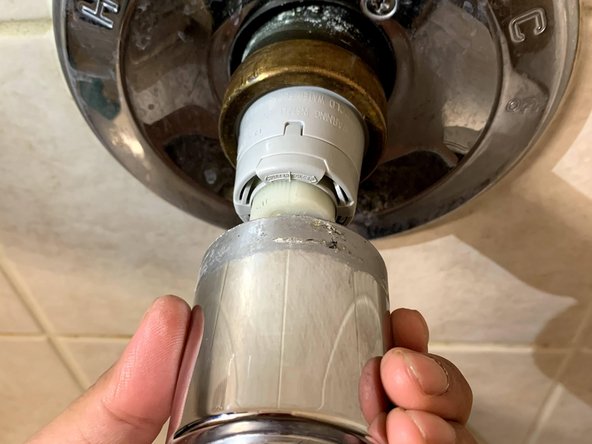
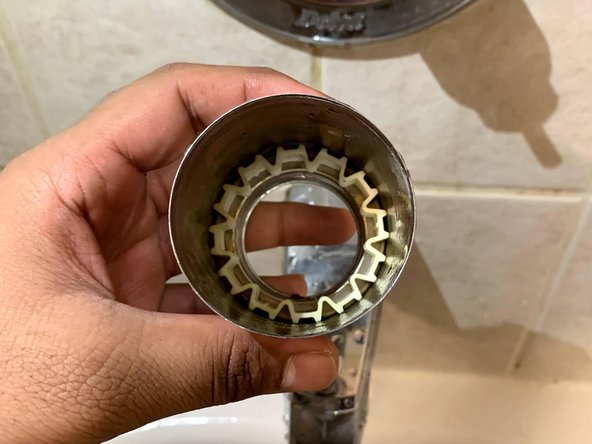
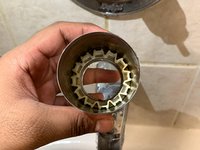
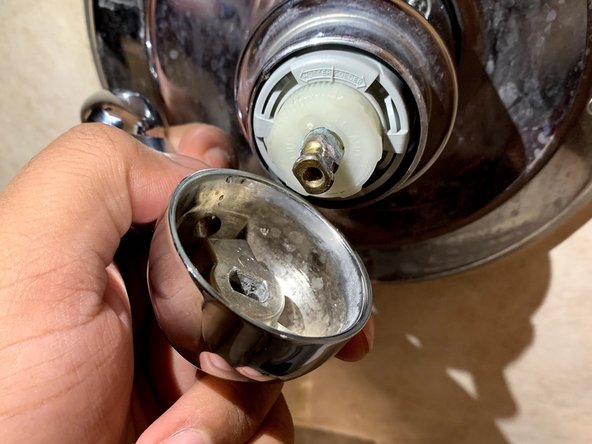
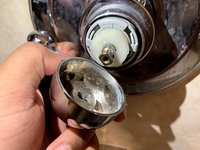
    • Remove the metal cap by sliding it off.

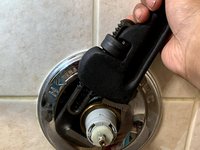
  5. Bath Tub Cartridge Replacement: passo 5, imagem 1 %32 Bath Tub Cartridge Replacement: passo 5, imagem 2 %32 Bath Tub Cartridge Replacement: passo 5, imagem 3 %32
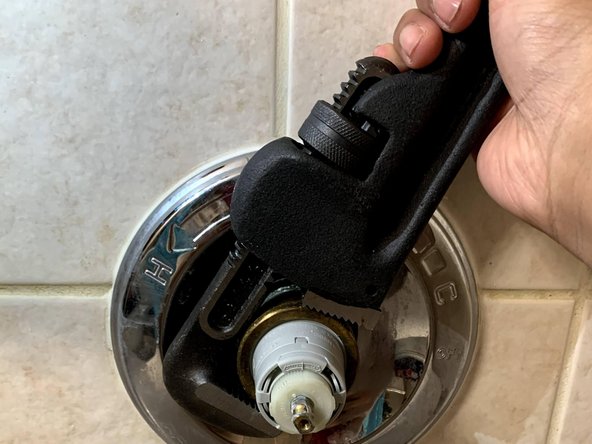
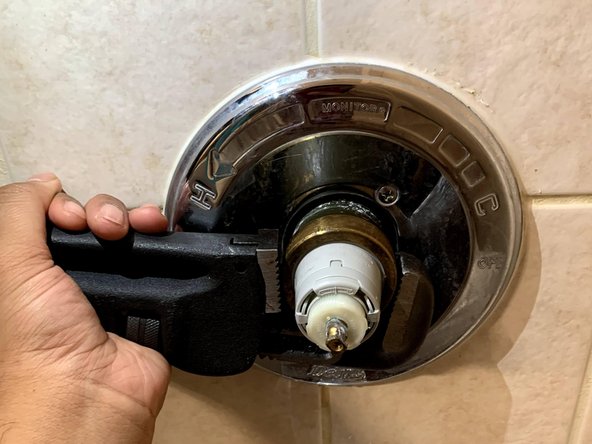
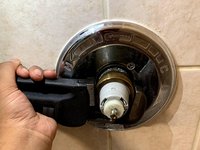
    • Use your hands to turn the ring to the left to loosen it. If the ring is not turning then use a wrench.

    • Do not use force when using the wrench as this will damage the pile.

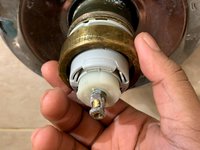
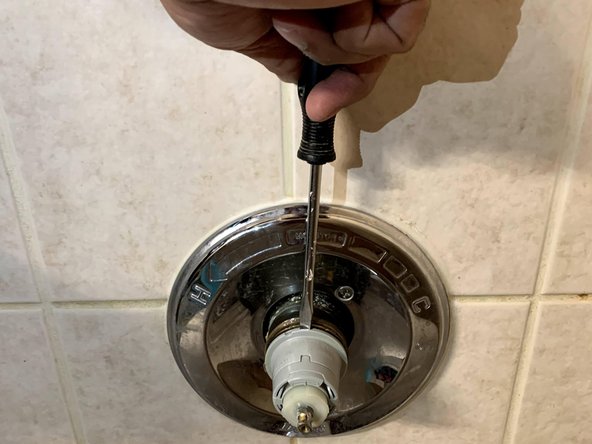
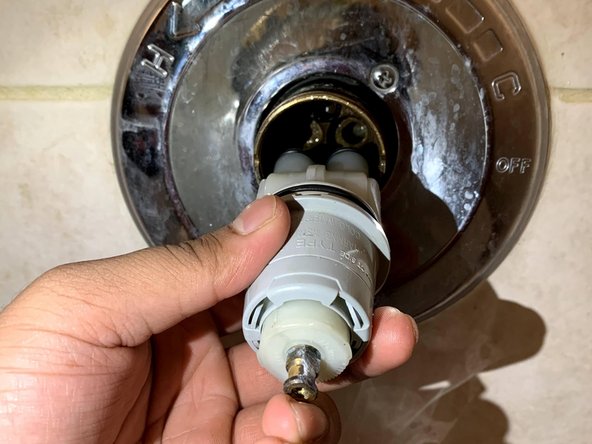
  6. Bath Tub Cartridge Replacement: passo 6, imagem 1 %32 Bath Tub Cartridge Replacement: passo 6, imagem 2 %32 Bath Tub Cartridge Replacement: passo 6, imagem 3 %32
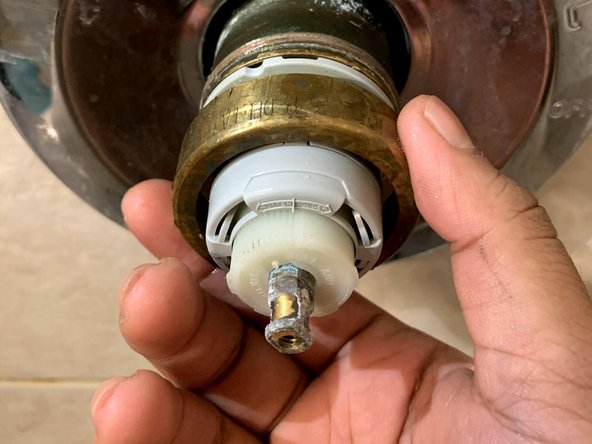
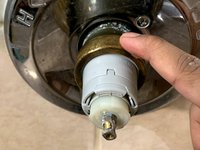
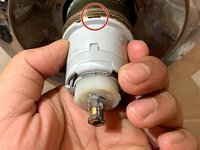
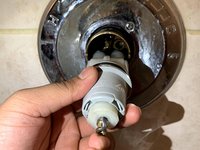
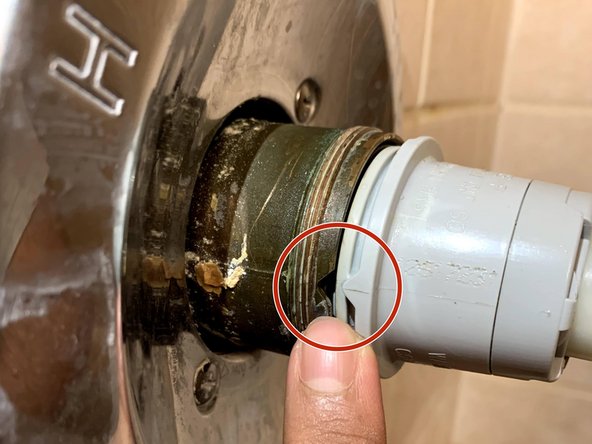
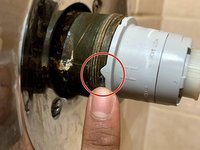
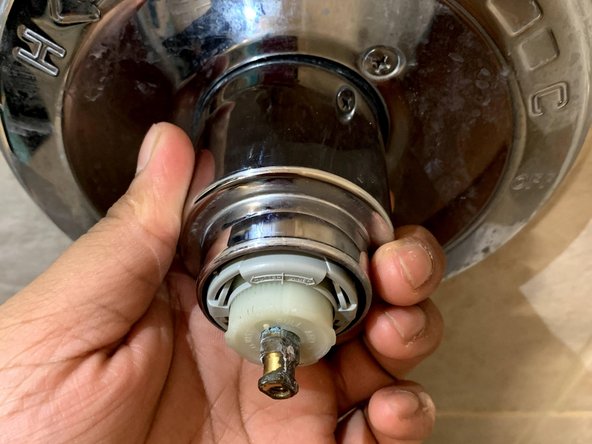
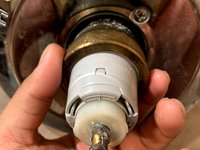
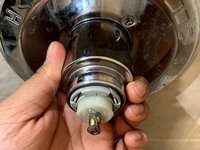
    • Use your hand to slide the cartridge out.

    • If the cartridge is stuck, you can use a spudger to remove it. There is a slight nook in between the pile and cartridge which can be used for leverage.

    • Not much force is needed to remove the cartridge.

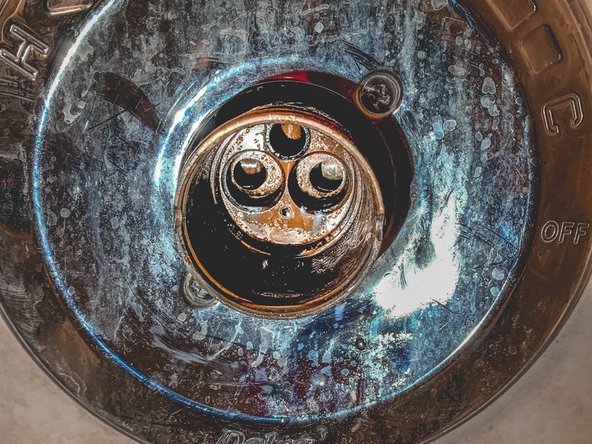
    • Once the cartridge is removed, water remaining in the pile will flow out.

  7. Bath Tub Cartridge Replacement: passo 7, imagem 1 %32 Bath Tub Cartridge Replacement: passo 7, imagem 2 %32 Bath Tub Cartridge Replacement: passo 7, imagem 3 %32
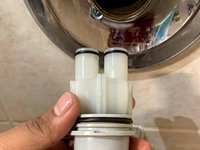
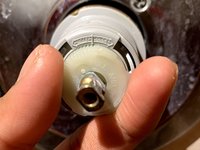
    • Line up the side of the new cartridge with the pile.

  8. Bath Tub Cartridge Replacement: passo 8, imagem 1 %32 Bath Tub Cartridge Replacement: passo 8, imagem 2 %32
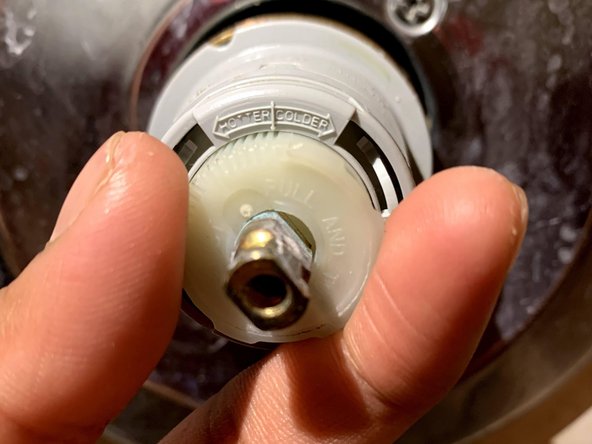
    • If the cartridge is successfully installed, it will be flush with the pile. For an extra measure you can push the cartridge inward, but do not use a lot of force.

    • The front end of the cartridge will be able to determine the temperature of your water. Pull the plastic toward yourself, and turn it to the right for cold water, and to the left for hot water. You can also keep the plastic in the middle, but the temperature of the water will be less accurate. This means it will either be too cold or too hot.

  9. Bath Tub Cartridge Replacement: passo 9, imagem 1 %32 Bath Tub Cartridge Replacement: passo 9, imagem 2 %32 Bath Tub Cartridge Replacement: passo 9, imagem 3 %32
    • Place the ring back on and turn it to the right to tighten it. Use your hands before using the wrench to tighten.

    • Slide the metal cap back on.

  10. Bath Tub Cartridge Replacement: passo 10, imagem 1 %32 Bath Tub Cartridge Replacement: passo 10, imagem 2 %32 Bath Tub Cartridge Replacement: passo 10, imagem 3 %32
    • Place the screw back into the handle before placing it back onto the cartridge.

    • Make sure the tip of the cartridge is lined up with the inner part of the handle; if they are lined up, the handle will be able to slide on without any difficulty.

  11. Bath Tub Cartridge Replacement: passo 11, imagem 1 %32 Bath Tub Cartridge Replacement: passo 11, imagem 2 %32 Bath Tub Cartridge Replacement: passo 11, imagem 3 %32
    • Use the Allen key to screw the handle back onto the cartridge.

    • Do not screw on the handle too tightly because if a problem occurs, you will have to unscrew it again.

    • Once the handle is on, you will be able to move it to the right and left.

  12. Bath Tub Cartridge Replacement: passo 12, imagem 1 %32
    • Turn the water supply back on.

    • One person should be in the bathroom to check if the shower and faucet are working properly. Once the water supply is turned on, the faucet will make a noise—this is perfectly normal and will go away after one to two minutes.

Conclusão

To reassemble your device, follow these instructions in reverse order.

Sohaib Zaheer

Membro desde: 09/16/20

205 Reputação

Autoria de 1 guia

Equipe

Um comentário

This guide was very helpful in showing me how to replace the cartridge in my bathtub faucet. The instructions were clear and easy to follow, and the photos were very helpful. I was able to complete the repair myself in just a few minutes, and now my faucet is working like new again. Thanks for the great guide!

Royal Bathrooms - Responder

Adicione um comentário

Exibir estatísticas:

Últimas 24 horas: 6

Últimos 7 dias: 50

Últimos 30 dias: 198

Duração total: 5,246