
Ballpoint Pen Spring Replacement
Introdução
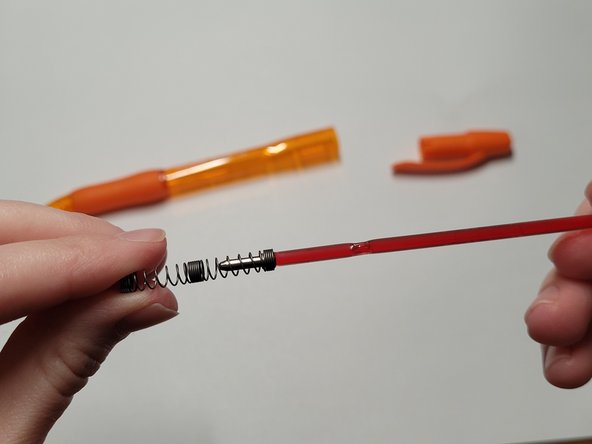
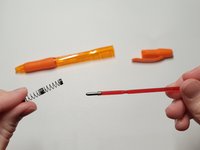
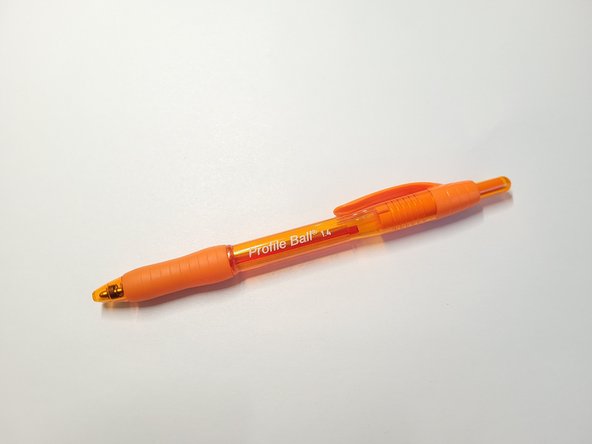
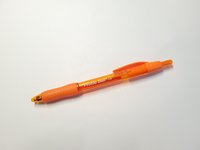
Ir para o passo 1Use this guide to replace a broken or faulty spring in any brand of ballpoint pen. In this example, we are working with the Paper Mate Profile Ballpoint Pen.
The spring allows for the pen to actively write and transfer ink to a page. A broken or faulty spring will not allow this action to occur.
Before you begin, make sure to test the pen's ability to 'click on' and write. This will allow you to determine if the spring is the issue at hand.
Follow along carefully with the steps below in order to effectively replace a pen spring.
O que você precisa
Peças


Equipe

University of Wisconsin Eau Claire, Team 1-9, Cameron Spring 2024 Membro de University of Wisconsin Eau Claire, Team 1-9, Cameron Spring 2024
UWEC-CAMERON-S24S1G9
2 Membros
1 Guia de autoria