Ir para o conteúdo principal
BLU Life XL Volume Control Buttons Replacement

BLU Life XL Volume Control Buttons Replacement

James Whitlow

James Whitlow e 4 outros colaboradores

Última atualização em May 16, 2018

30 minutos - 1 hora
Moderada
Acidente de Marcação

Having issues with your volume control buttons? This guide instructs you to detach the rear panel assembly in addition to the rear plate and replace the volume control buttons.

O que você precisa

Ferramentas

Exibir mais…

  1. BLU Life XL Volume Control Buttons Replacement, Volume Control Buttons: passo 1, imagem 1 %32 BLU Life XL Volume Control Buttons Replacement, Volume Control Buttons: passo 1, imagem 2 %32 BLU Life XL Volume Control Buttons Replacement, Volume Control Buttons: passo 1, imagem 3 %32
    • Turn the device off by holding down the power button for up to 5 seconds and then tapping the "Power off" button on the screen.

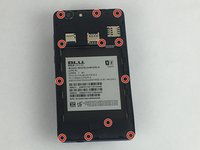
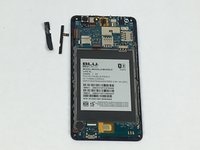
    • Remove the rear cover using your hands at the lip on the device back cover. No tools required.

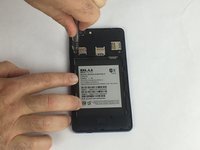
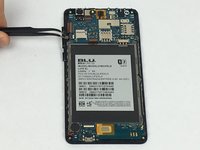
    • Remove the battery by lifting the lower edge of the battery up first.

  2. BLU Life XL Volume Control Buttons Replacement: passo 2, imagem 1 %32 BLU Life XL Volume Control Buttons Replacement: passo 2, imagem 2 %32
    • Remove the 12x3mm screws from the rear plate using the Phillips#000 screwdriver.

  3. BLU Life XL Volume Control Buttons Replacement: passo 3, imagem 1 %32 BLU Life XL Volume Control Buttons Replacement: passo 3, imagem 2 %32
    • Firmly press the prying tool into the gap between the front glass and rear plate. This gap is located on all sides of the phone.

    • Run the prying tool around the entire phone separating the rear plate from the frame.

  4. BLU Life XL Volume Control Buttons Replacement: passo 4, imagem 1 %32 BLU Life XL Volume Control Buttons Replacement: passo 4, imagem 2 %32 BLU Life XL Volume Control Buttons Replacement: passo 4, imagem 3 %32
    • Gently remove the tape covering the volume control buttons. The tape is located near the top left of the cavity for the battery.

    • Replace the component and reapply the tape over the buttons.

Conclusão

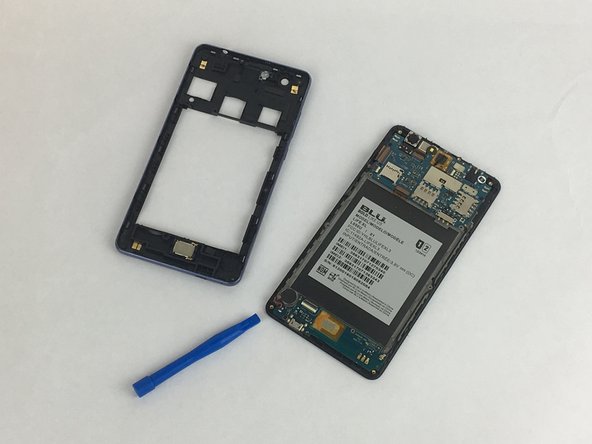
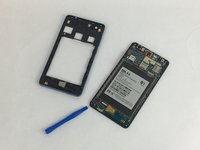
To reassemble your device, follow these instructions in reverse order.

James Whitlow

Membro desde: 02/14/18

342 Reputação

Autoria de 3 guias

Equipe

USF Tampa, Team S2-G5, Eyestone Spring 2018 Membro de USF Tampa, Team S2-G5, Eyestone Spring 2018

USFT-EYESTONE-S18S2G5

Membros da 3

Autoria de 5 guias

0 comentários

Adicione um comentário

Exibir estatísticas:

Últimas 24 horas: 0

Últimos 7 dias: 8

Últimos 30 dias: 21

Duração total: 313