Asus Zenbook UX21e LCD Screen Replacement
Introdução
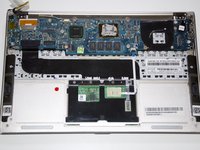
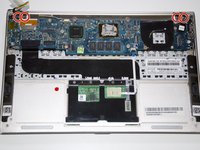
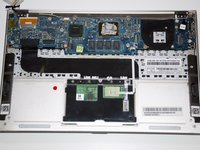
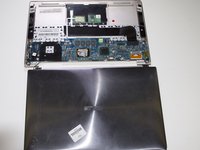
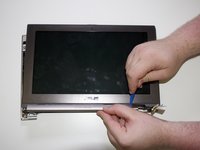
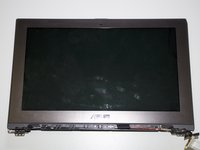
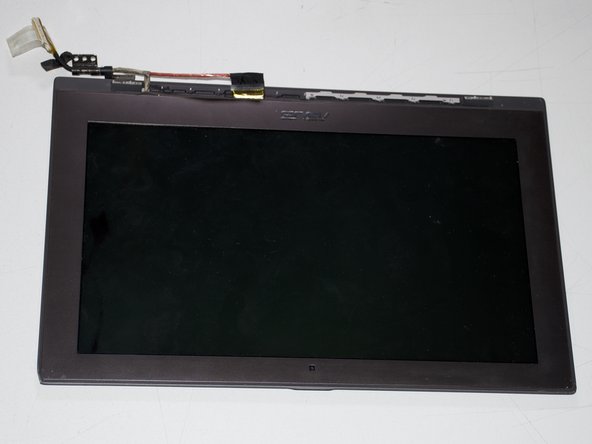
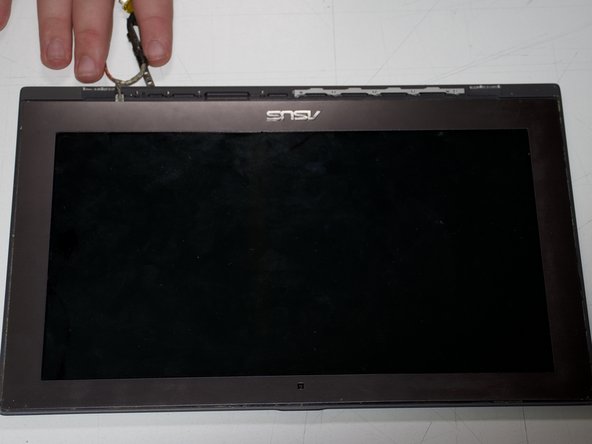
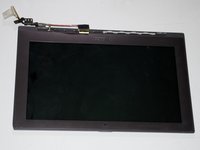
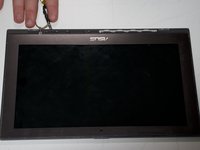
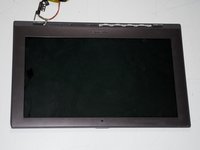
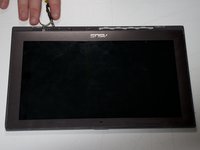
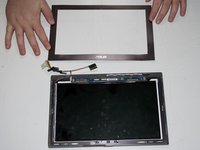
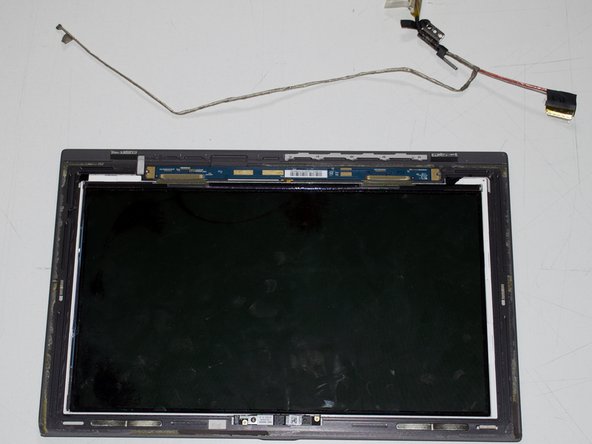
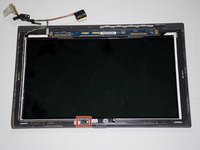
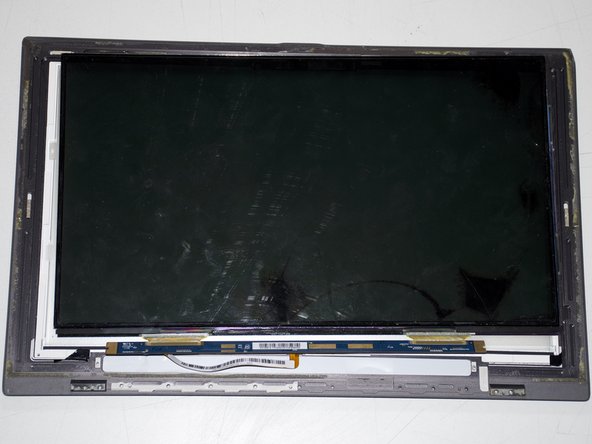
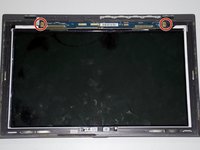
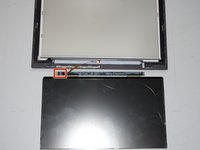
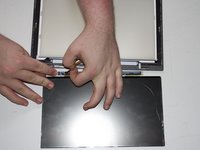
Ir para o passo 1For the LCD screen, initially, follow the battery replacement guide, then disconnect the LCD connector from the motherboard. Separate the screen by unscrewing the hinges and pulling the screen from the device. From there you must open up the screen by removing a vent, bezel, and rubber o-ring. Finally, you disconnect three cables and unscrew the screen to complete the guide.
O que você precisa
Ferramentas
Exibir mais…
-
-
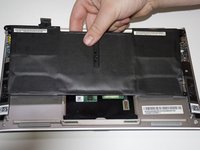
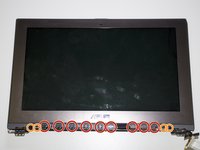
Using a T4 Torx screwdriver, unscrew the ten screws lining the bottom cover. Then, proceed to remove the bottom cover by sliding it out parallel toward the back of the computer.
-
There are two length of screws. Eight screws are 3mm and two are 5mm. The two 5mm screws always go into the two center holes along the back edge.
-
-
-
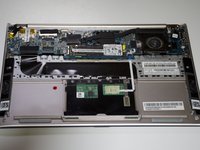
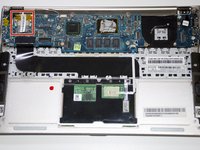
Remove the tape wrapped around the LCD connector by pulling it towards the screen hinges of the computer.
-
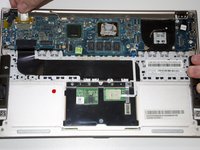
Disconnect the LCD connector by sliding it out of its socket.
-
To reassemble your device, follow these instructions in reverse order.
To reassemble your device, follow these instructions in reverse order.
Cancelar: não concluí este guia.
Uma outra pessoa concluiu este guia.


