
Asus Chromebook C201 LCD Screen Replacement
Introdução
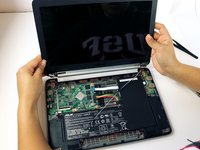
Ir para o passo 1If your Chromebook is giving you a blank screen or messed up colors, then this guide will help you replace your screen. While following these steps, be sure to ground yourself. Static can short circuit your Chromebook, so be sure to either wear an anti-static wrist strap or work on a surface that does not generate static electricity, like wood tile.
O que você precisa


-
-
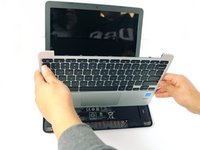
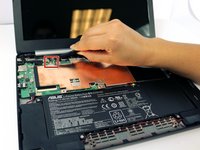
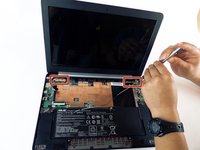
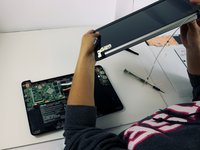
Flip the laptop upside down with the rear end of the computer away from you.
-
-
-
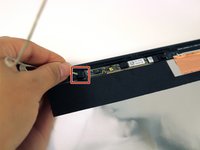
Ferramenta utilizada neste passo:Tweezers$4.99
-
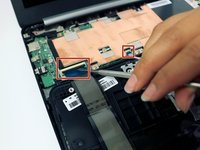
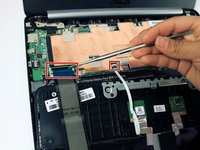
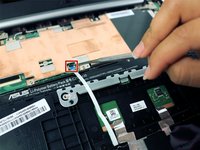
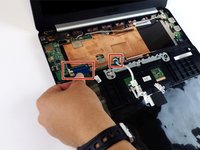
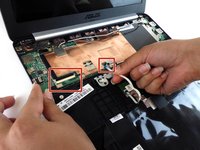
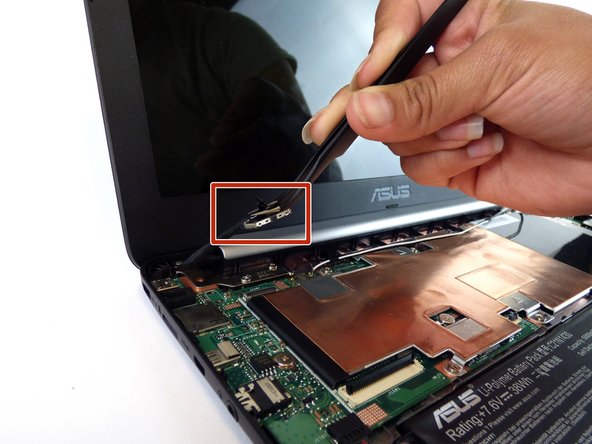
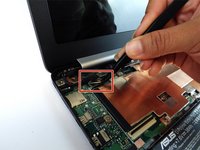
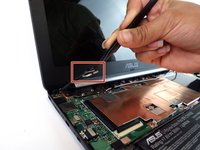
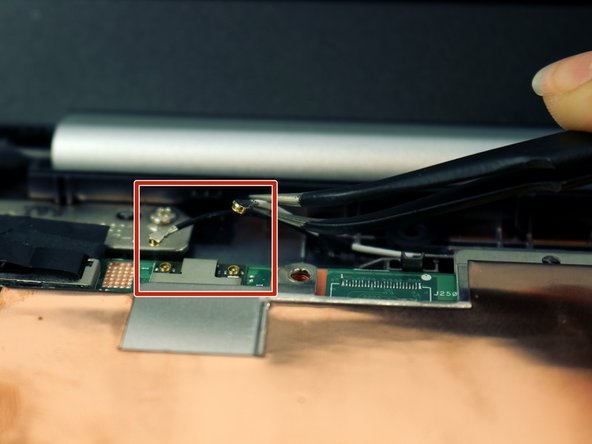
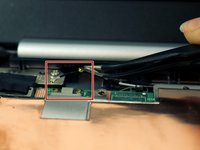
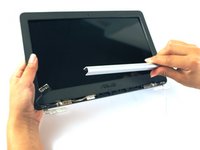
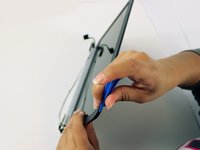
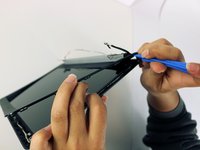
Locate the LCD cable and its connector which is located in the upper left hand corner of the computer. Carefully flip up the tiny tab and safely remove the cable using precision tweezers.
-


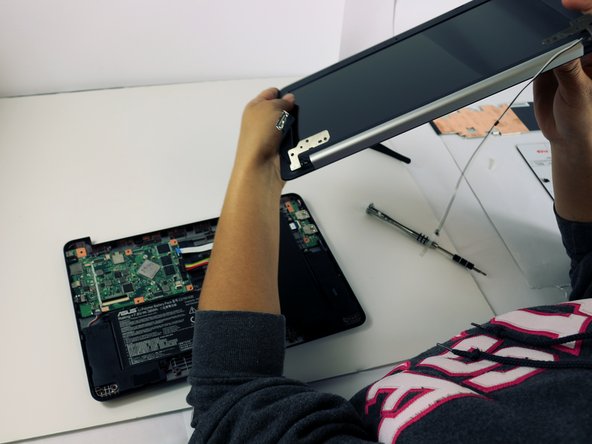


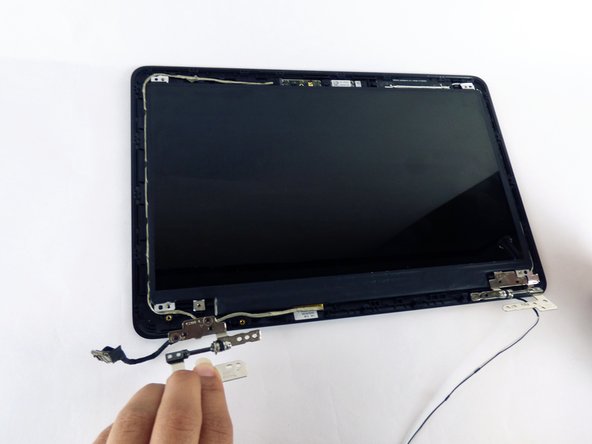


To reassemble your device, follow these instructions in reverse order.
To reassemble your device, follow these instructions in reverse order.
Cancelar: não concluí este guia.
10 outras pessoas executaram este guia.
Equipe

USF Tampa, Team 2-51, Cagle Spring 2016 Membro de USF Tampa, Team 2-51, Cagle Spring 2016
USFT-CAGLE-S16S2G51
4 Membros
Autoria de 10 guias