
Afterglow Wireless PS3 Controller Button Replacement
Introdução
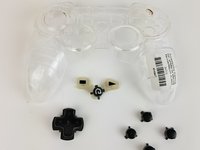
Ir para o passo 1This guide will show the process of removing the back plate, vibration motors, and motherboard to access the buttons on the front of the controller.
O que você precisa
Ferramentas

-
-
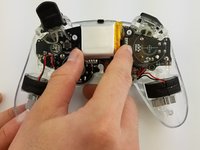
Lay the controller face down on a flat surface and remove the seven 9mm Phillips #0 screws on the back of the controller.
-
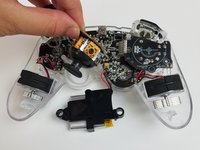
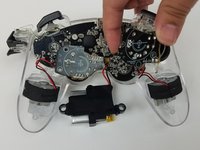
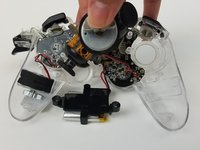
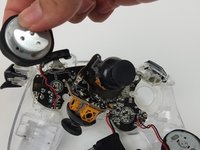
Lift up and remove the controller back plate.
-


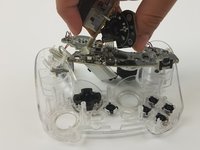


To reassemble your device, follow these instructions in reverse order.
To reassemble your device, follow these instructions in reverse order.
Cancelar: não concluí este guia.
2 outras pessoas executaram este guia.
Equipe

USF Tampa, Team S19-G5, Hoffman Spring 2017 Membro de USF Tampa, Team S19-G5, Hoffman Spring 2017
USFT-HOFFMAN-S17S19G5
4 Membros
Autoria de 16 guias