
Acer Nitro 5 AN515-53-52FA CMOS Replacement
Introdução
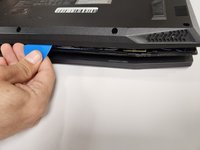
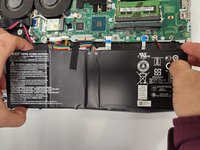
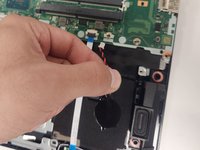
Vá para o passo 1Use this guide to replace the CMOS in the Acer Nitro 5 AN515-53-52FA laptop. Before doing this guide please make sure there is no external power connected and that nothing is on.
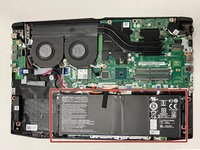
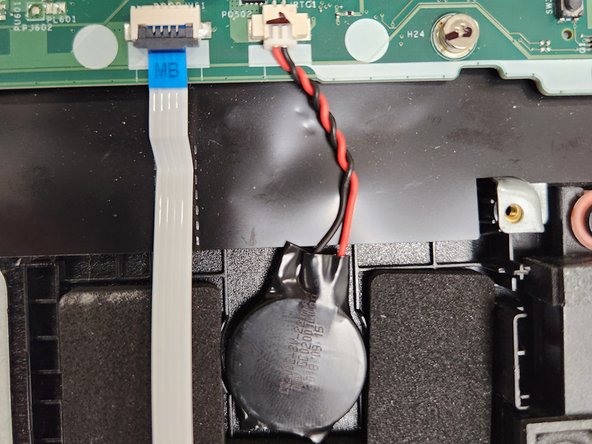
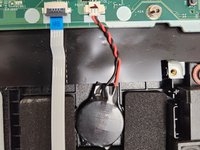
The CMOS battery is a separate small battery that keeps track of time regardless if things are powered on or off. A great indicator to when it needs a replacement is when the clock on your PC falls behind. When disposing the broken CMOS please dispose it by trusted source and not a false company.
O que você precisa


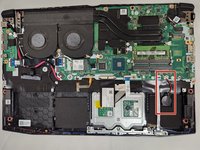


To reassemble your device, follow these instructions in reverse order.
To reassemble your device, follow these instructions in reverse order.
Equipe

Gateway, Team 1-3, Pee Fall 2022 Membro de Gateway, Team 1-3, Pee Fall 2022
GCC-PEE-F22S1G3
Membros da 4
Autoria de 7 guias