
APS Tech 101629 SCSI Connections Replacement
Introdução
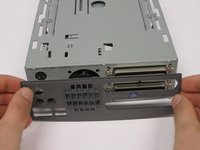
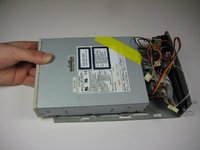
Vá para o passo 1The guide will teach you how to replace any faulty SCSI Connections at the back of the device. It requires the case to be opened, so any warranties covering the device will be voided.
O que você precisa
Ferramentas


-
-
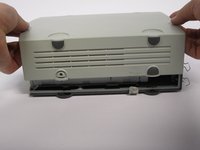
Pry all four of the plastic feet off the bottom of the enclosure using the iPod opening tool.
-
-
-
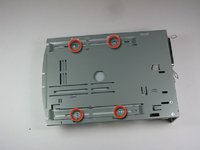
Flip so device is upside down.
-
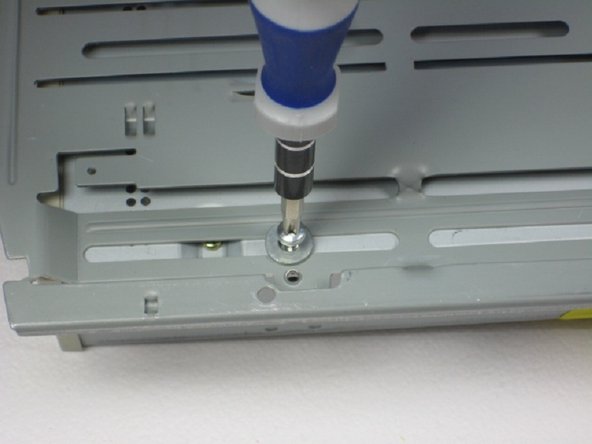
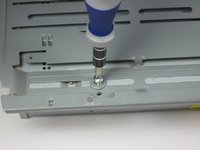
Remove 4 screws with Phillips #1 screw driver.
-
-
-
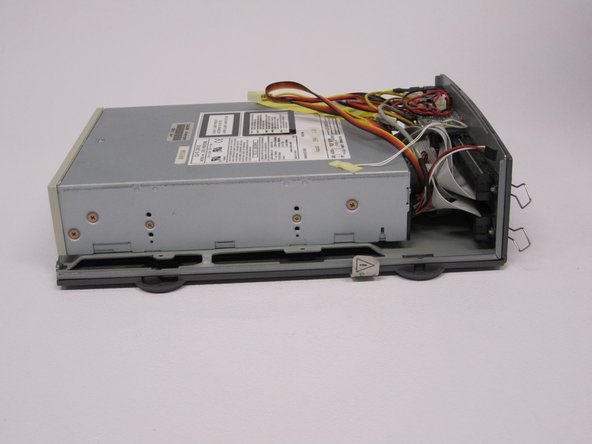
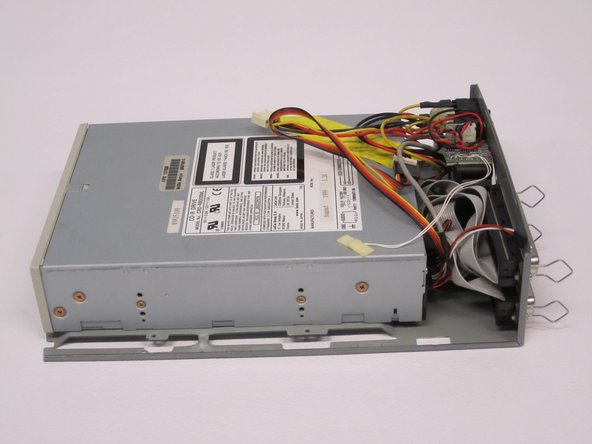
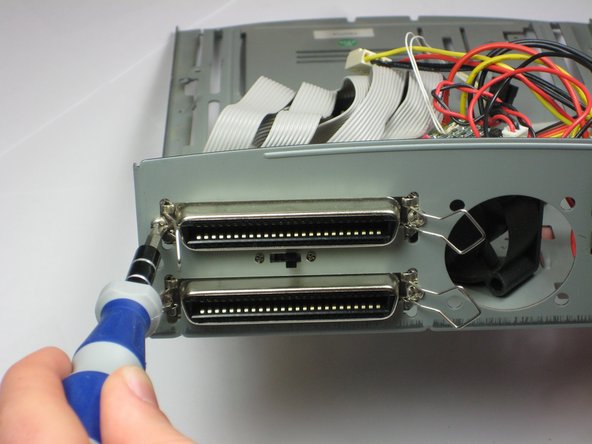
Remove the four Phillips #1 Screws from back panel.
-
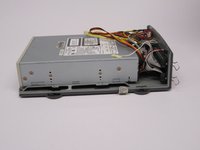
Once the screws are removed, the two connections are easily removed from the body.
-


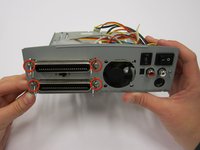


To reassemble your device, follow these instructions in reverse order.
To reassemble your device, follow these instructions in reverse order.
Equipe

Cal Poly, Team 24-60, Amido Spring 2011 Membro de Cal Poly, Team 24-60, Amido Spring 2011
CPSU-AMIDO-S11S24G60
Membros da 5
Autoria de 12 guias