Introdução
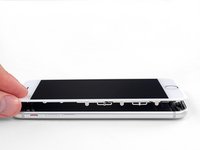
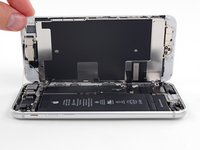
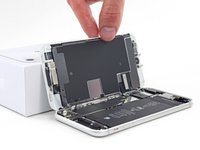
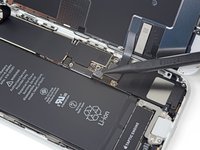
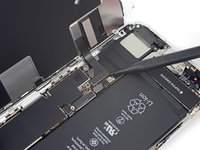
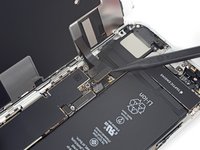
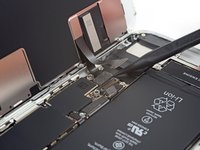
Prerequisite-only guide for detaching the display assembly on an iPhone 8.
O que você precisa
-
-
Remove the two 3.5 mm pentalobe screws on the bottom edge of the iPhone.
-
-
Ferramenta utilizada neste passo:Clampy - Anti-Clamp$24.95
-
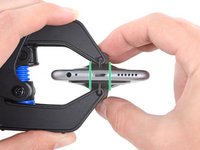
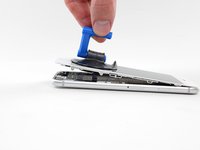
Pull the blue handle backwards to unlock the Anti-Clamp's arms.
-
Slide the arms over either the left or right edge of your iPhone.
-
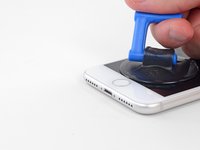
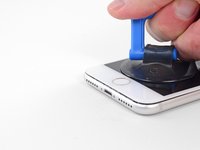
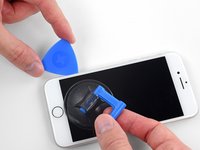
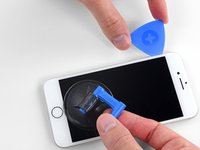
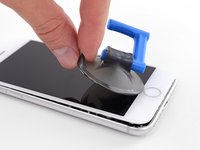
Position the suction cups near the bottom edge of the iPhone just above the home button—one on the front, and one on the back.
-
Squeeze the cups together to apply suction to the desired area.
-
-
-
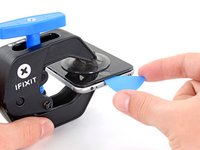
Heat an iOpener and thread it through the arms of the Anti-Clamp.
-
Fold the iOpener so it lays on the bottom edge of the iPhone.
-
Wait one minute to give the adhesive a chance to release and present an opening gap.
-
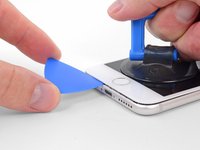
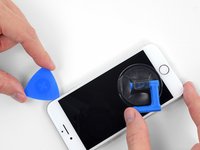
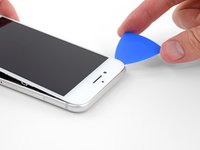
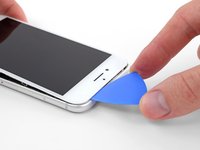
Insert an opening pick into the gap.
-
Skip the next three steps.
-
-
-
Heating the lower edge of the iPhone will help soften the adhesive securing the display, making it easier to open.
-
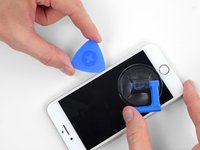
Use a hairdryer or prepare an iOpener and apply it to the lower edge of the phone for about 90 seconds in order to soften up the adhesive underneath.
-
-
-
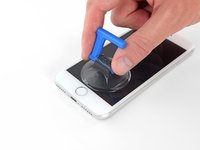
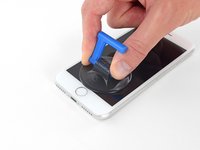
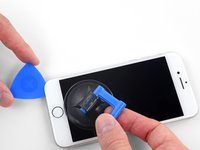
Apply a suction cup to the lower half of the front panel, just above the home button.
-
-
-
Ferramenta utilizada neste passo:Magnetic Project Mat$19.95
-
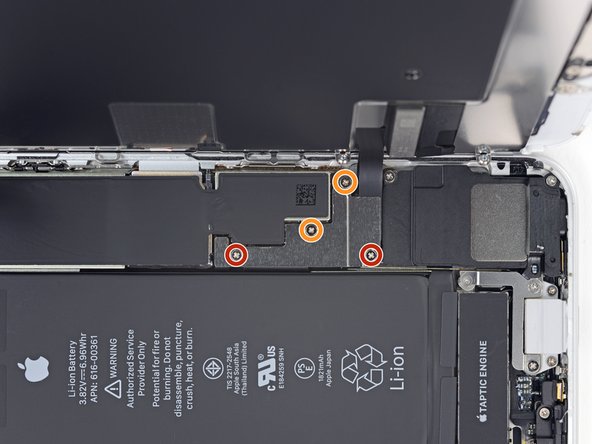
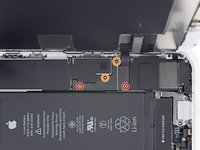
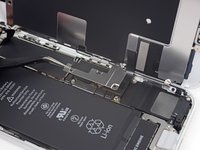
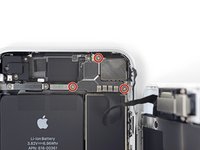
Remove four Phillips screws securing the lower display cable bracket to the logic board, of the following lengths:
-
Two 1.3 mm screws
-
Two 2.8 mm screws
-
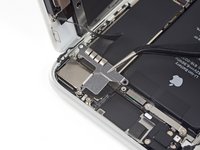
Remove the bracket.
-
-
-
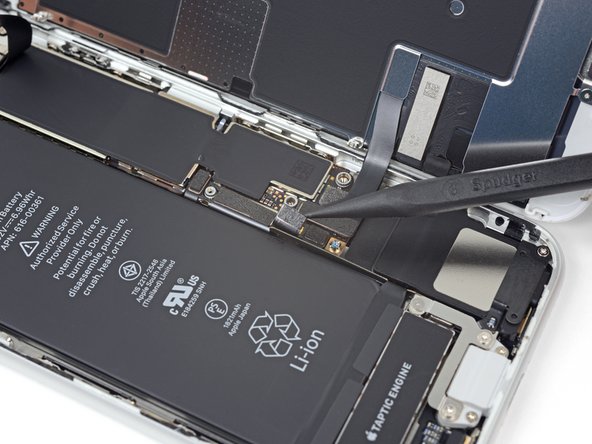
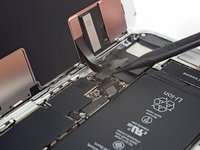
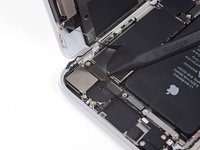
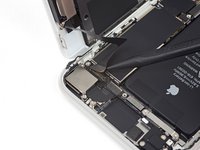
Use the point of a spudger to pry the lower display connector out of its socket.
-
To reassemble your device, follow these instructions in reverse order.
Cancelar: não concluí este guia.
7 outras pessoas executaram este guia.
5Comentários do guia
Any suggestions for cleaning/clearing the old adhesive from the phone and the best way to install the new adhesive without getting it tangled up on itself or any other phone parts??? Thx!
@a340mech Detailed instructions for the adhesive are linked in the final step.
I used a bit of Acetone on a Q-tip to clean off the glue from the metal parts, making sure that it doesn’t touch anything plastic. Instead of the adhesive that is supplied, I installed a strip of one-sided electrical tape. I can only think of one reason for the tape in the first place and it is to keep the battery from flopping around. I figured that a strip of one-sided electrical tape would be just as good at taking up any space between the battery and the back of the display and it would have the benefit of not having to be removed next time ‘round and it would make it easier to remove the battery as well. The battery doesn’t flop around and everything works just as before. I’ve done about four of these now on iPhone 6’s and 8’s


