Essa tradução foi gerada por um programa e ainda não foi revisada por uma pessoa. Falas essa língua? Dá uma olhada.

Substituição da tela do Google Pixel Watch 4

Spencer Day e 4 outros colaboradores
Última atualização em 6 de out de 2026
Visualizações: 19 mil
Visualizar Estatísticas:
- Últimas 24 horas:
- 42
- Últimos 7 dias:
- 314
- Últimos 30 dias:
- 1.494
- Ao todo:
- 19.091
Comentários: 32
12 comments on steps, 20 guide comments.
Go to guide commentsConcluído: 21 22
21 pessoas marcaram este guia como "concluído". Será você o próximo?
22· pessoas marcaram este guia como "concluído". Incluindo você — ótimo trabalho!
Favorites: 4 5
4 pessoas favoritaram (e se inscreveram) neste guia. Você será o próximo?
5 pessoas marcaram como favorito (e assinaram) este guia - incluindo você!
Guia em destaque
Este guia foi considerado super bacana pela equipe da iFixit.
Introdução
Ir para o passo 1 ↓Este guia de reparo foi criado pela equipe da iFixit e não foi endossado pelo Google. Saiba mais sobre nossos guias de reparo aqui.
Use este guia para substituir uma tela trincada, quebrada ou que não responde no seu Google Pixel Watch 4.
Este guia foi escrito usando um modelo de 41 mm LTE do Pixel Watch 4. Embora algumas fotos possam conter pequenas discrepâncias visuais, os procedimentos para todos os modelos de 41 mm e 45 mm são funcionalmente os mesmos.
O que você precisa
Kits de conserto
Estes kits contêm todas as peças e ferramentas necessárias para executar este guia.


Peças


Ferramentas
-
-
-
-
Spudger4.9
-
-
-
-


-
-
-
Antes de começar o reparo:
-
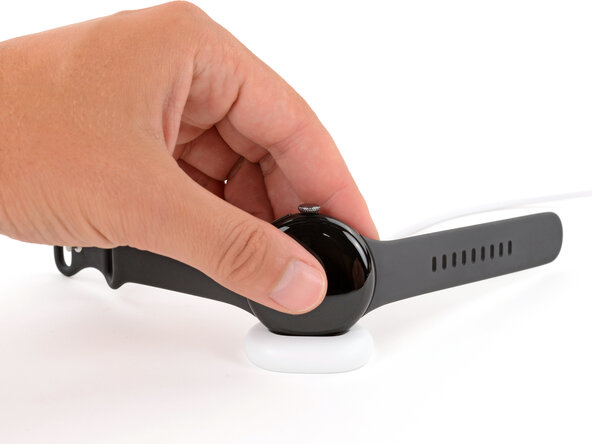
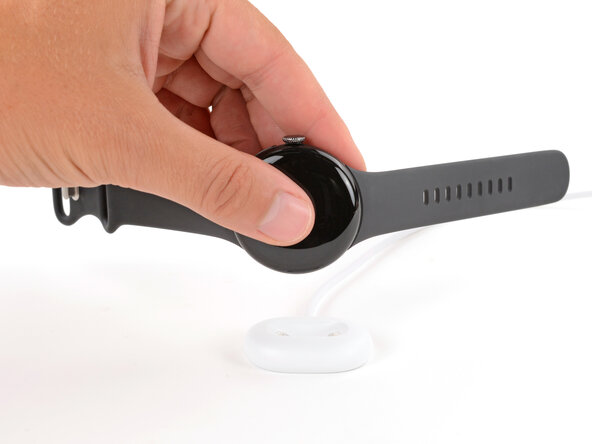
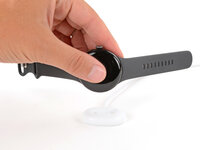
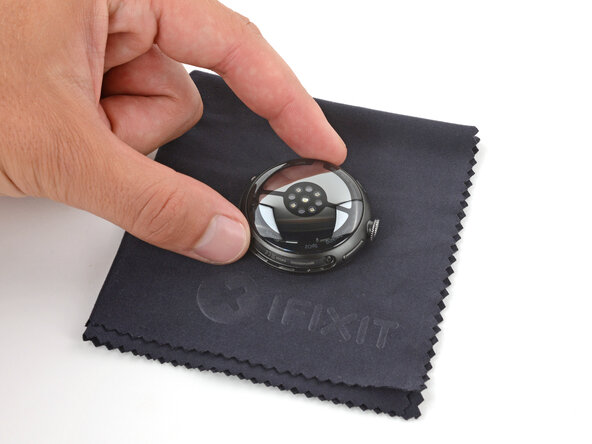
Retire o relógio do carregador.
-
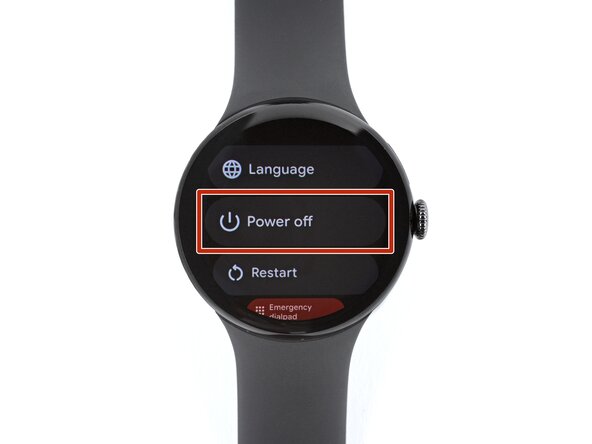
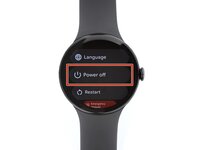
Pressione e segure o botão da coroa, e depois toque em Desligar para encerrar o relógio.
 Pergunte ao FixBot
-
-
-
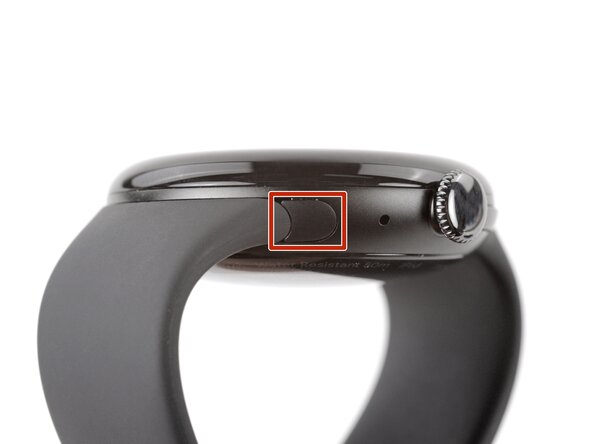
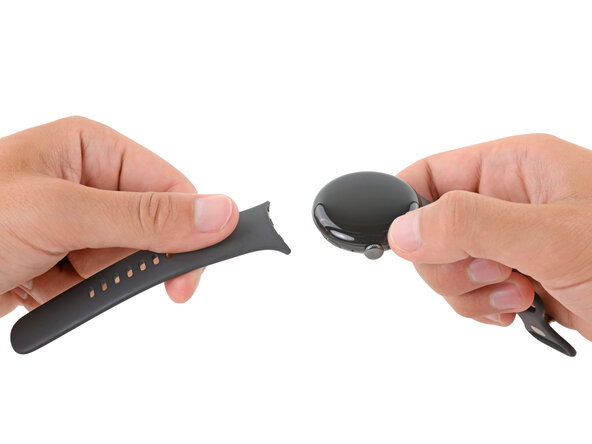
Remova cada pulseira pressionando o botão de liberação e deslizando a pulseira para fora de sua ranhura.
-
-
-
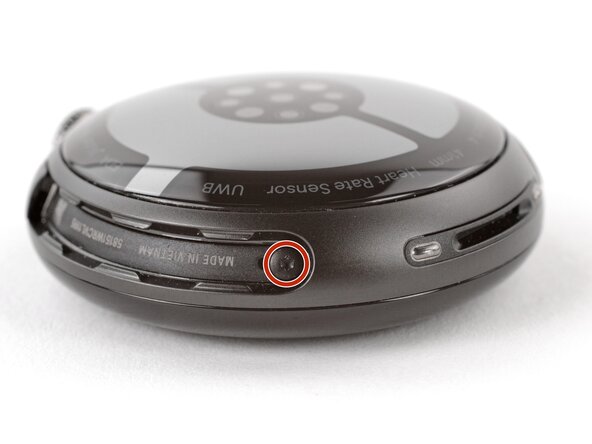
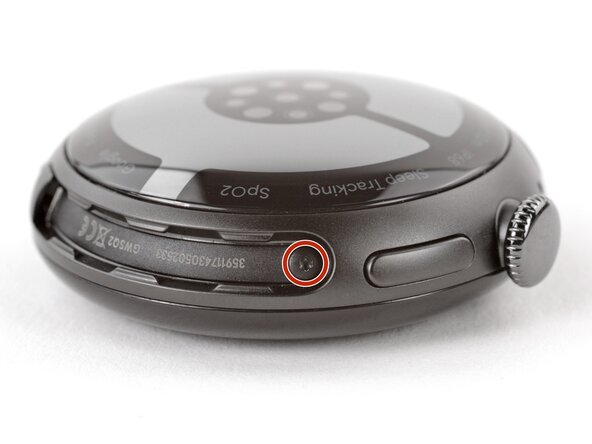
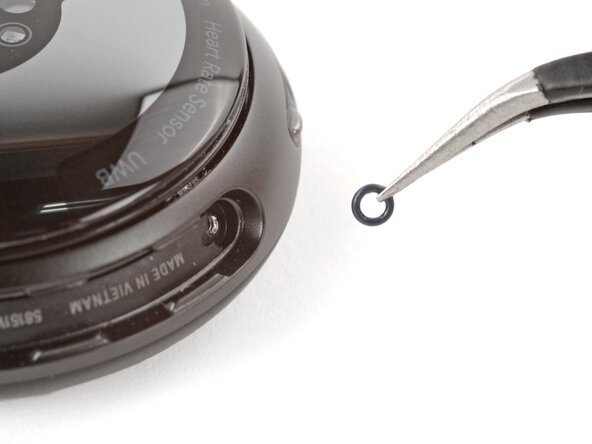
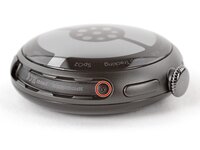
Use uma chave Torx Plus 2IP para remover o parafuso de 3,0 mm de comprimento de ambos os sulcos da pulseira do relógio (dois parafusos no total).
-
Certifique-se de que os anéis de vedação estejam nos parafusos antes de instalá-los.
-
Pressione o vidro traseiro com firmeza ao instalar os parafusos para garantir que o vidro fique devidamente encaixado.
-
-
-
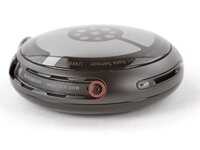
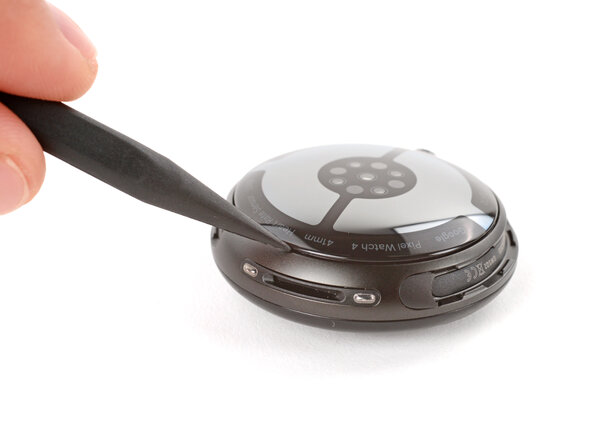
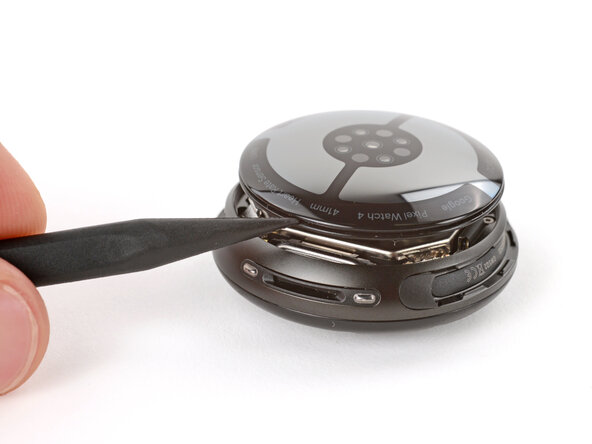
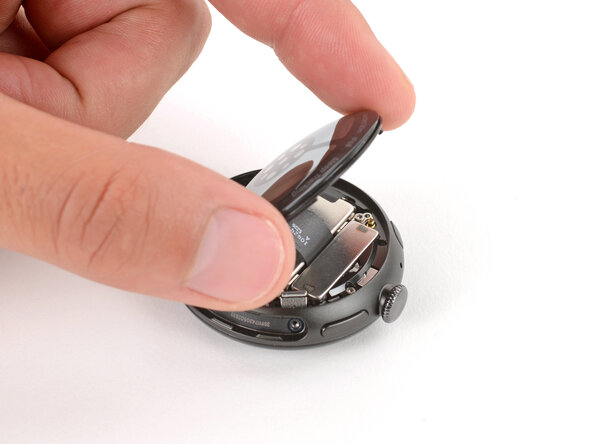
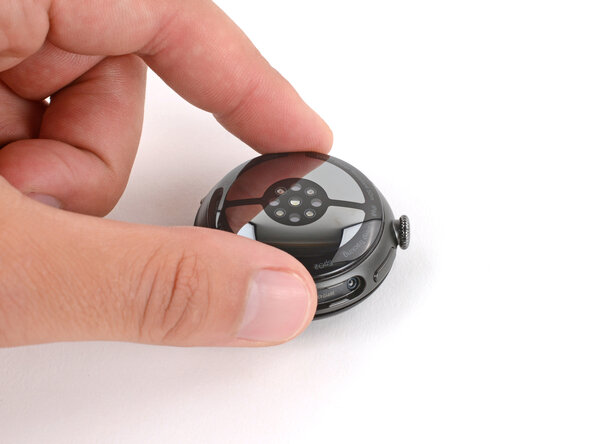
Insira a ponta de uma espátula (ou a unha limpa) na emenda entre o vidro do sensor traseiro e o quadro e faça alavanca até que a cobertura se solte.
-
-
-
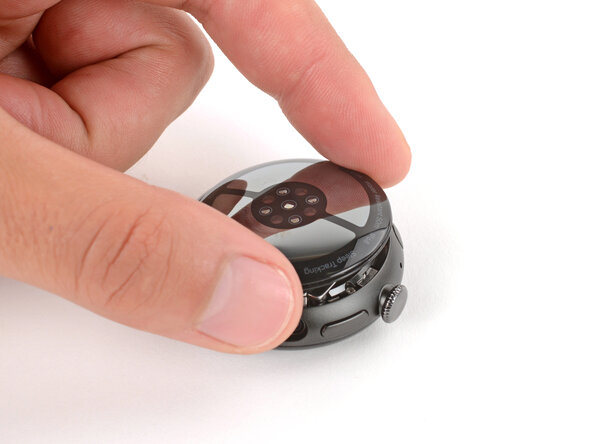
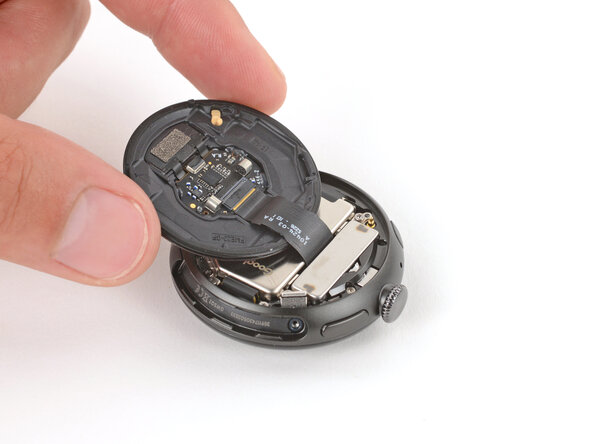
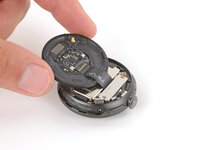
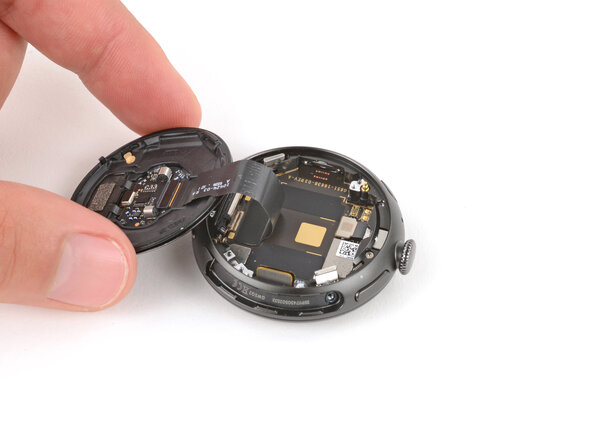
Levante o vidro traseiro com cuidado e vire-o sobre o lado do relógio oposto à coroa.
-
-
-
-
-
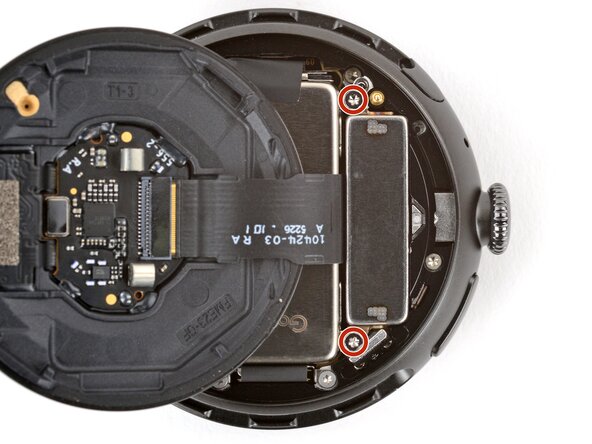
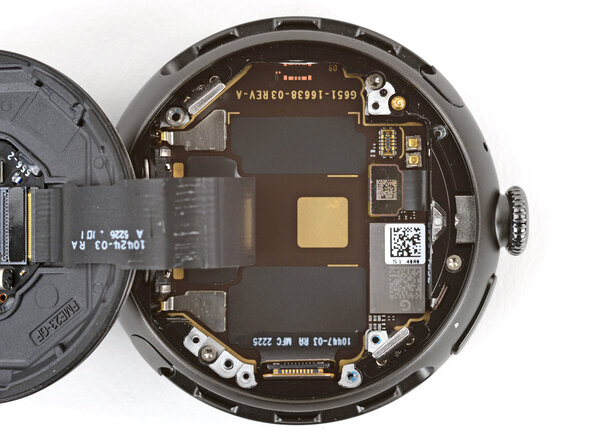
Use uma chave Torx Plus 2IP para remover os dois parafusos de 2,2 mm de comprimento que prendem o motor de vibração.
-
-
-
-
-
-
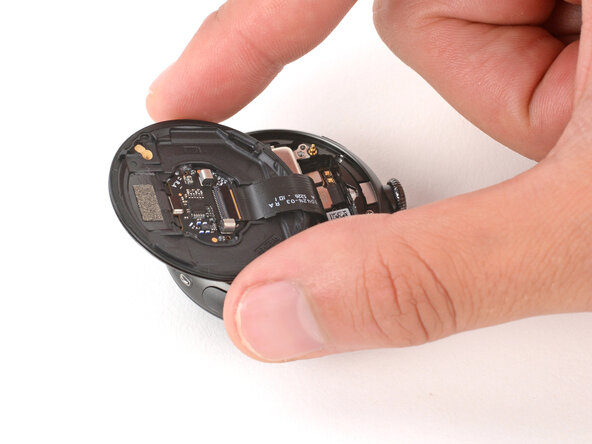
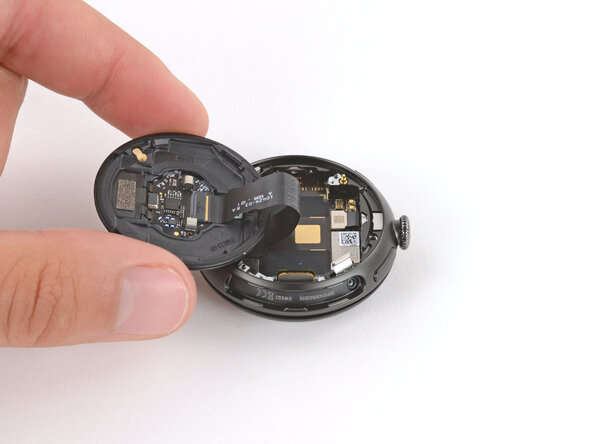
Vire delicadamente o vidro do sensor traseiro sobre o lado da coroa do relógio.
-
-
-
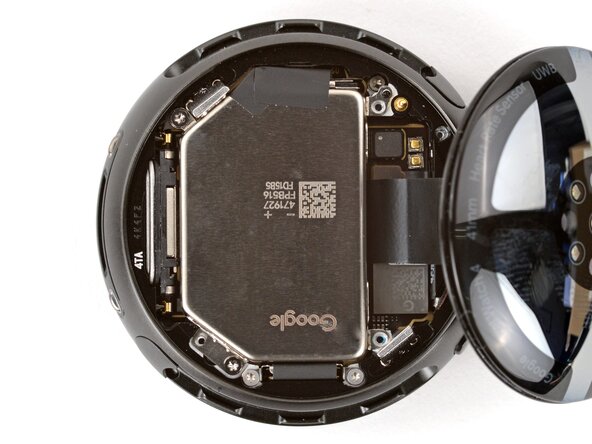
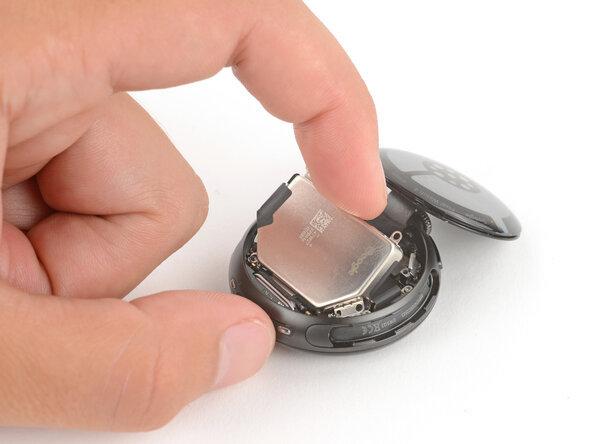
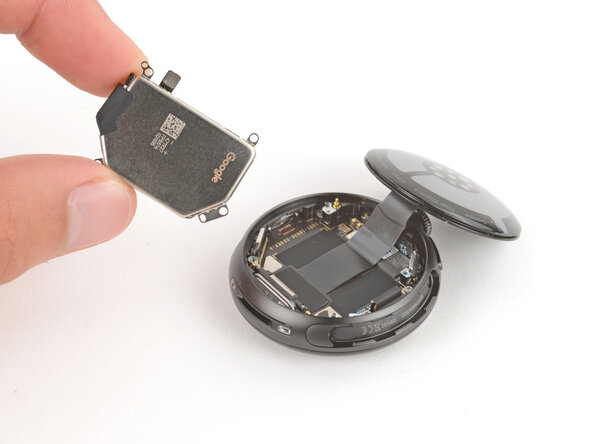
Use a ponta de uma espátula para levantar e desconectar o conector press-fit da bateria.
-
Se tiver dificuldades, solte os dois parafusos da bateria e reposicione o conector. Assim que estiver conectado, aperte novamente os parafusos da bateria.
-
-
-
Use uma chave Torx Plus 2IP para remover os dois parafusos de 2,2 mm de comprimento que prendem a bateria.
-
-
-
-
-
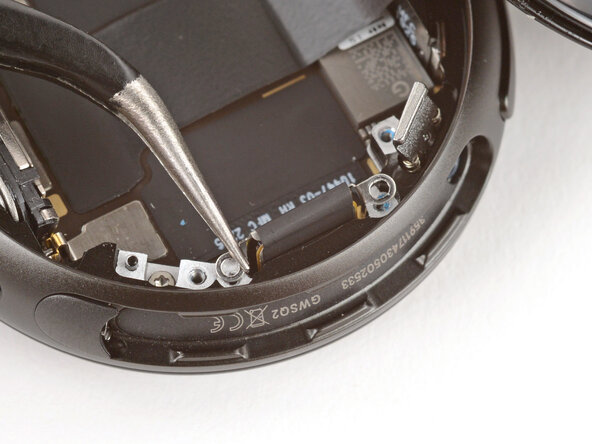
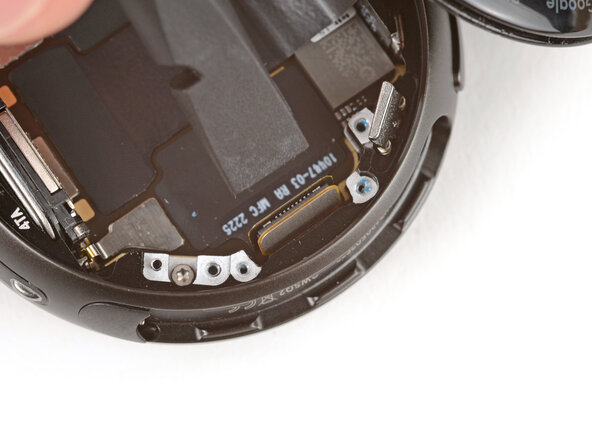
Use uma chave Torx Plus 1IP para remover os dois parafusos de 2,0 mm que prendem o suporte do cabo da tela.
-
-
-
Use uma pinça para virar o suporte para cima e descole-o lentamente do conector, tomando cuidado para não danificar a fita.
-
-
-
-
-
Insira a ponta chata de uma espátula no vão entre os dois conectores press-fit do cabo da tela.
-
Gire a espátula para desconectar os cabos.
-
-
-
Vire delicadamente o vidro traseiro sobre a lateral do relógio oposta à coroa.
-
-
-
Remova os quatro parafusos que prendem a tela:
-
Um parafuso Torx Plus 2IP de 5,1 mm de comprimento
-
Dois parafusos Torx Plus 2IP de 3,3 mm de comprimento
-
Um parafuso espaçador Torx Plus 5IP de 4,2 mm de comprimento
-
-
-
Posicione o vidro do sensor traseiro no lugar e vire o relógio com a tela voltada para cima.
-
-
-
Insira a ponta chata de uma espátula na fenda entre a tela e o quadro e gire a espátula para separar a tela.
-
-
-
Levante a tela e passe cuidadosamente o cabo da tela por fora do seu recorte para removê-la.
-
-
-
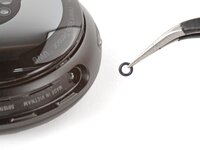
Use uma pinça para remover o O-ring da tela — ele estará preso ao quadro ou à parte inferior da tela.
-
Se o sulco do O-ring estiver sujo ou com acúmulo de resíduos, aplique algumas gotas de álcool isopropílico de alta concentração (>90 %) em um cotonete e limpe-o.
-
Coloque o novo O-ring suavemente sobre a borda no quadro.
-
Use os dedos para segurar o O-ring no lugar e use uma espátula para deslizar o lado oposto para cima e sobre a borda até que ele se encaixe no sulco.
-
Certifique-se de que todo o O-ring esteja corretamente encaixado no sulco antes de continuar a remontagem.
-
-
-
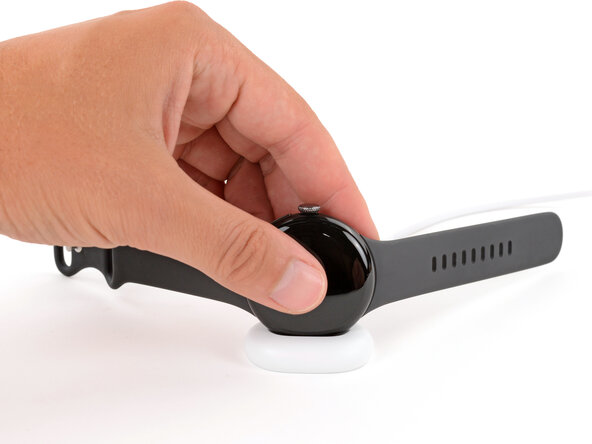
Após concluir a remontagem, coloque o relógio no carregador original (OEM) e aguarde até que ele inicie. O relógio não iniciará sem antes estar conectado ao carregador.
-
-
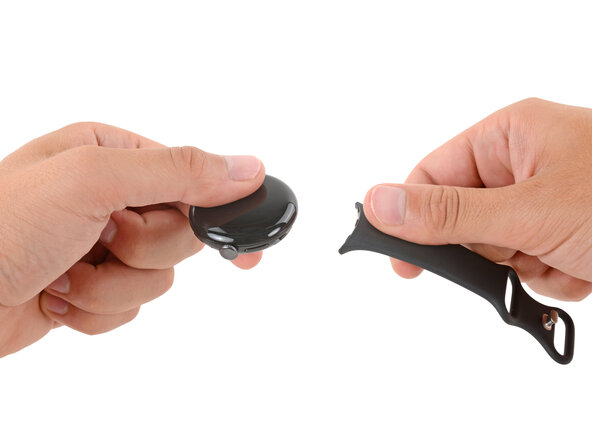
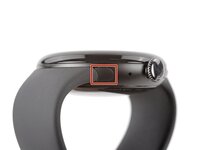










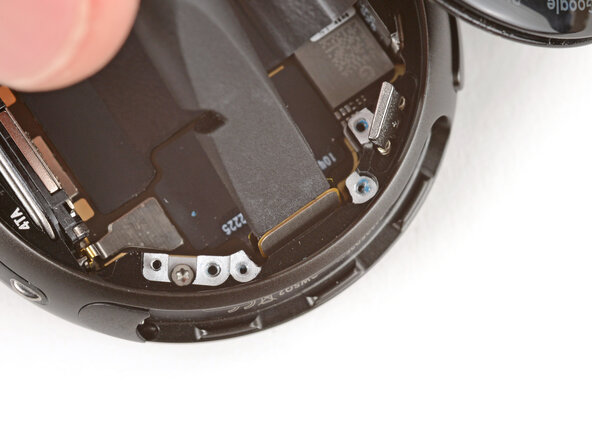
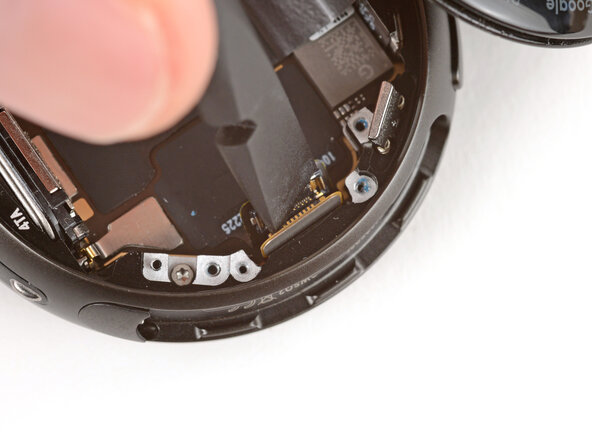


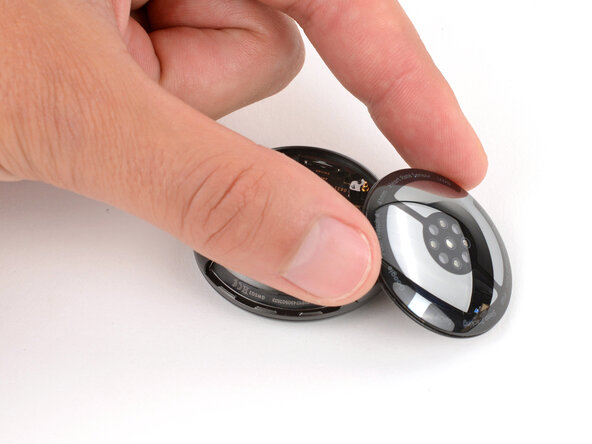






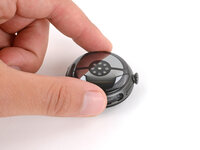

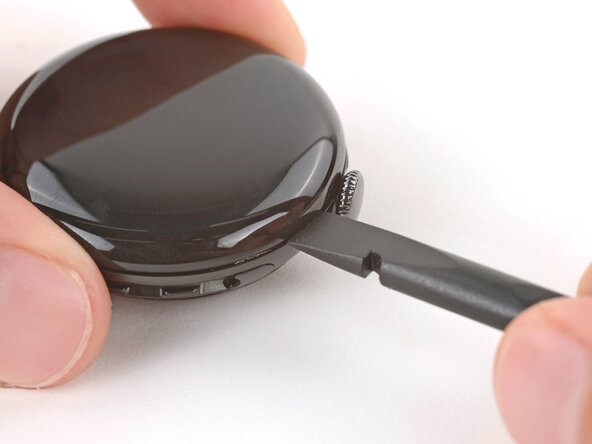
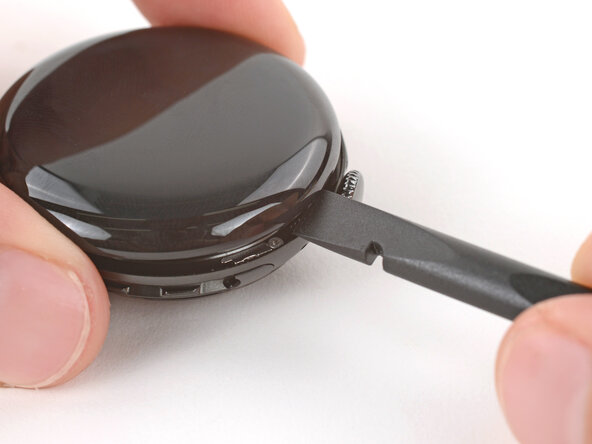


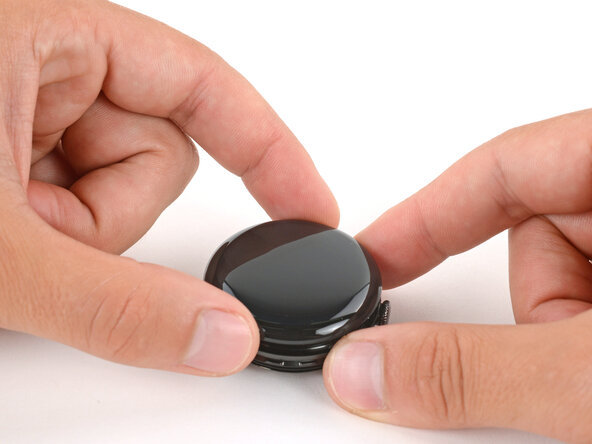
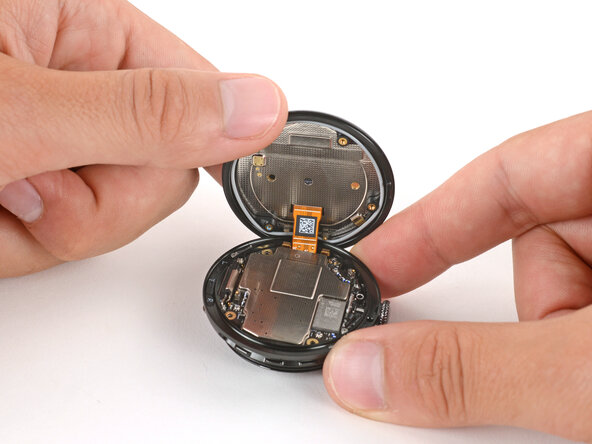
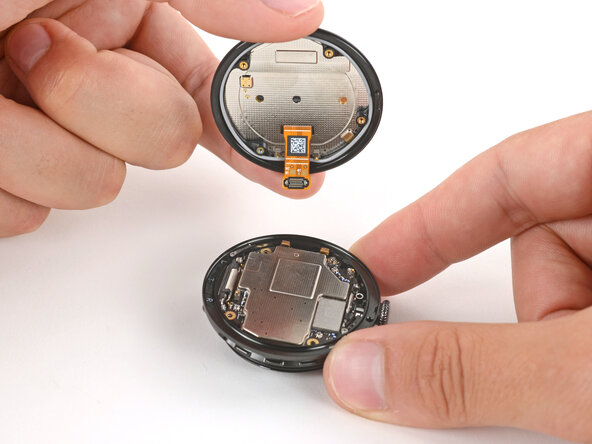


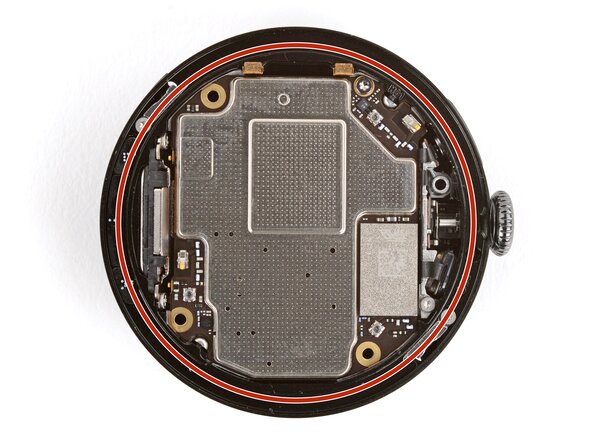




Para a remontagem de seu dispositivo, siga estas instruções na ordem inversa.
Após concluir o reparo, seu relógio pode não ligar novamente até ser conectado à energia.
Leve seu e-waste, lixo eletrônico, a um reciclador certificado R2 ou e-Stewards.
O reparo não deu certo? Tente alguns passos básicos para solução de problemas ou peça ajuda a nossa comunidade do Respostas.
Cancelar: não concluí este guia.
21 outras pessoas executaram este guia.

20Comentários do guia
Any idea when the replacement screens will be available to purchase?
When will the parts be available?
I've reassembled after a screen replacement and the watch wont boot. Is this most likely a battery connector problem?
I have the same issue. The watch wont boot after reassembling
I had the same issue. The Solution was to leave it on the charger for 15-20 Minutes. On the charger it showed the Google-Logo and then 0%, after a few minutes it showed the real 100% again and the watch worked without anny issues.
